Growth360’s email campaign settings let you control delivery methods, configure default attribution and tracking, manage sender preferences, and pause or cancel scheduled campaigns at any time.
Delivery Options
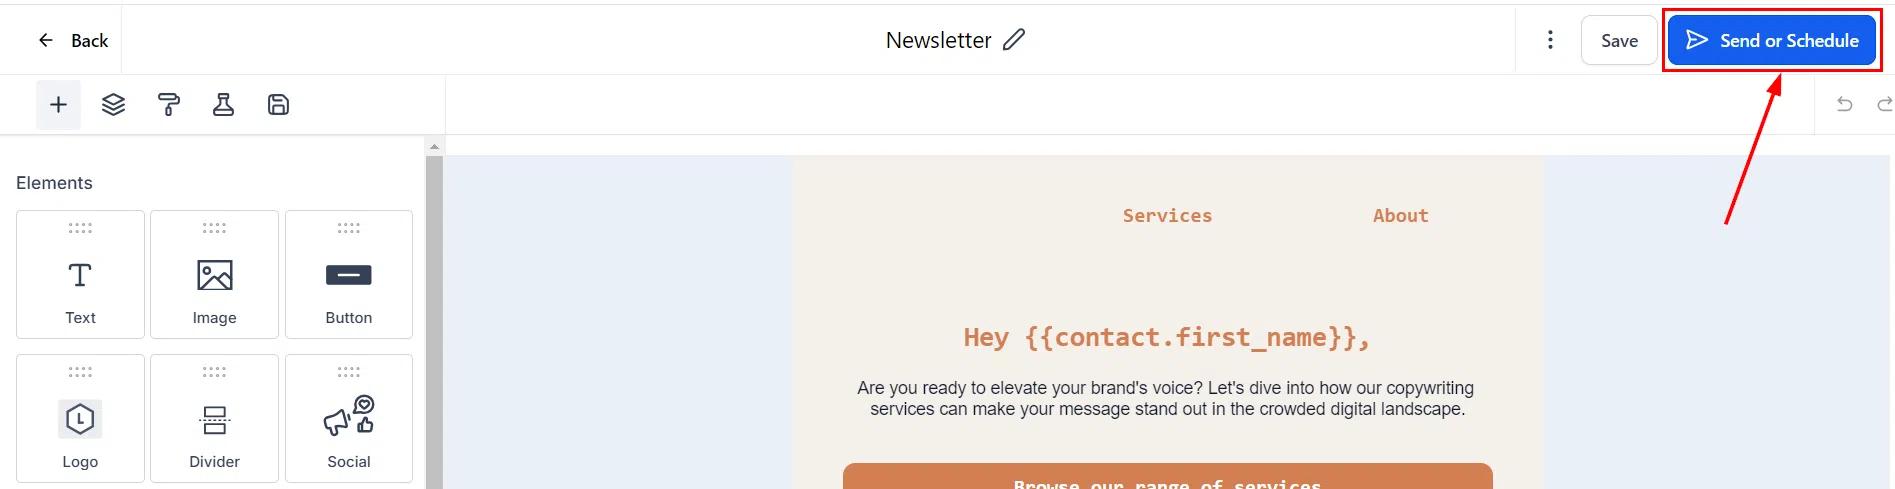
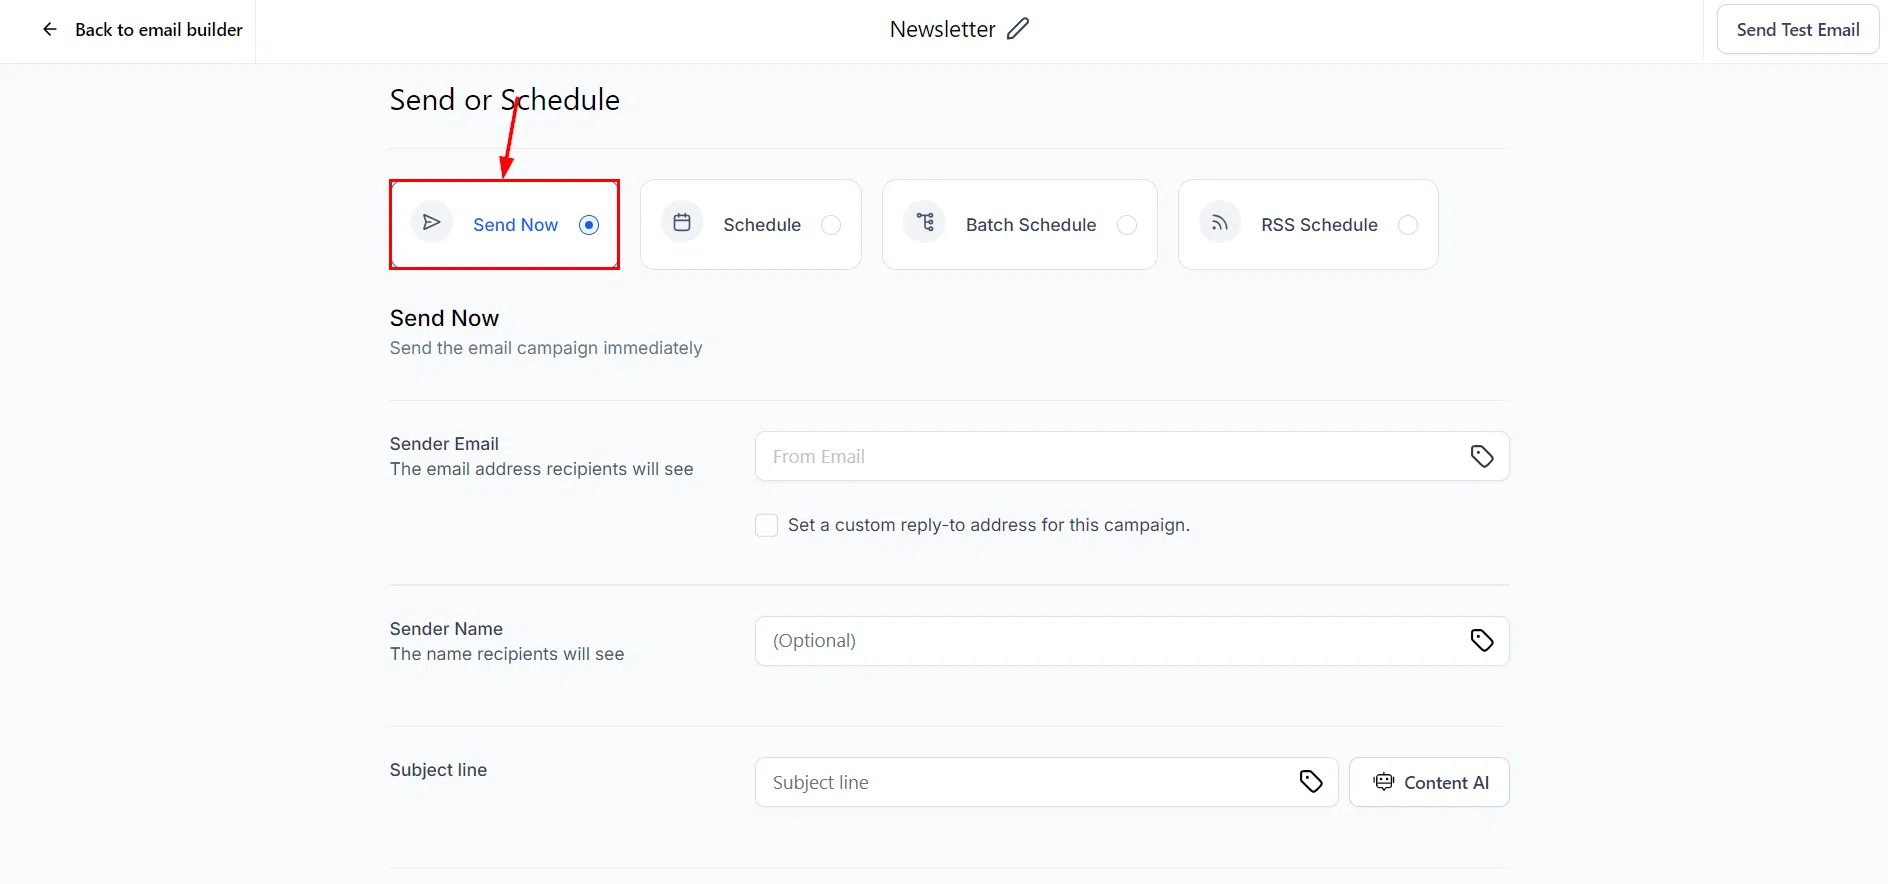
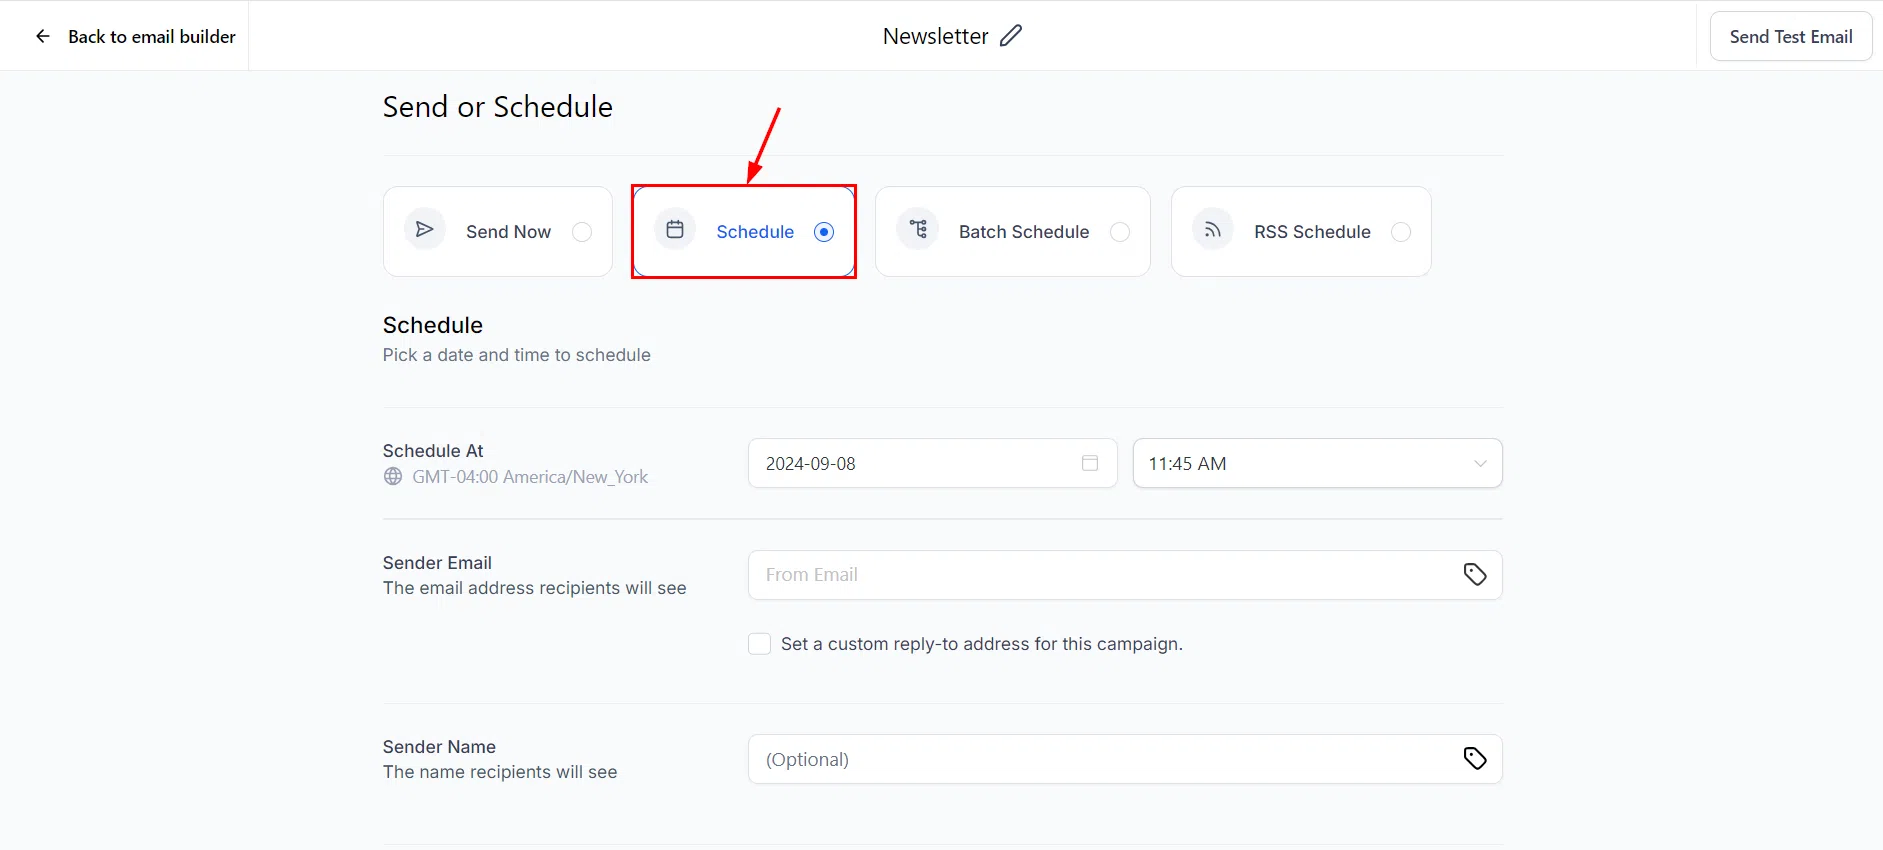
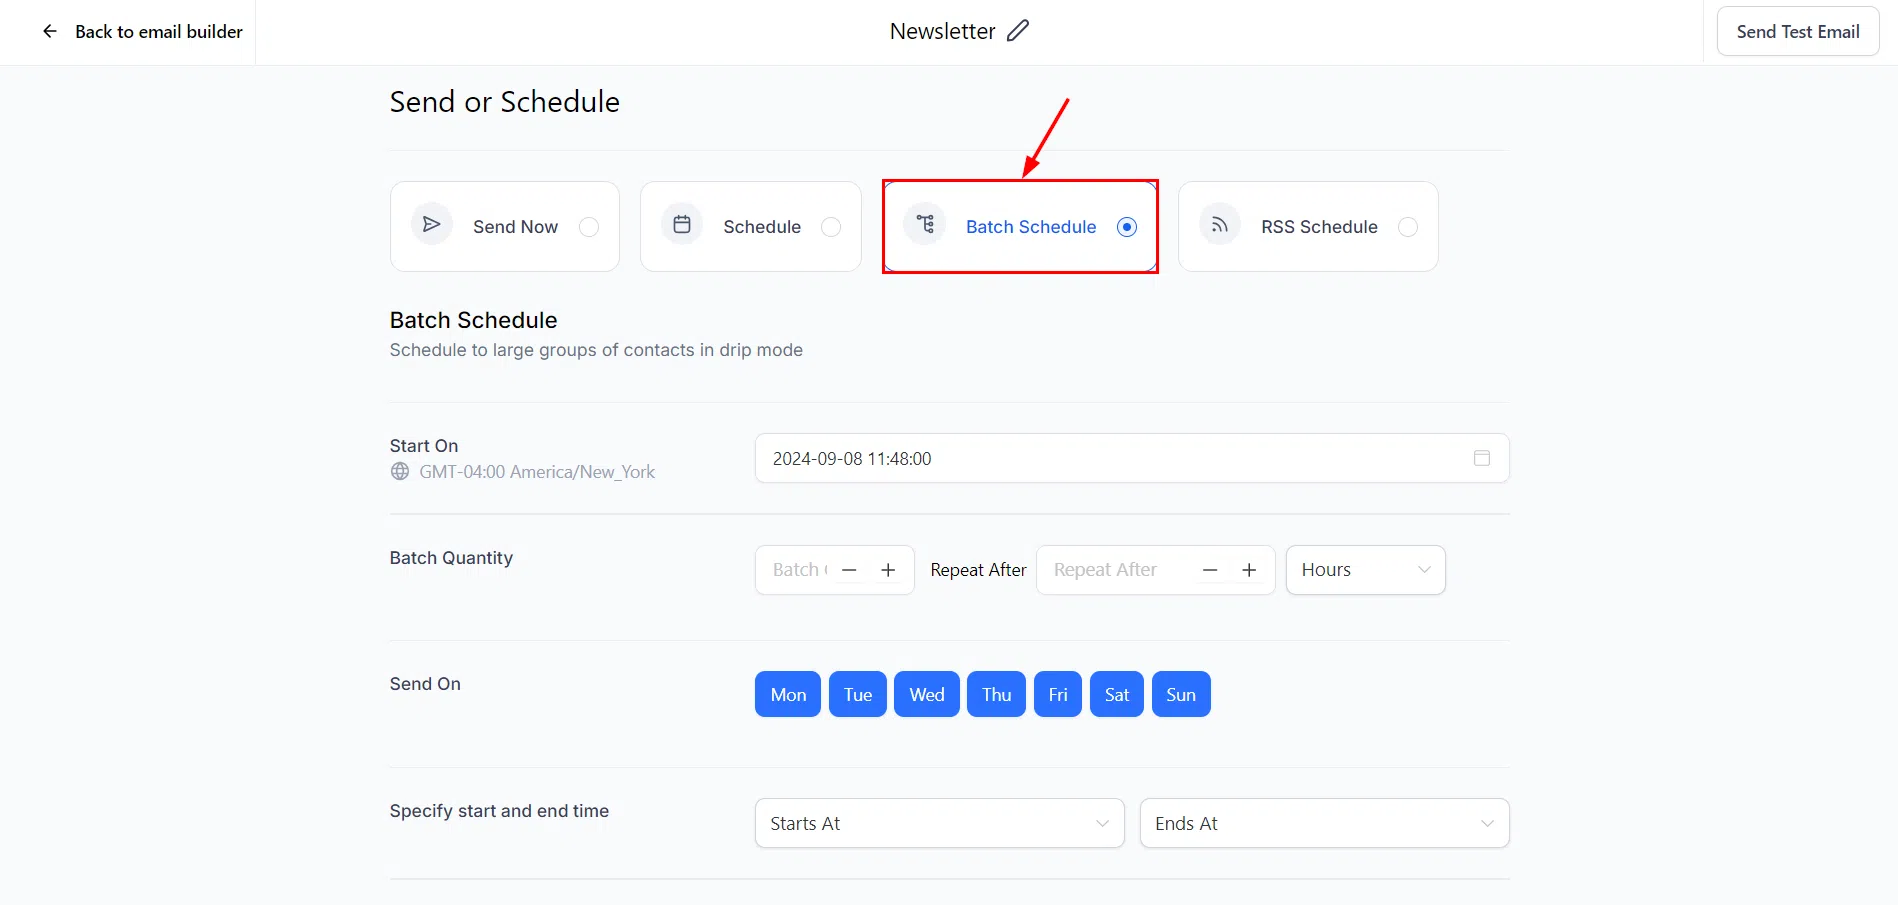
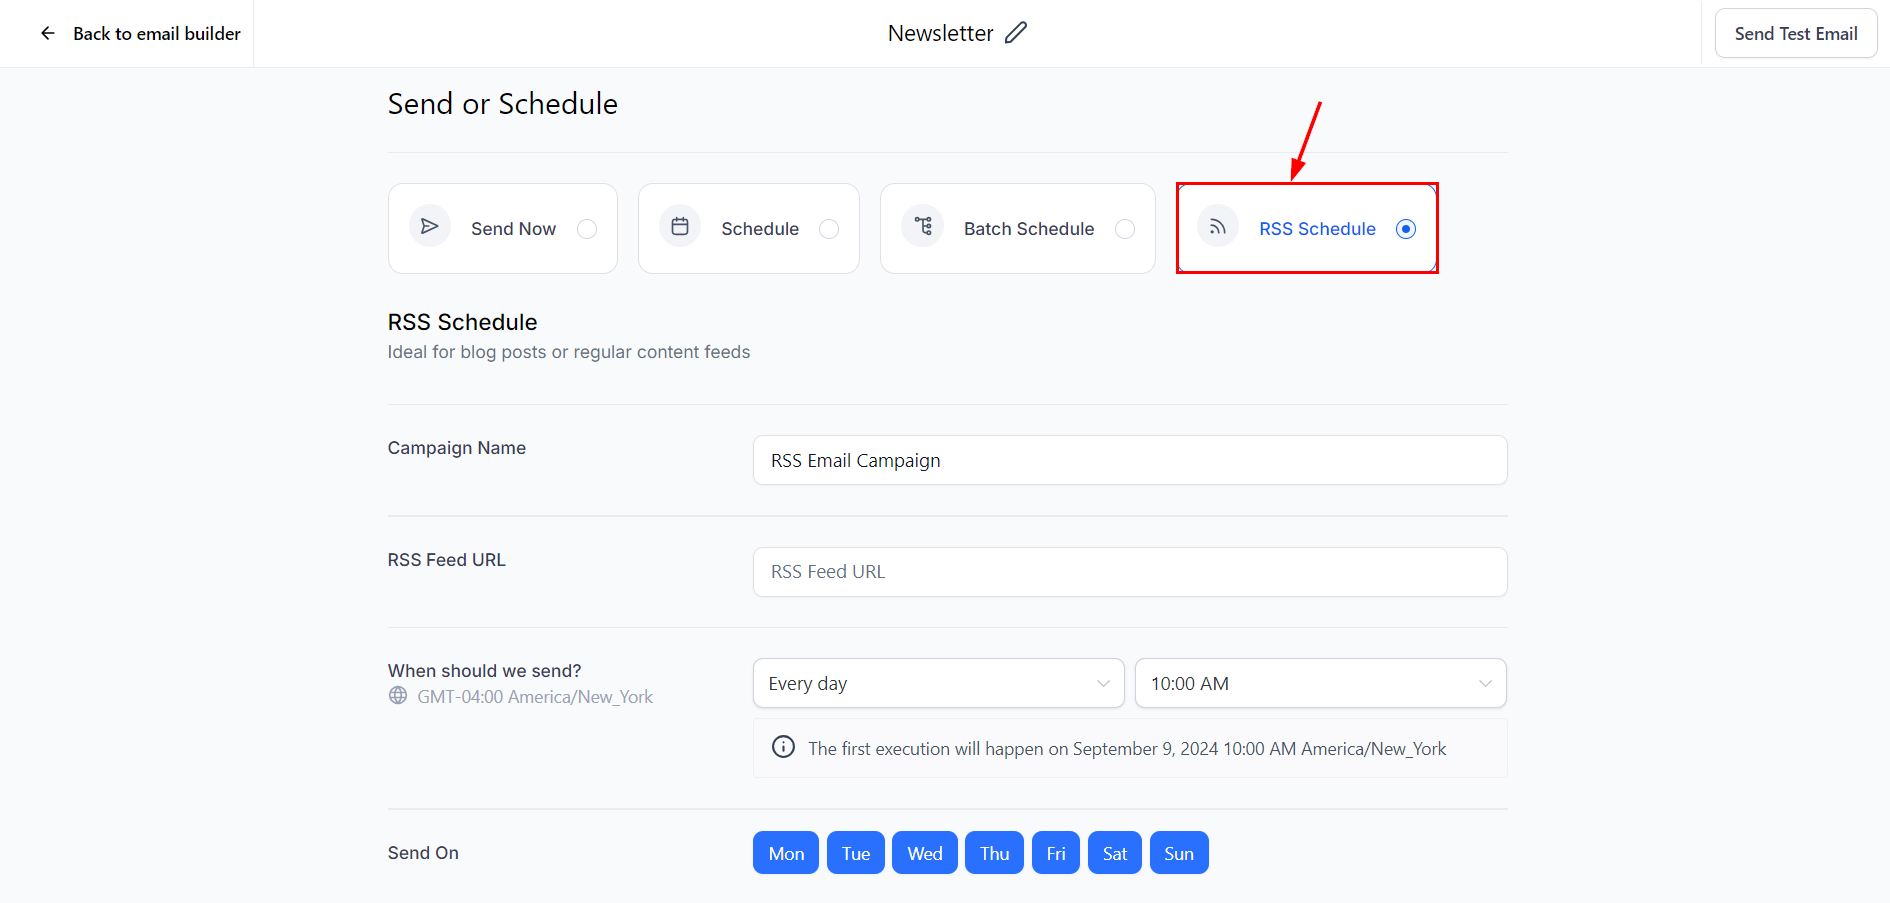
When you’re ready to send a drafted email campaign, click Send or Schedule to choose how it’s delivered. Growth360 offers four delivery methods:
- Send Now: Delivers the campaign to your entire audience immediately.
- Schedule: Sets a specific date and time for delivery. Ideal when you want to plan ahead and send at an optimal time for your audience.
- Batch Schedule: Sends the campaign in smaller, timed batches rather than all at once. With 1,000 contacts and a batch quantity of 100, for example, Growth360 sends 100 contacts per batch at your chosen interval. This helps manage server load and funnel traffic.
- RSS Schedule: Automatically pulls content from your RSS feed and delivers it to subscribers on a recurring daily, weekly, or monthly schedule.
Campaign Settings
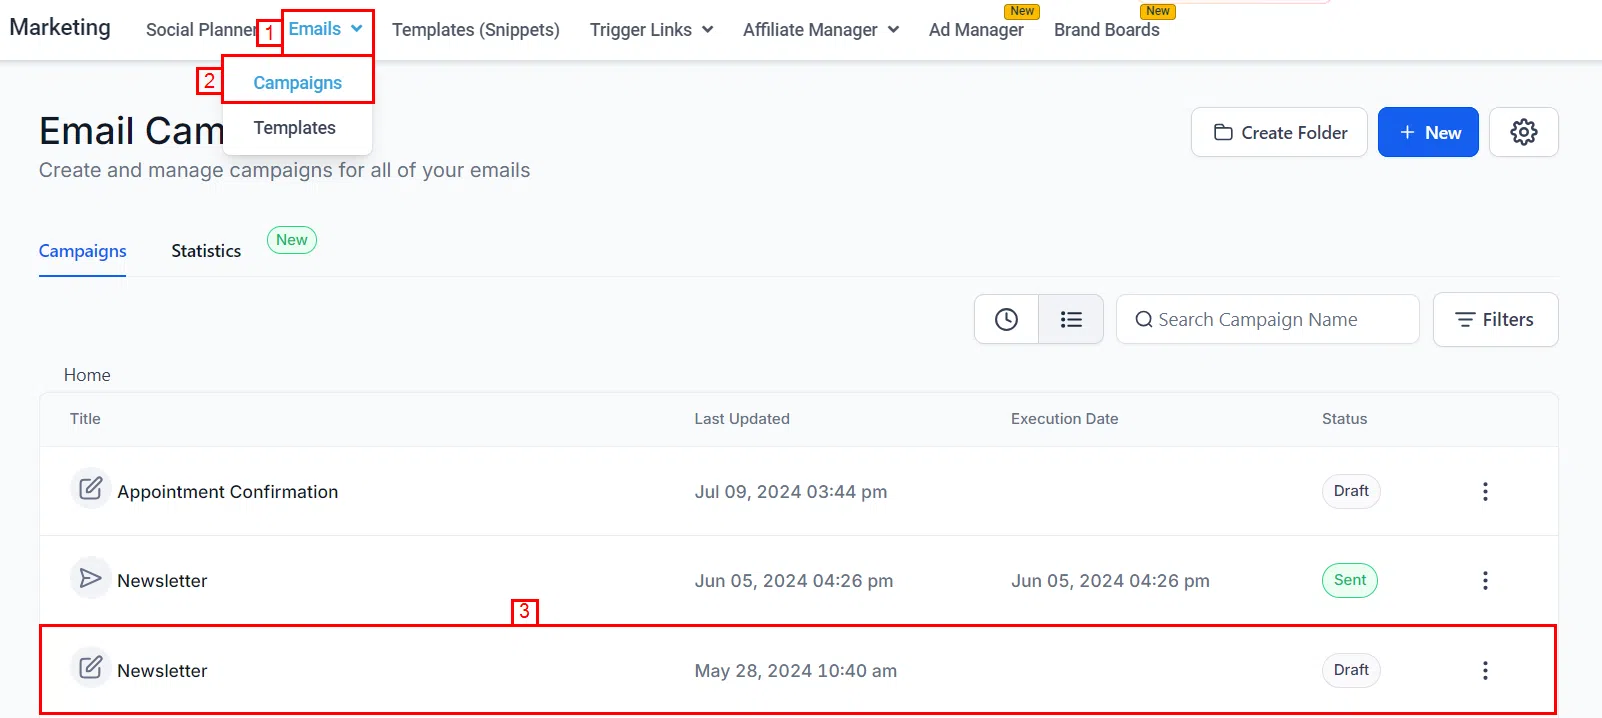
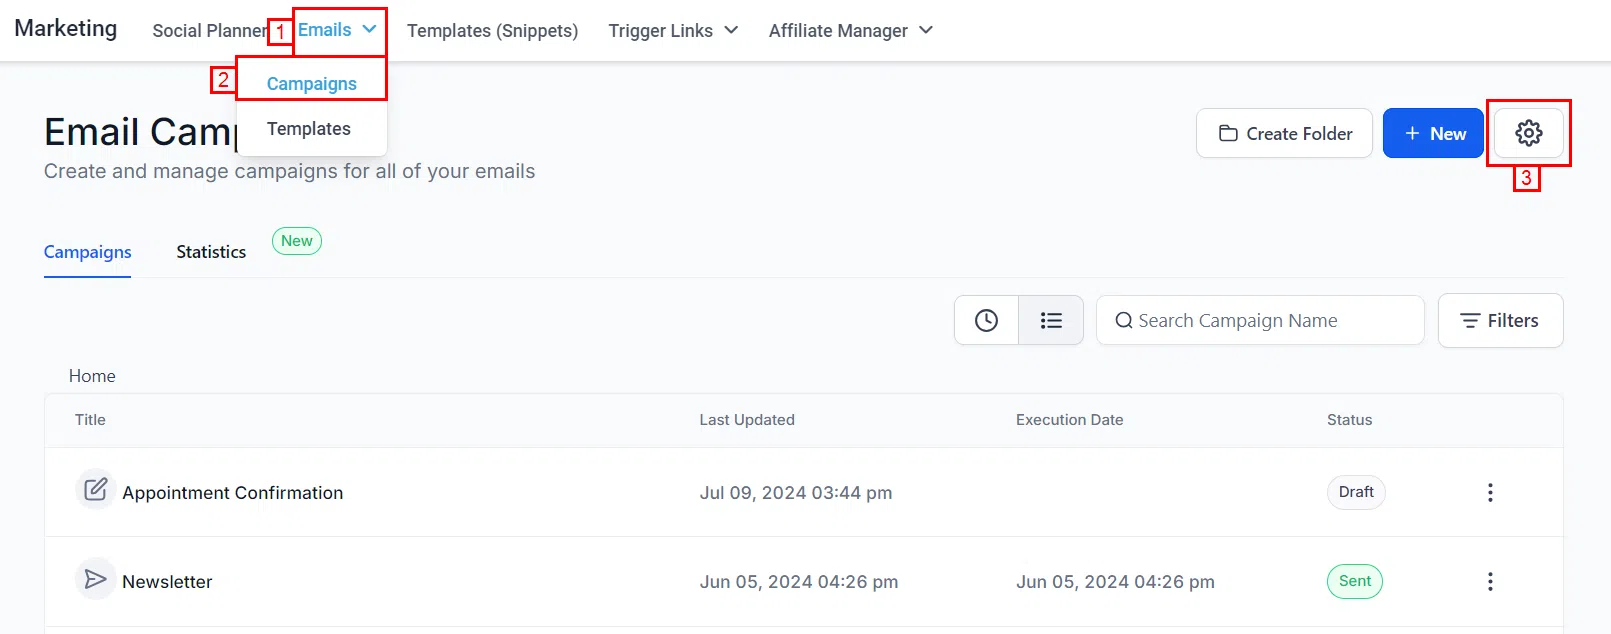
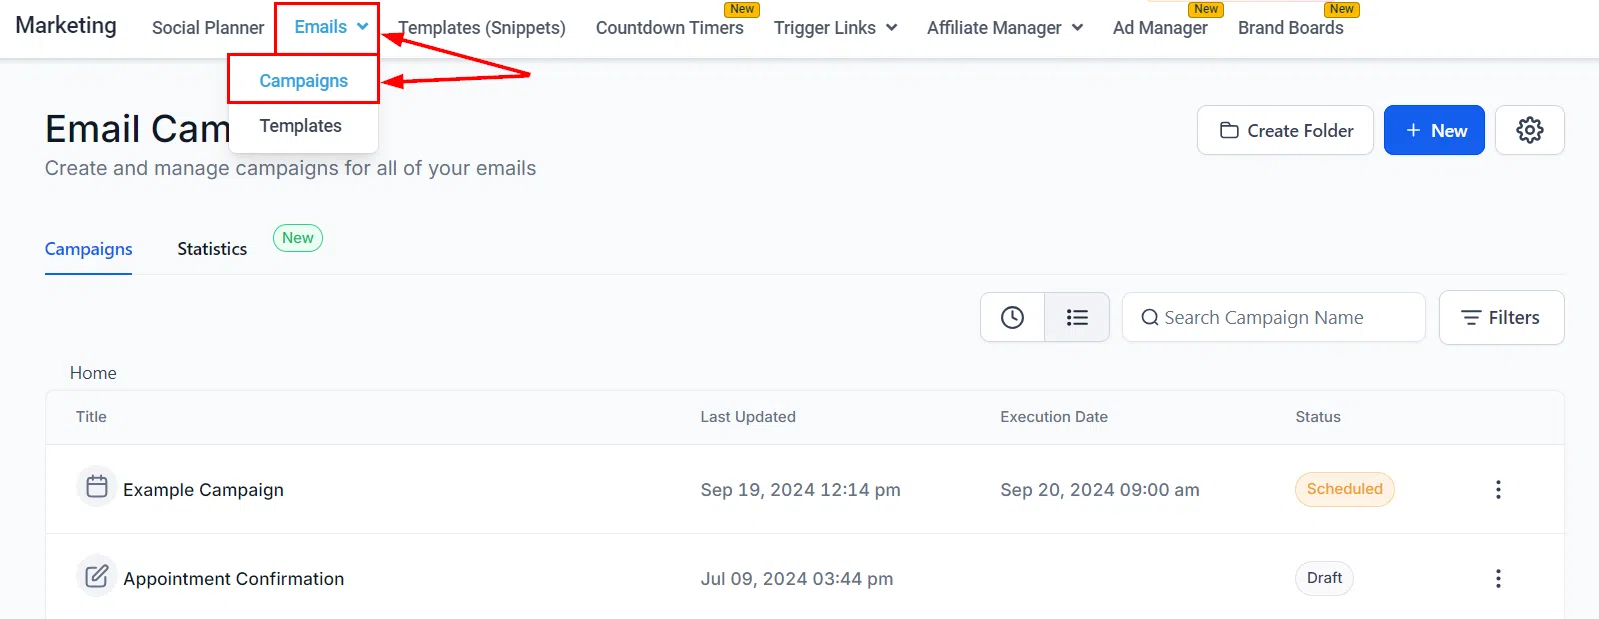
Access the default campaign settings by navigating to Marketing > Emails > Campaigns and clicking the gear icon. Changes here apply as defaults to all future campaigns, though individual campaigns can override these settings as needed.
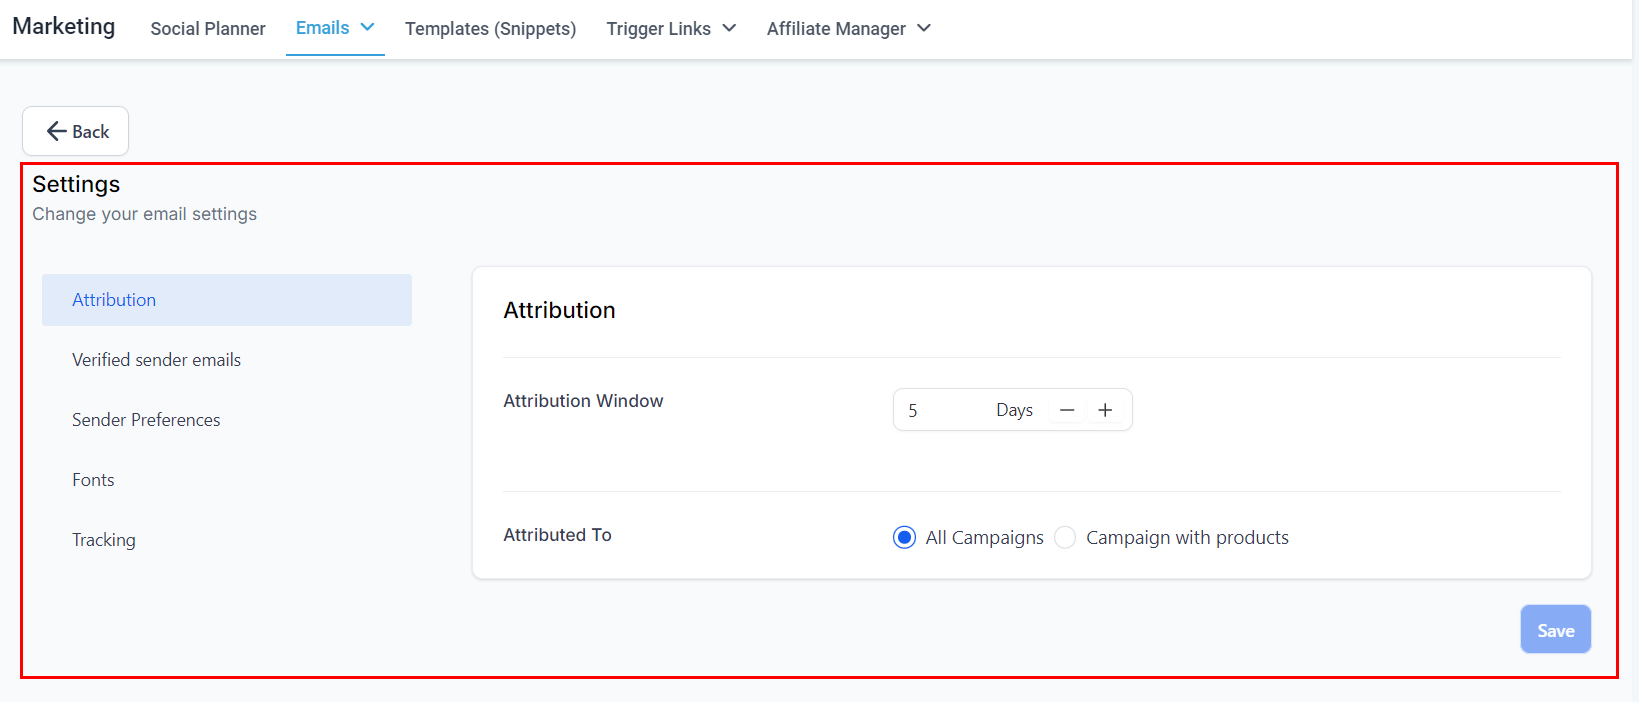
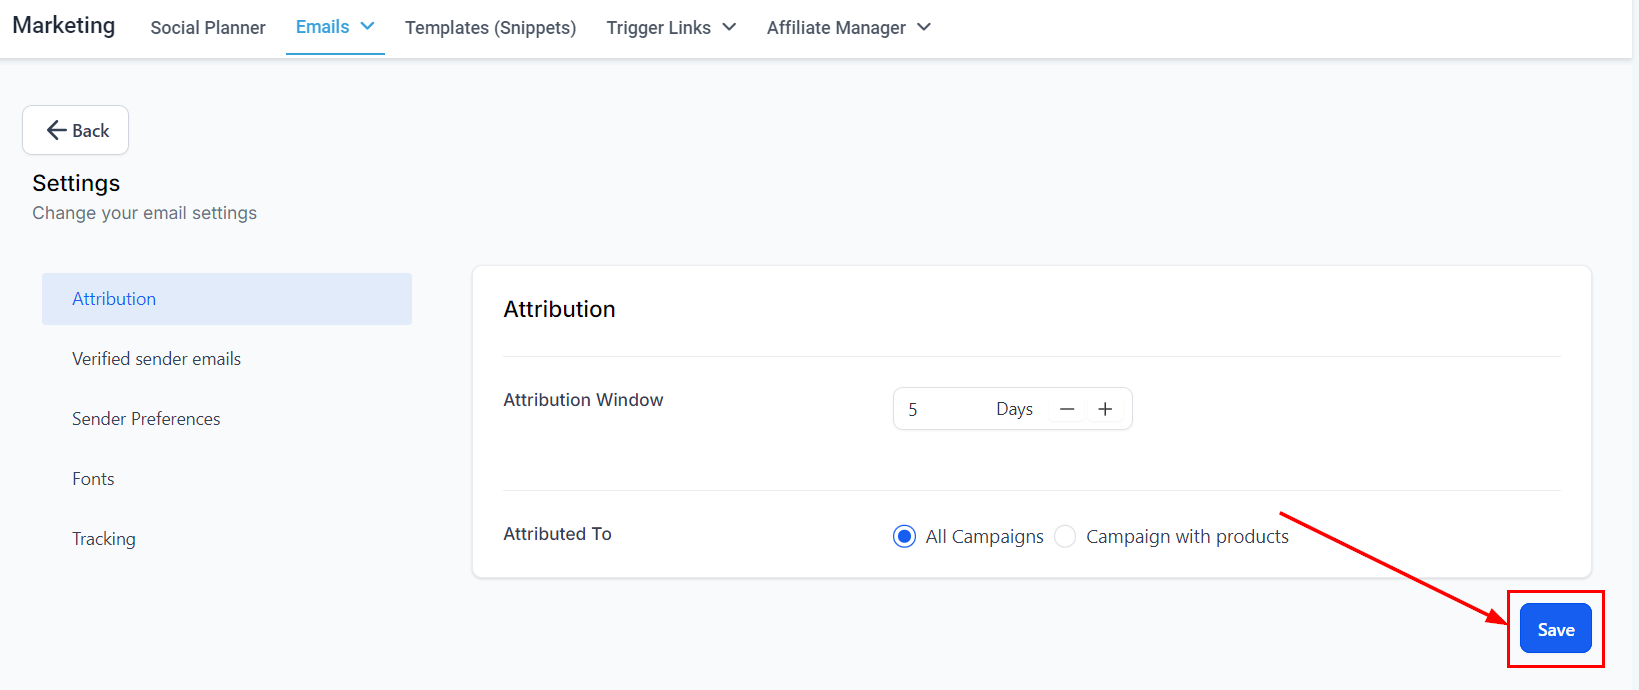
Attribution
Attribution settings determine how Growth360 credits sales or conversions back to your campaigns.
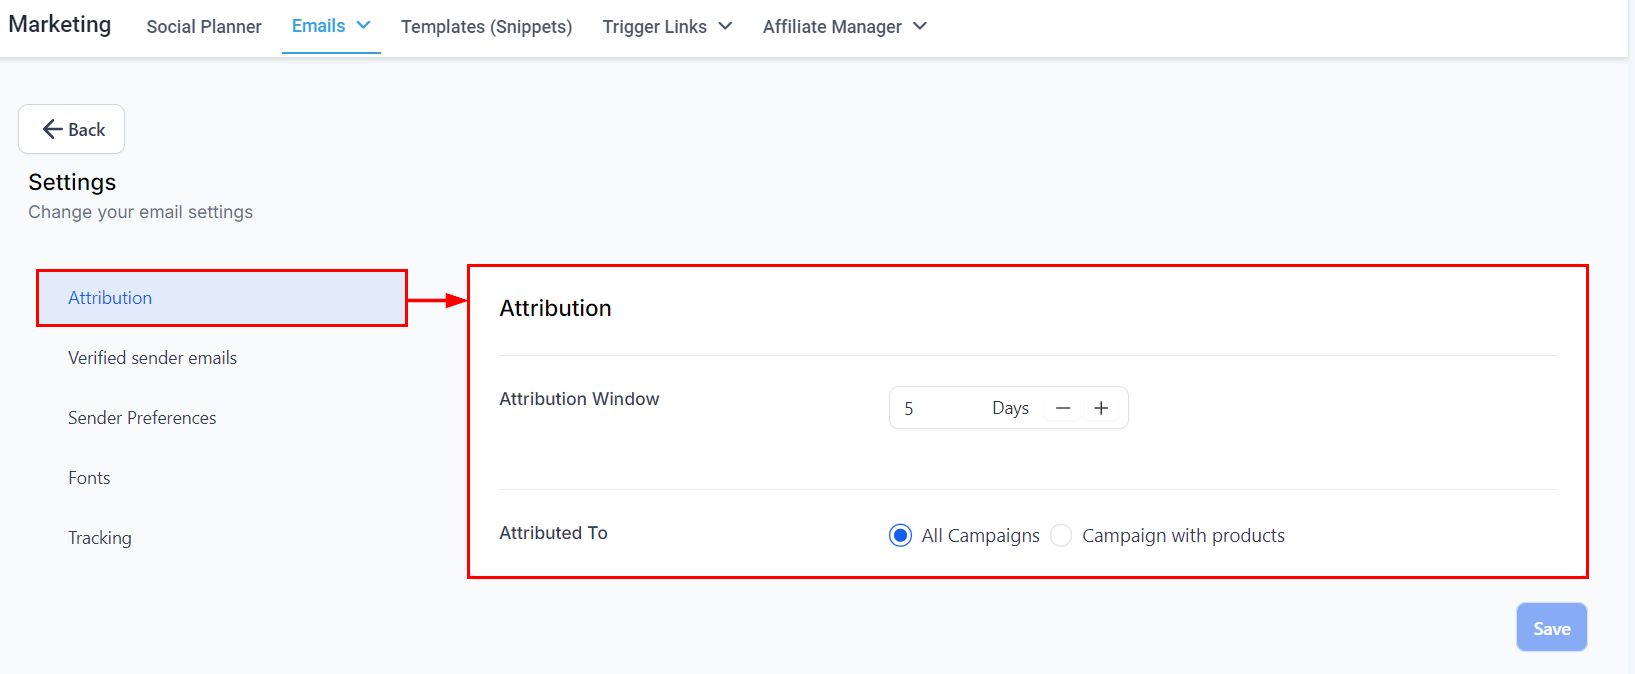
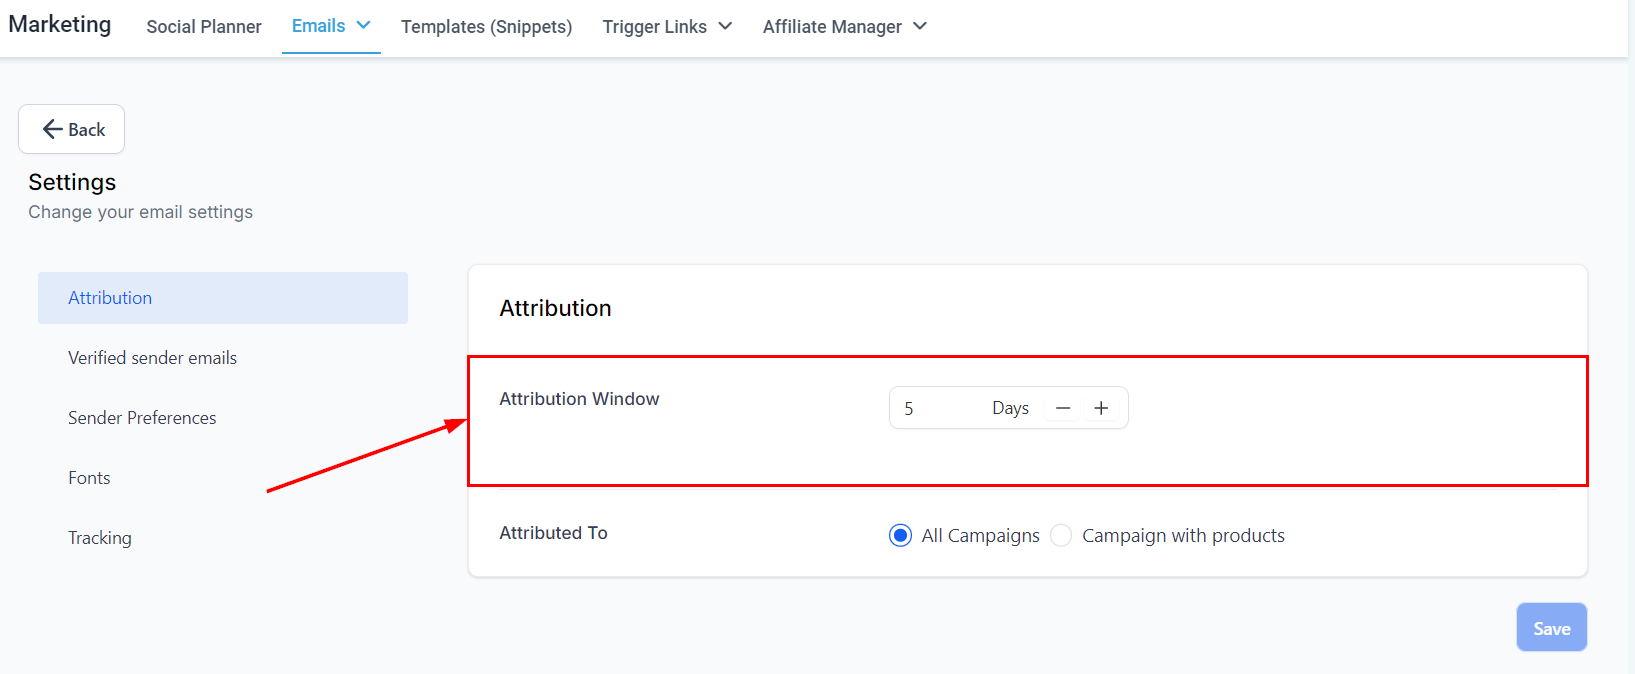
- Attribution Window: Sets the maximum number of days after a campaign send that a conversion will still be attributed to that campaign. Adjust this to match your typical sales cycle.
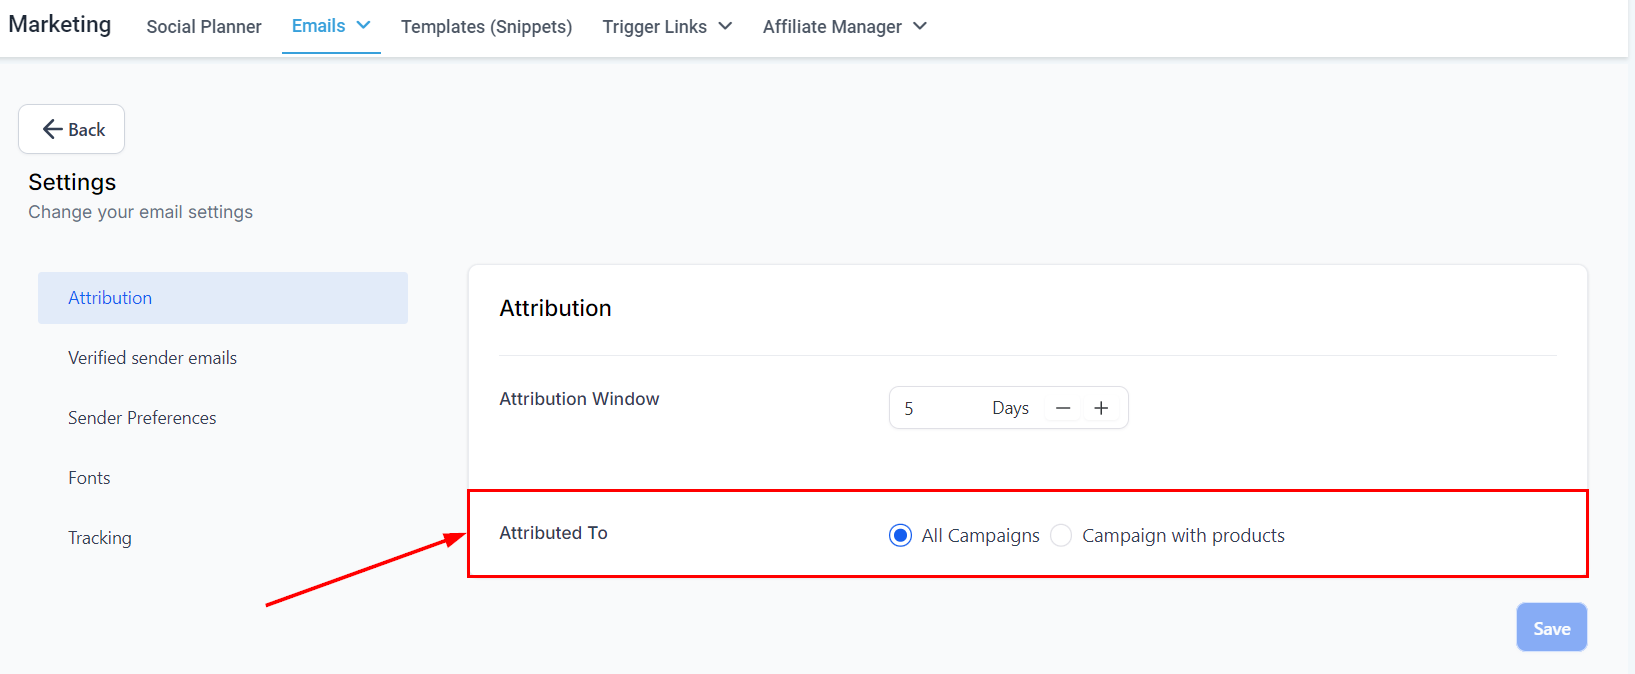
- Attributed To: Defines whether conversions are attributed to the first campaign a contact interacted with, or the most recent one.
Sender Preferences
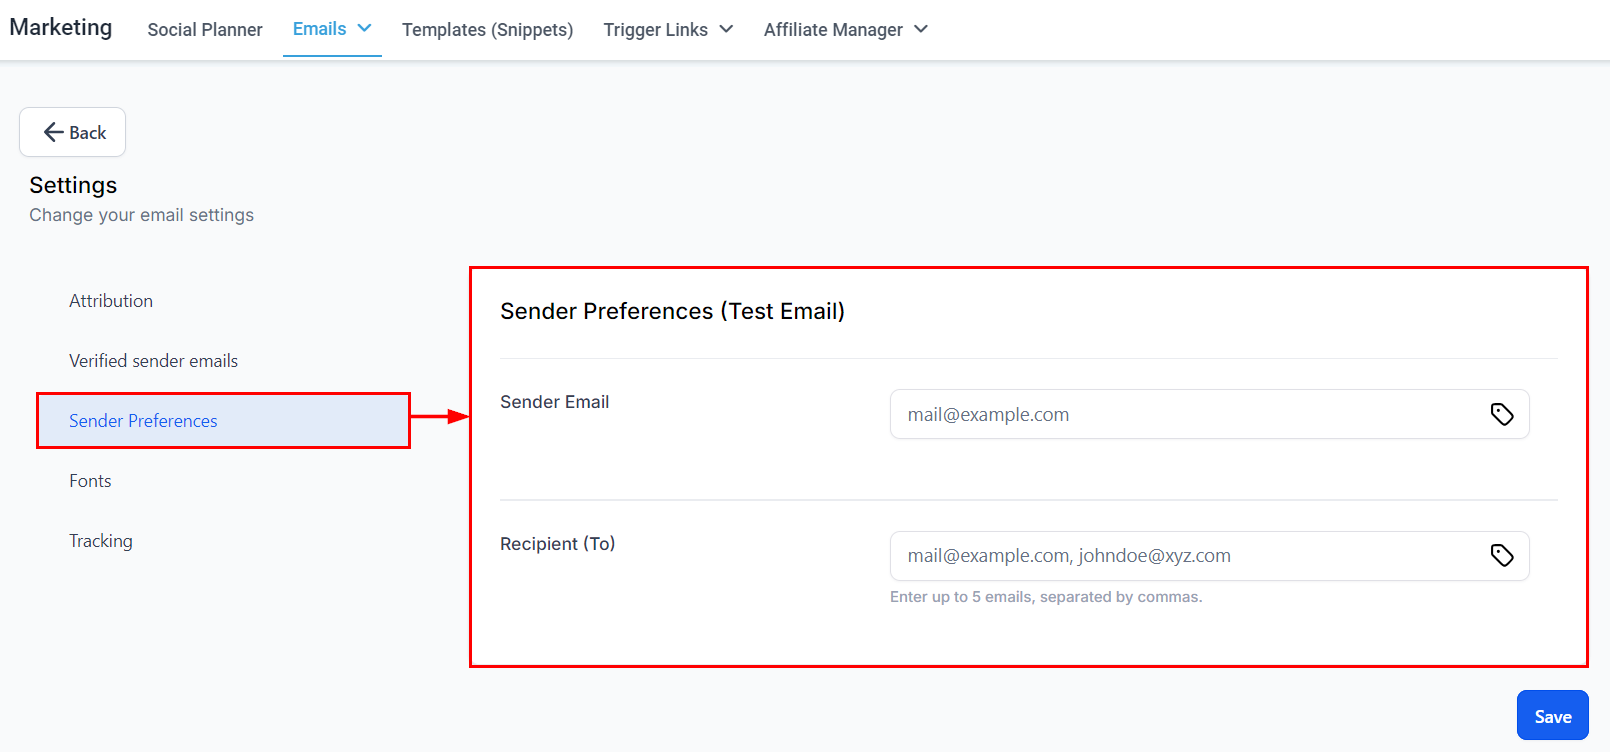
Configure the default sender details used across your campaigns:
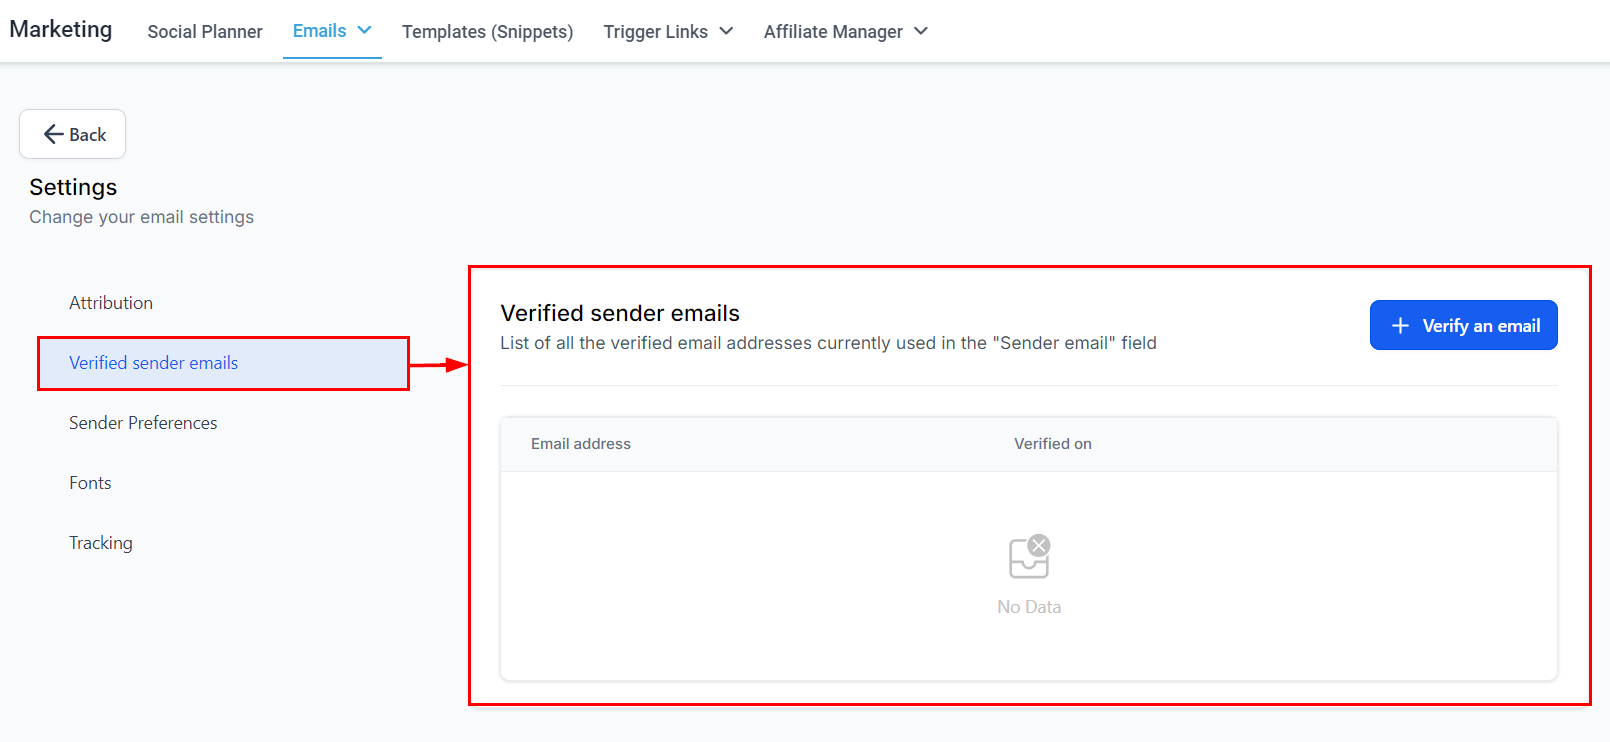
- Verified Sender Email: The verified email address campaigns send from.
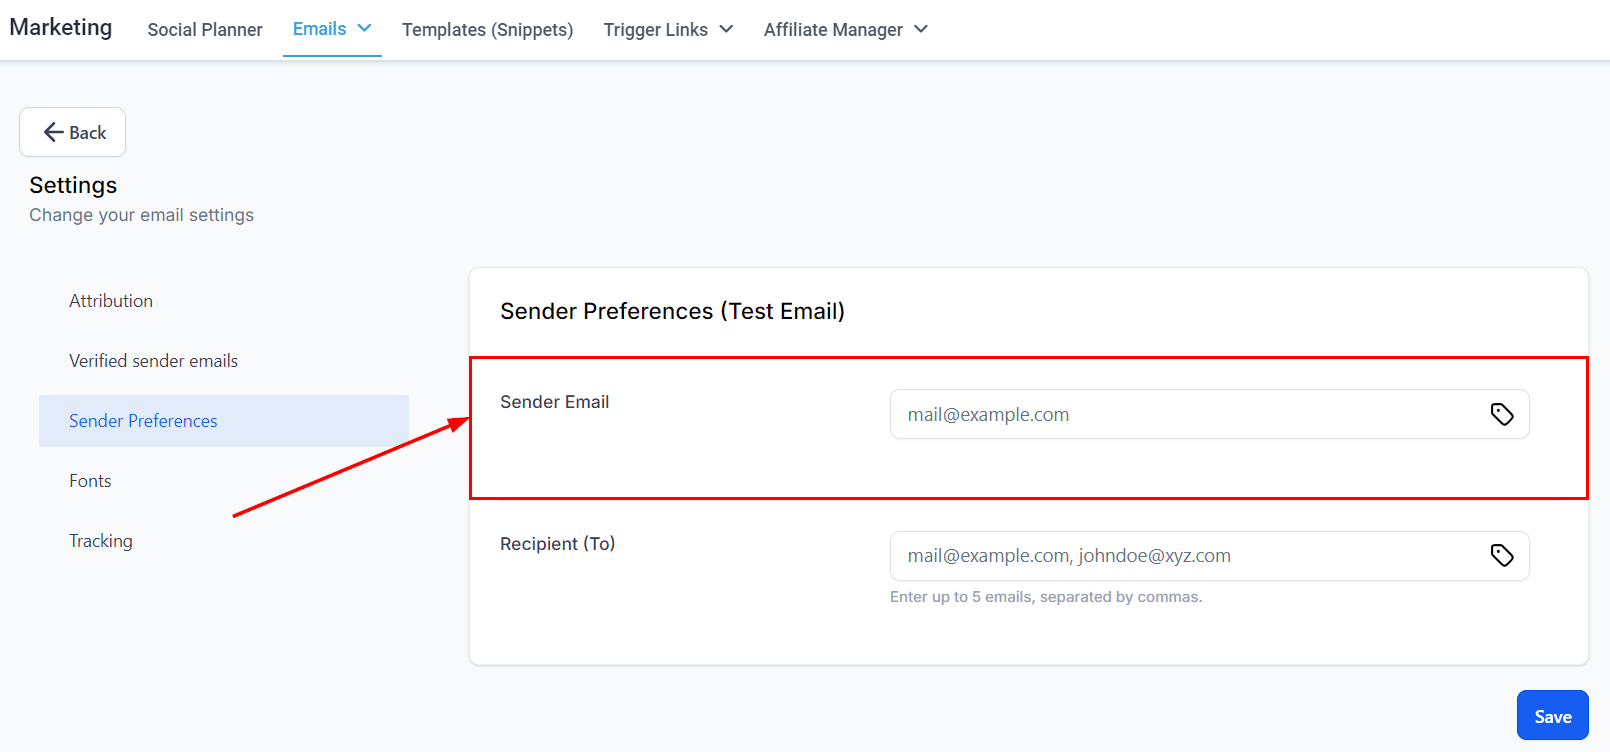
- Sender Email: The default sending address shown to recipients.
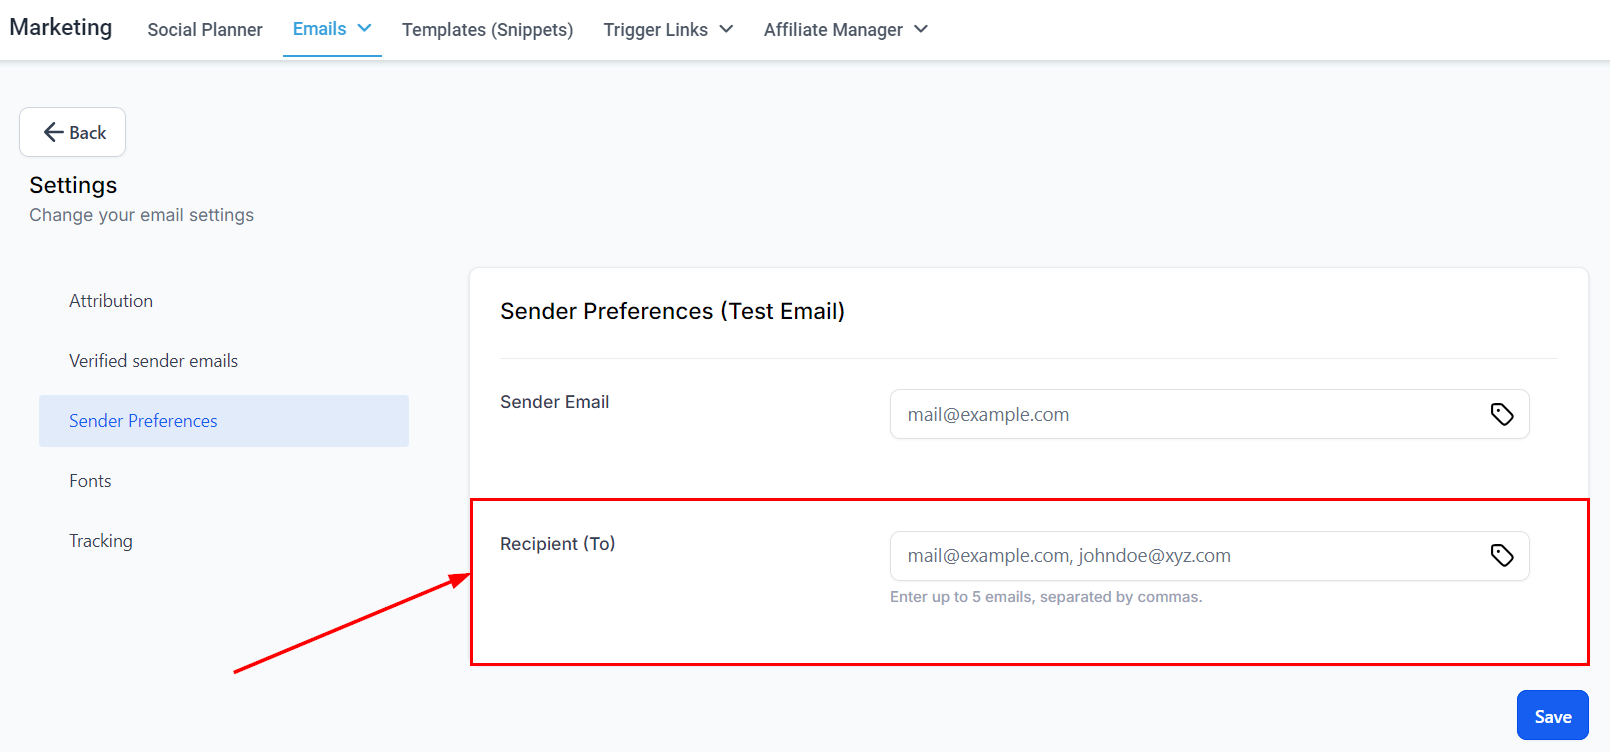
- Recipient (Test Emails): Add up to five email addresses to receive test sends. Separate addresses with commas. Custom values are also supported.
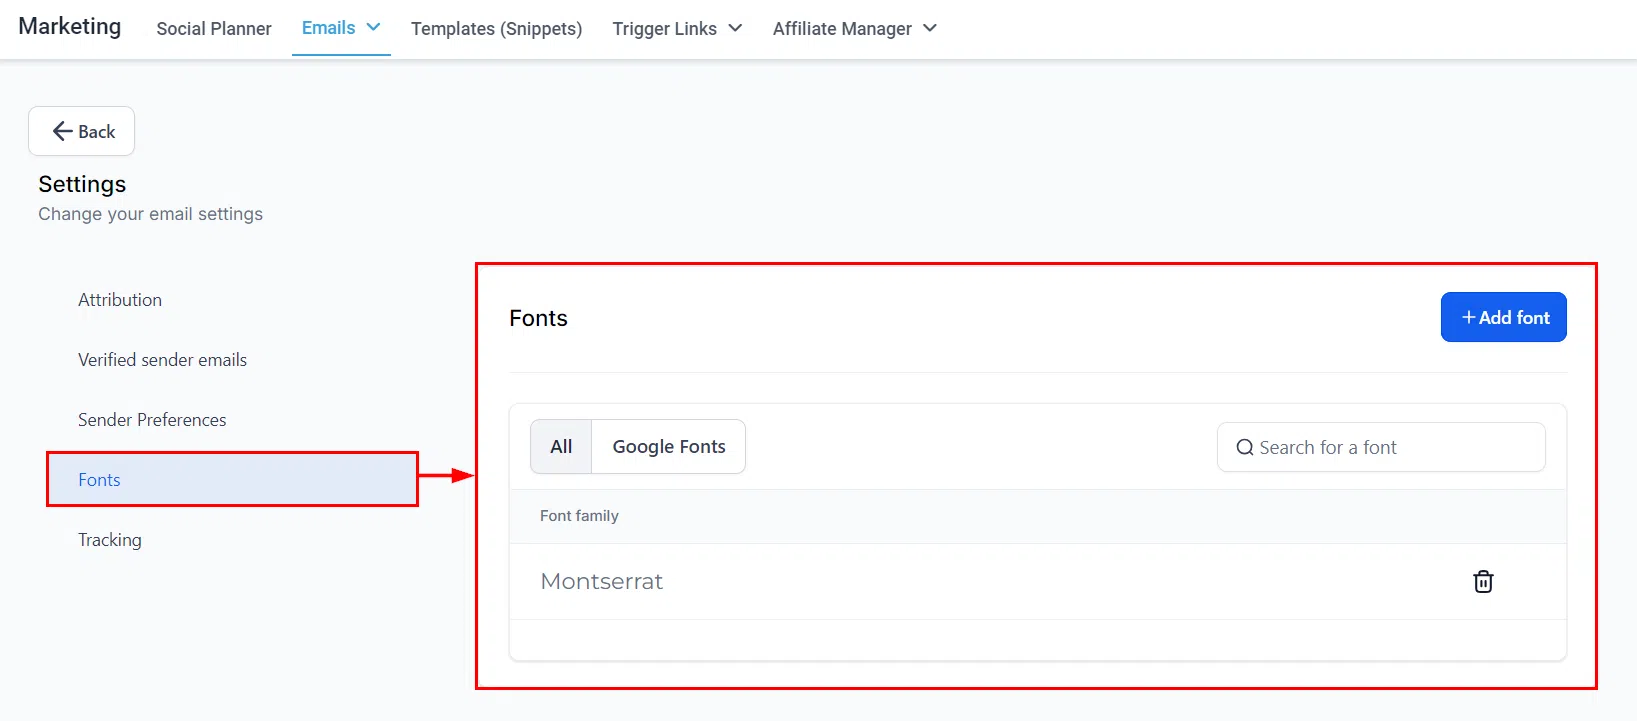
Fonts
View and manage your Google Fonts library here. Adding fonts lets you further personalise your emails and better align them with your brand identity.
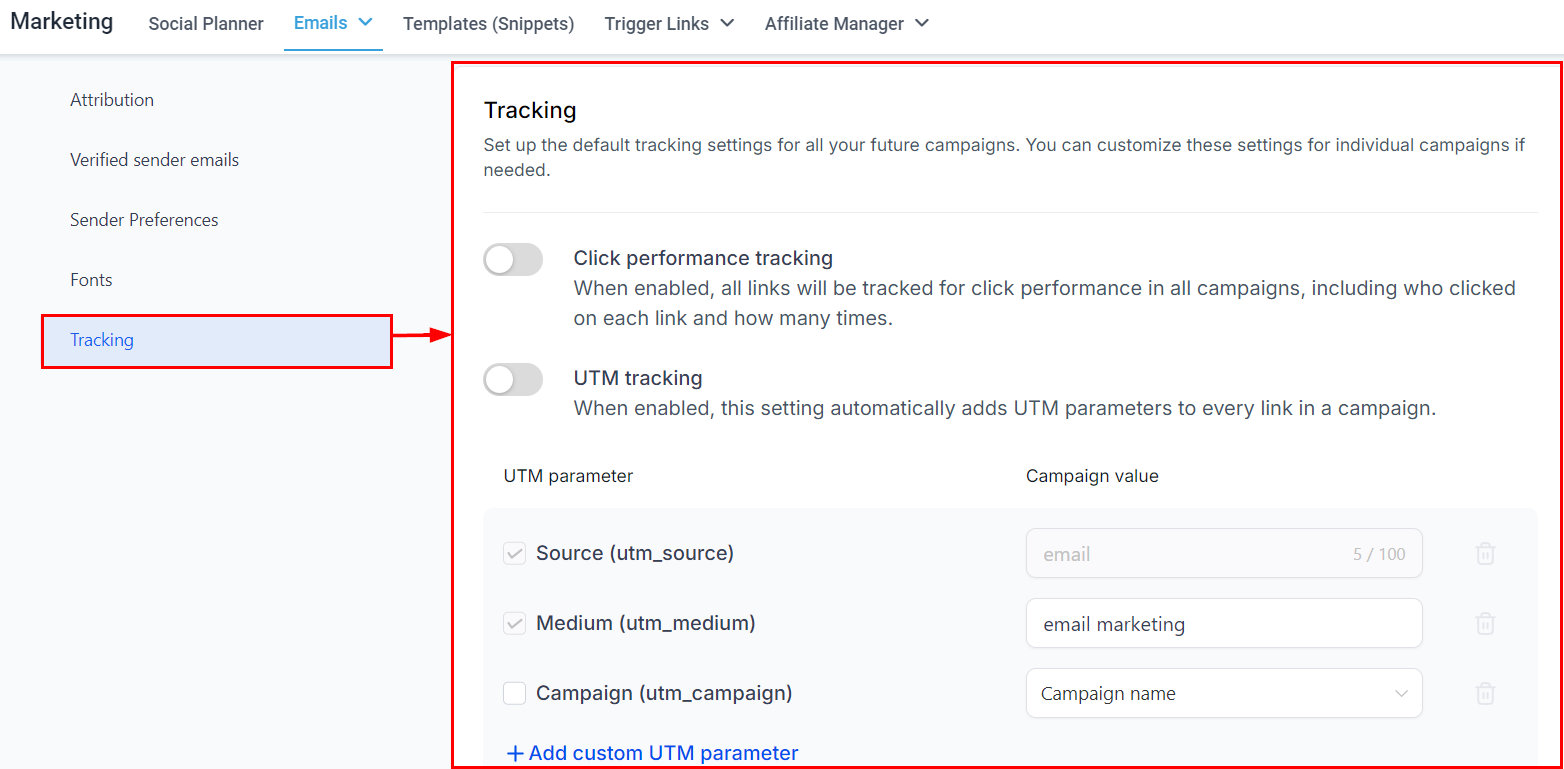
Tracking
Set the default tracking behaviour for all future campaigns. These can be adjusted per campaign when needed.
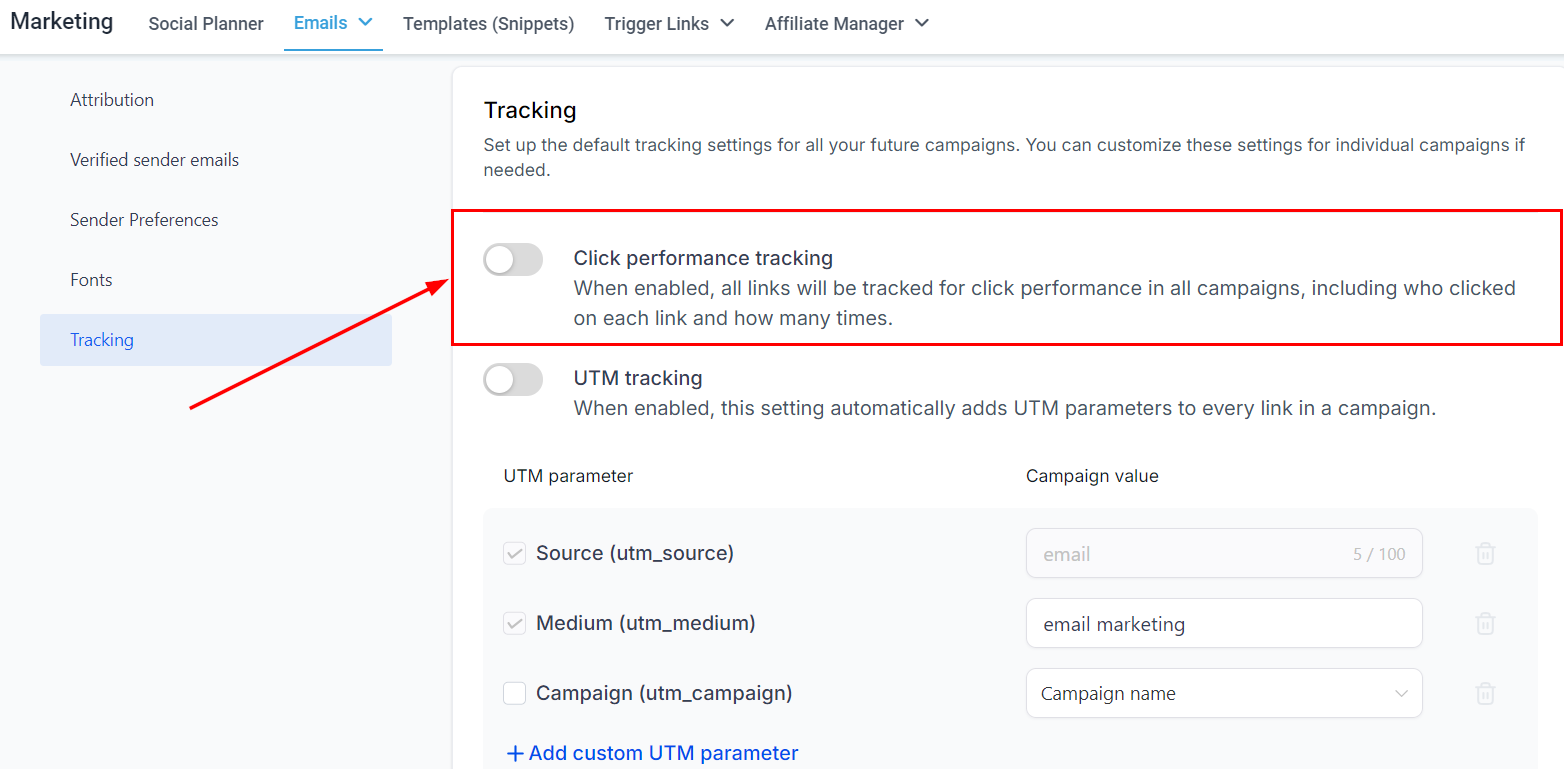
- Click Performance Tracking: When enabled, all links in your campaigns are tracked – including who clicked each link and how many times.
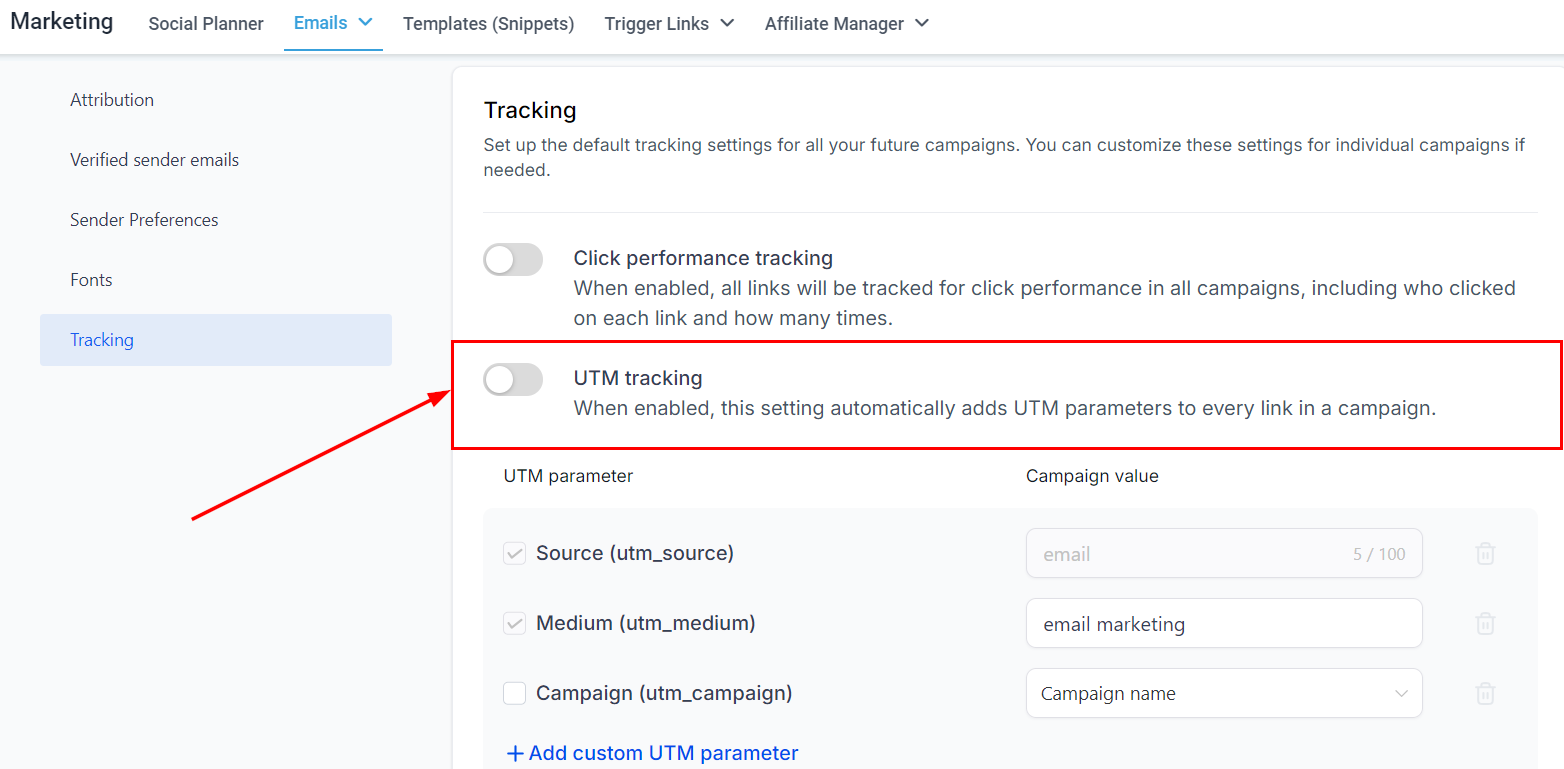
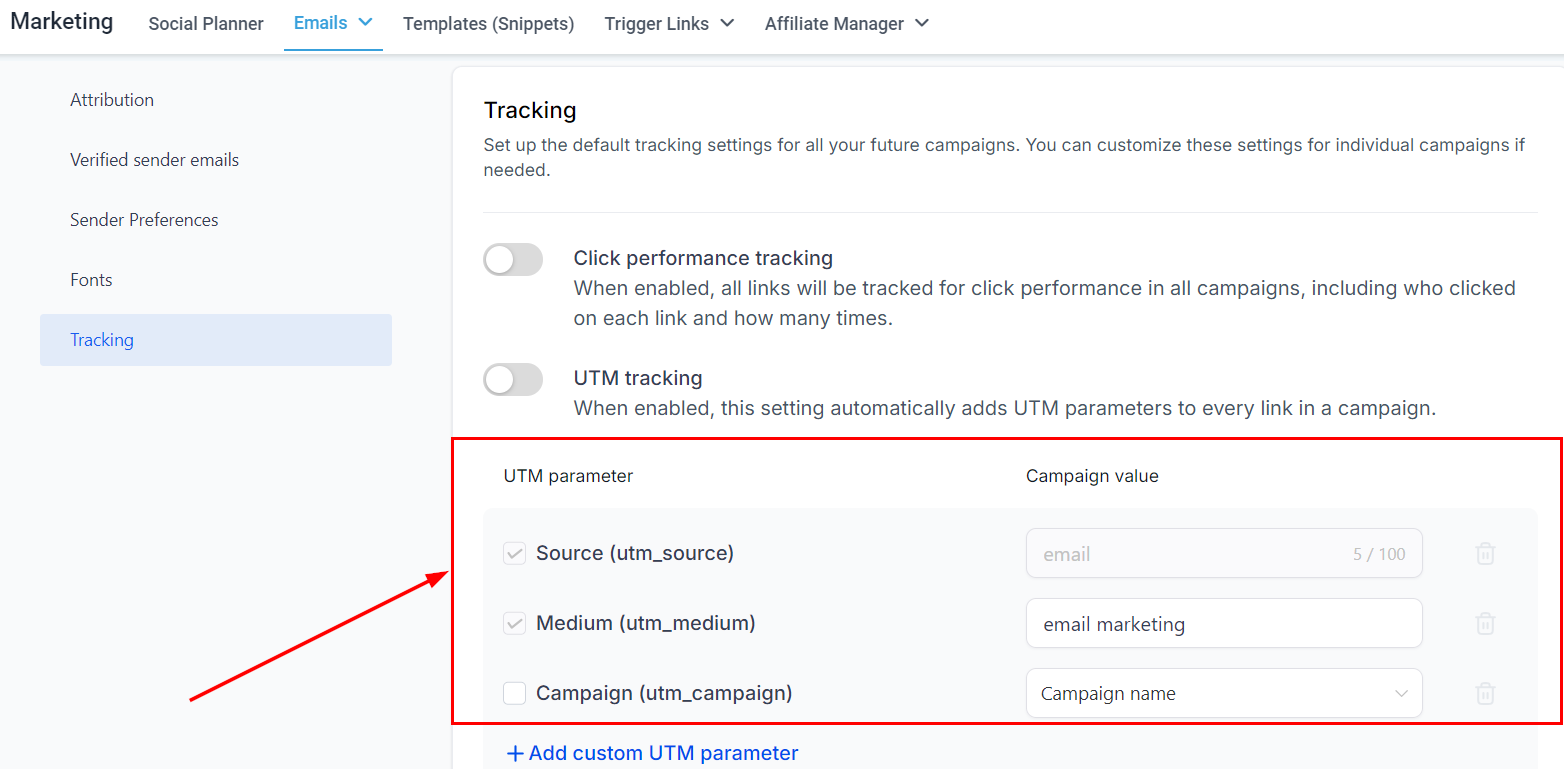
- UTM Tracking: Automatically adds UTM parameters to every link in a campaign, enabling analytics tools like Google Analytics to attribute traffic correctly.
UTM Parameters
Customise the UTM parameters added to your campaign links. Growth360 allows you to add additional parameters beyond the defaults to suit your tracking requirements.
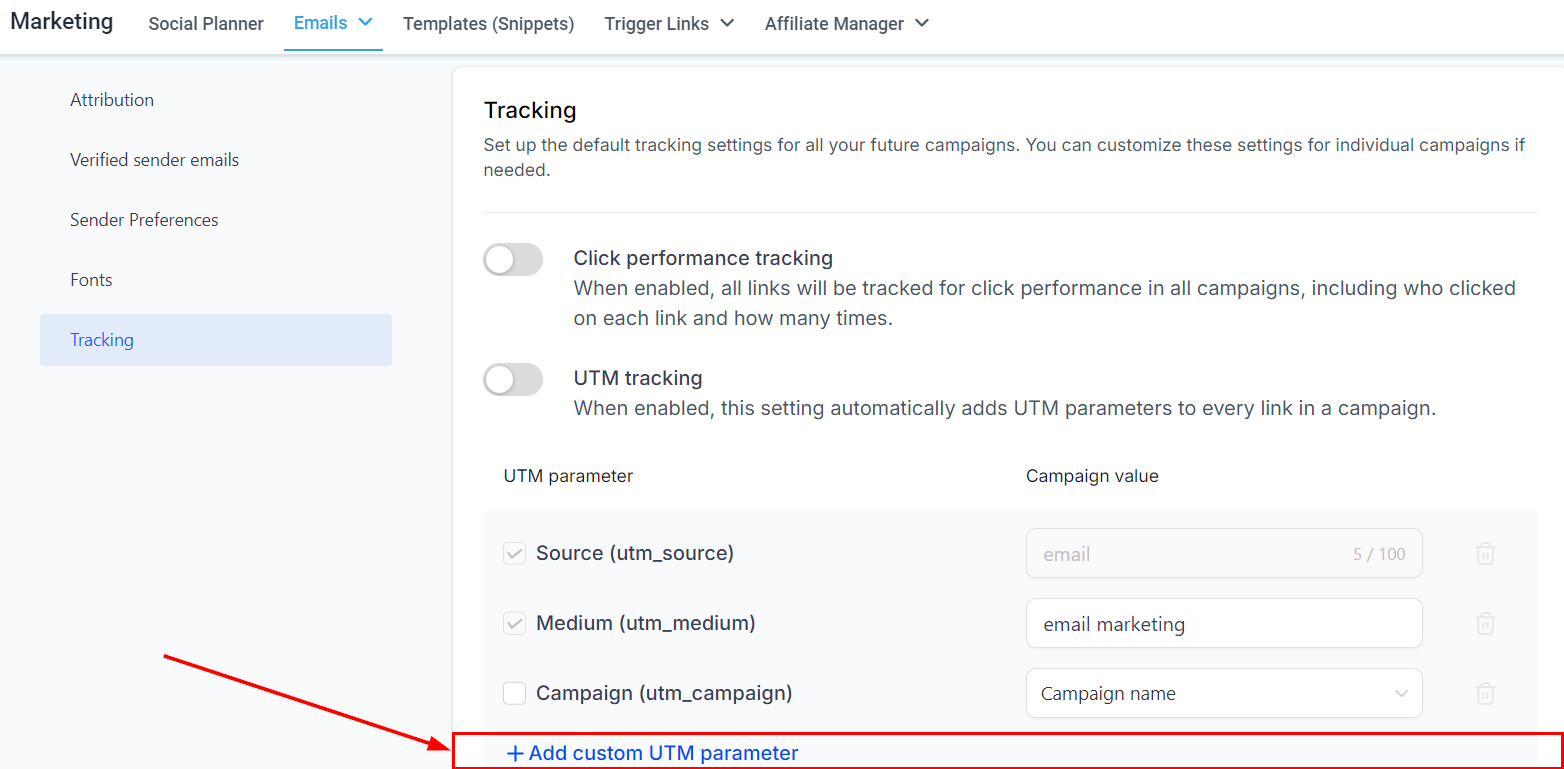
Once you’ve made your changes, click Save to apply the new defaults.
Pausing or Cancelling a Campaign
You can pause or cancel any scheduled email campaign – including A/B tests, batch schedules, and RSS campaigns – at any time before it sends. This gives you flexibility to make corrections or stop a campaign from going out.
How to Pause or Cancel
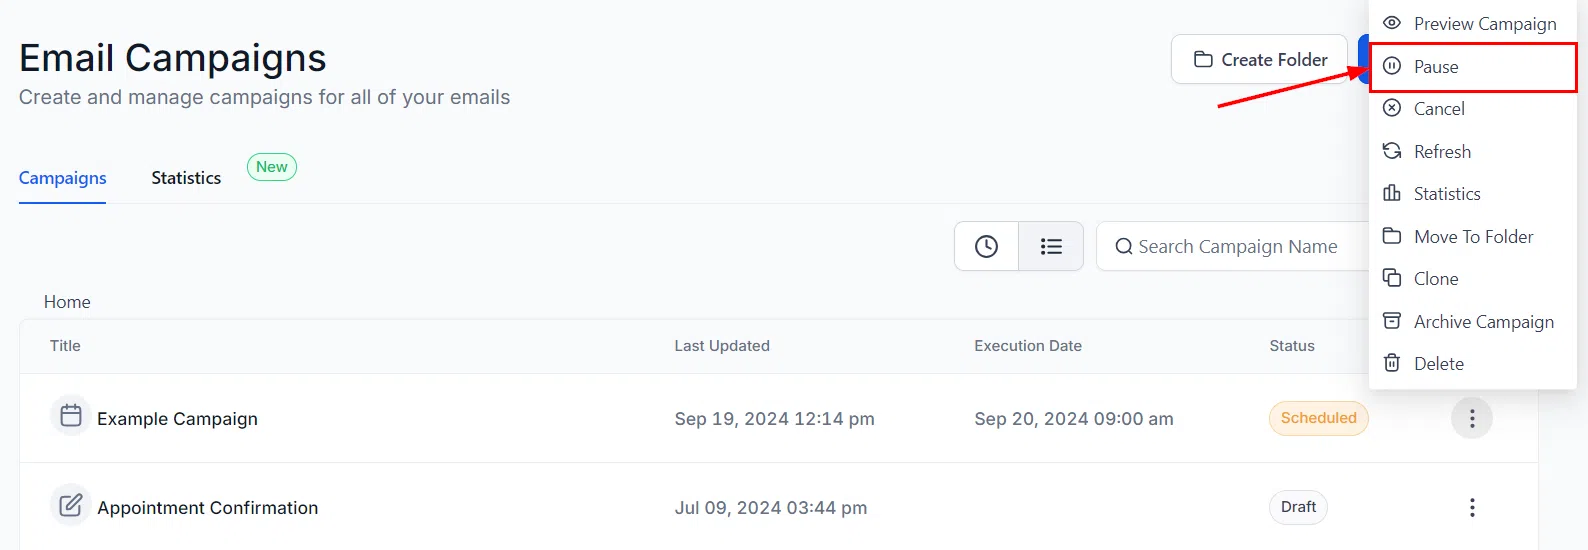
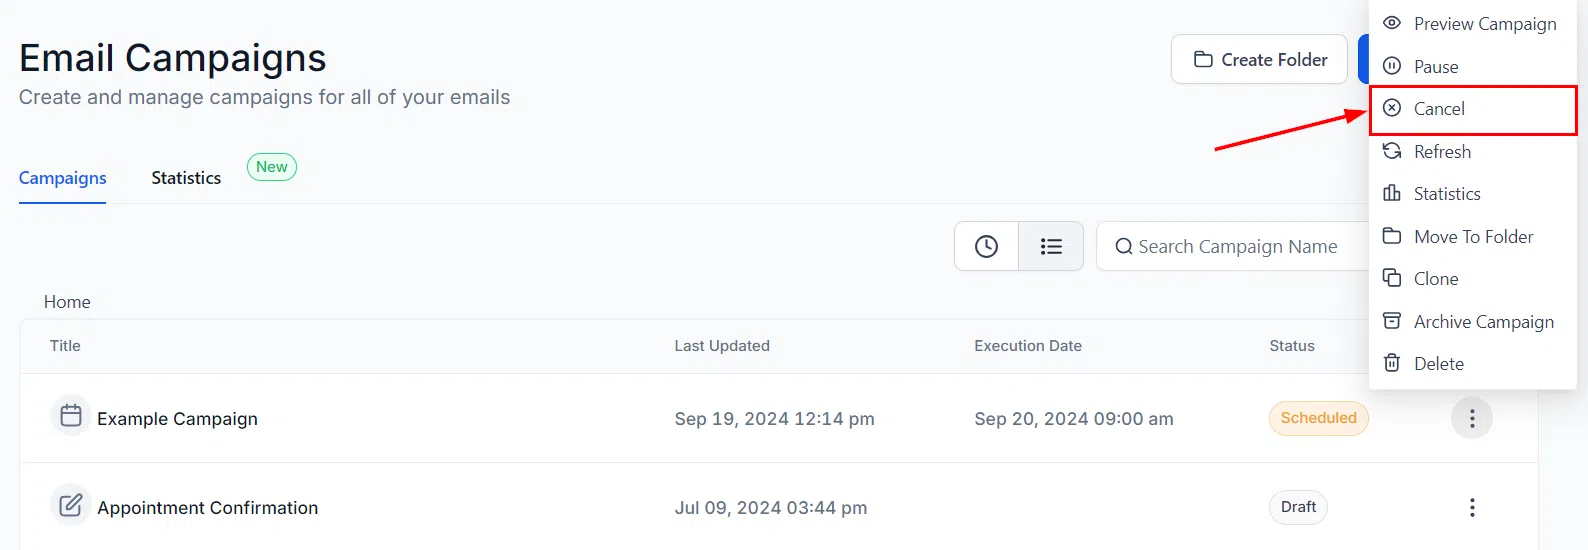
Go to Marketing > Emails > Campaigns and find the campaign under the Scheduled status. Click the three-dot menu icon next to it, then choose your action:
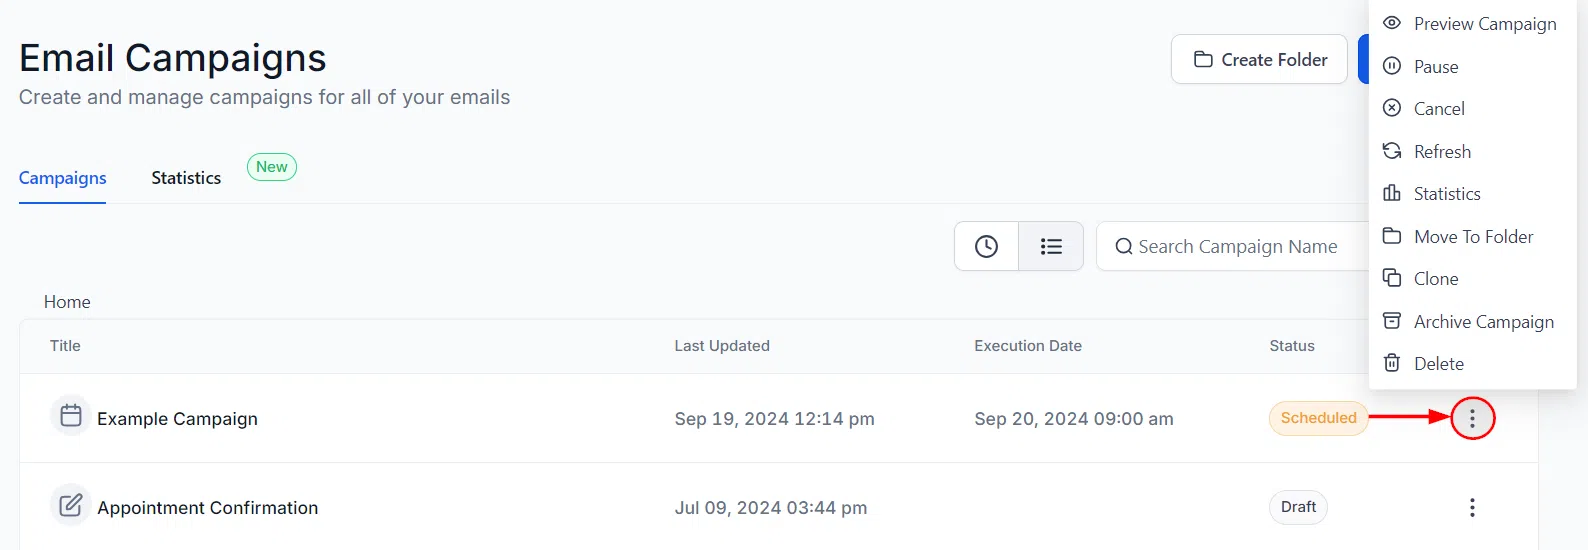
- Pause: Temporarily stops the campaign. If you resume it after the originally scheduled time, it sends immediately. If you resume it before the scheduled time, it sends as originally planned.
- Cancel: Permanently stops the campaign and prevents all future sends – including any remaining batches or RSS sends.