RSS campaigns in Growth360 let you automatically email subscribers with your latest blog or feed content on a daily, weekly, or monthly schedule – without sending a separate campaign for every post.
What is an RSS Email Campaign?
RSS (Really Simple Syndication) lets Growth360 pull content from your website’s RSS feed and deliver it to subscribers as a regular email digest. Instead of manually sending a campaign each time you publish a new post, RSS campaigns automate the process – subscribers receive a summary of recent content at the frequency you set.
Before You Begin
Before creating an RSS campaign, make sure you have:
- An email template: Design your campaign layout in the Email Builder first. You’ll select this template during setup.
- Your RSS Feed URL: This is typically your website URL followed by
/feed(e.g. yoursite.com.au/feed). Check your website settings if you’re unsure. - Your contact list or Smart List: Know which contacts you want to send to.
Creating an RSS Campaign
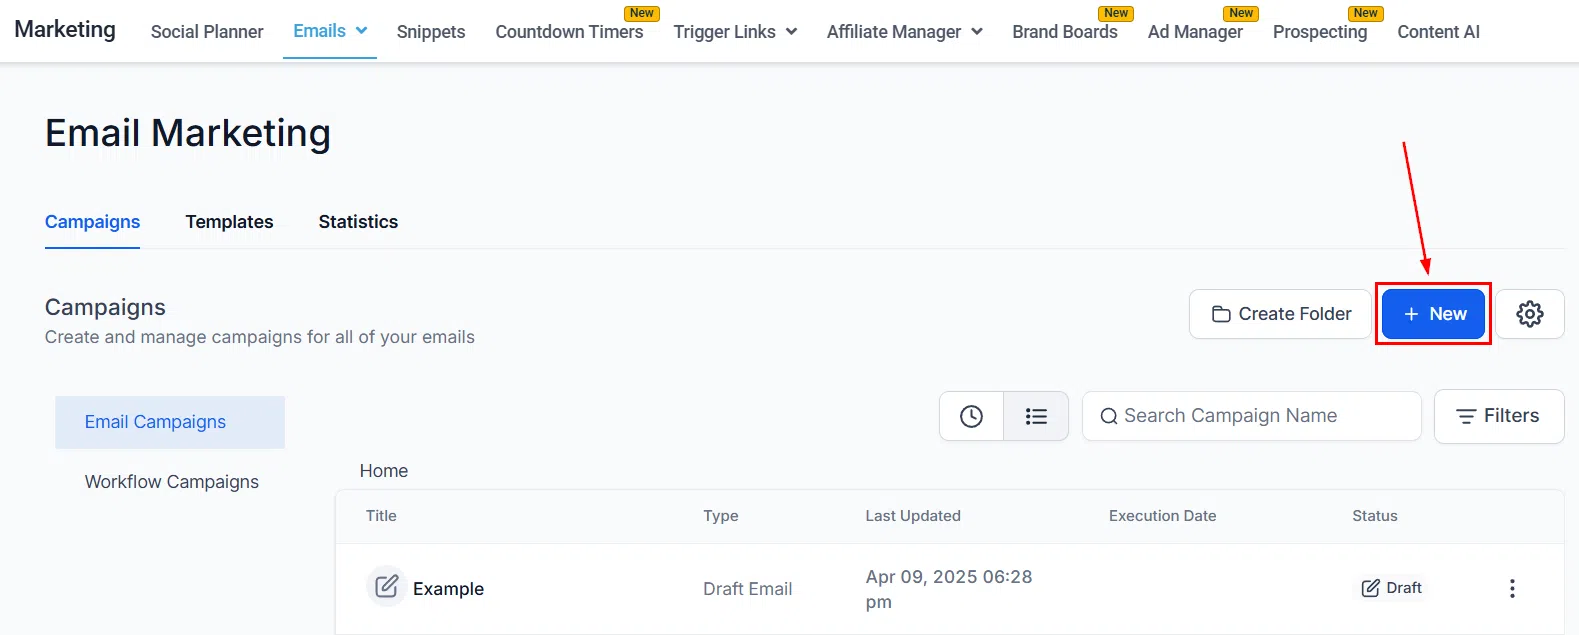
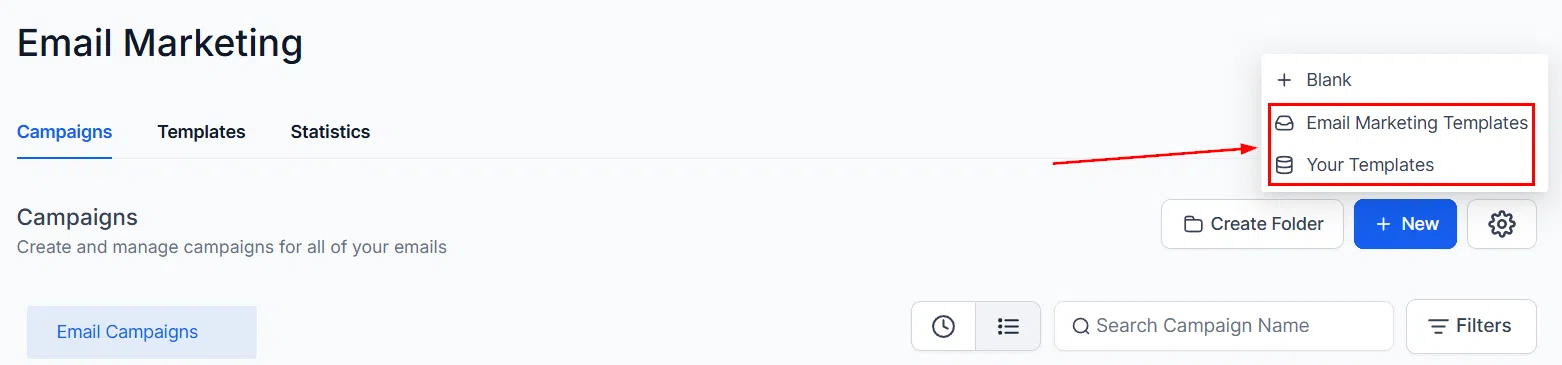
Navigate to Marketing > Emails > Campaigns and click + New. Choose the RSS campaign type to get started.
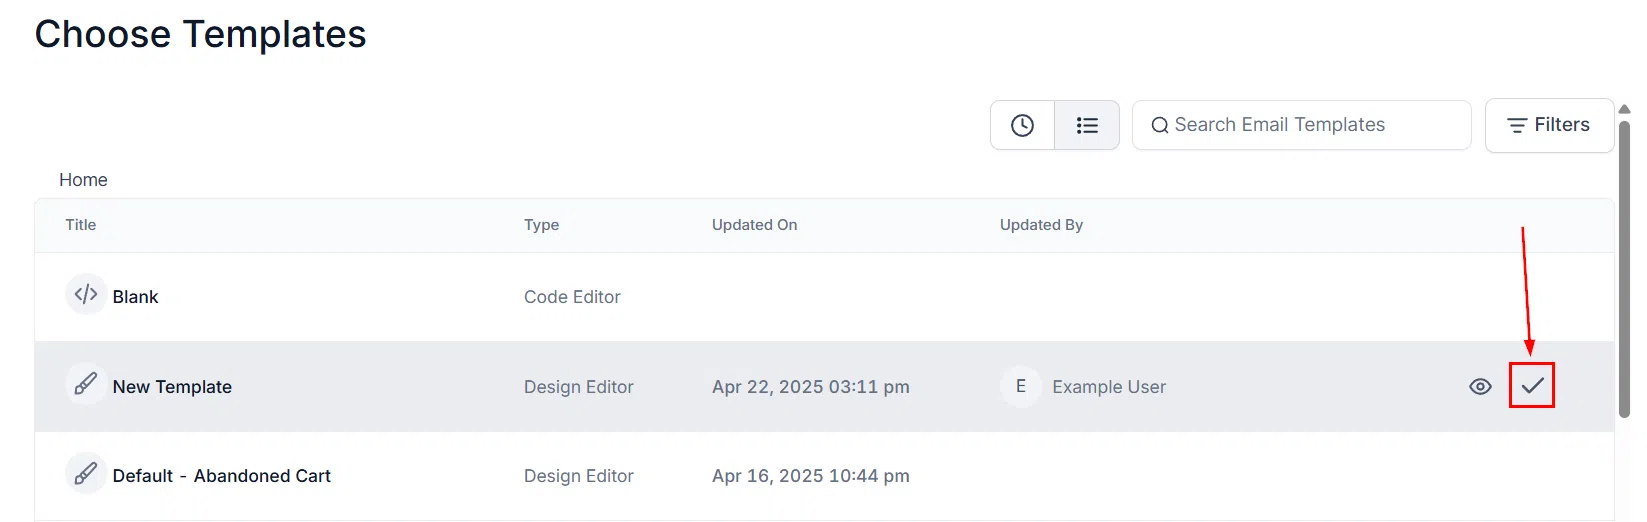
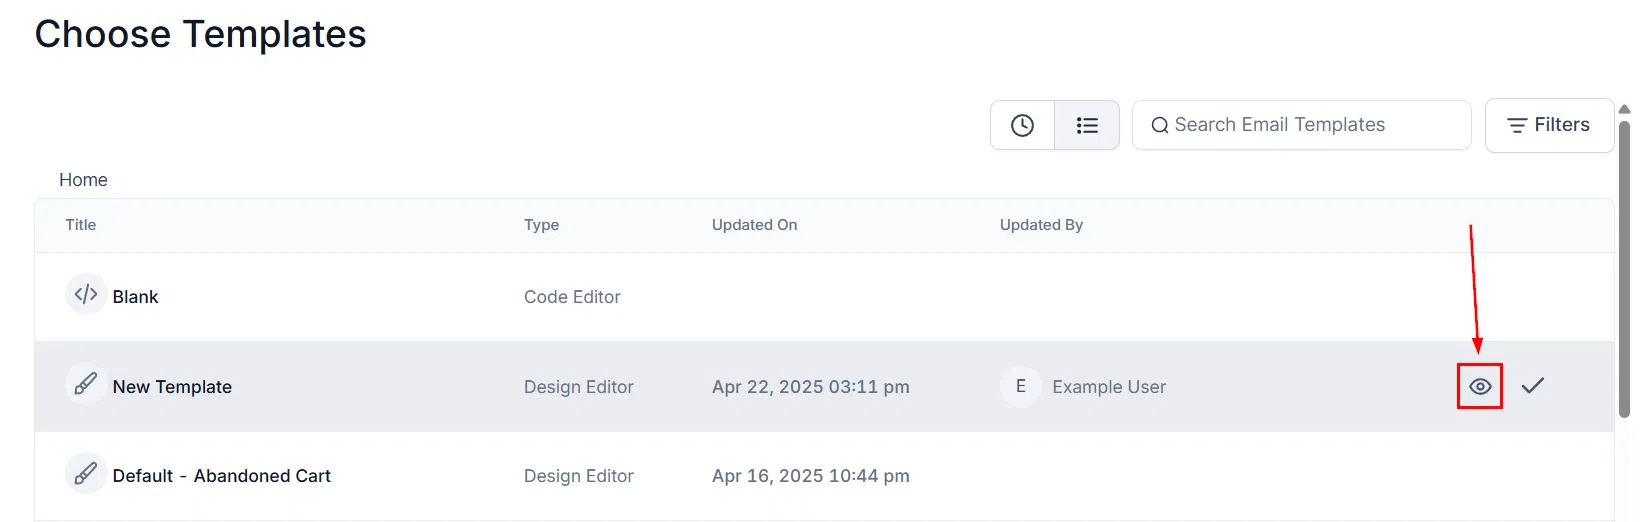
Step 1: Select Your Template
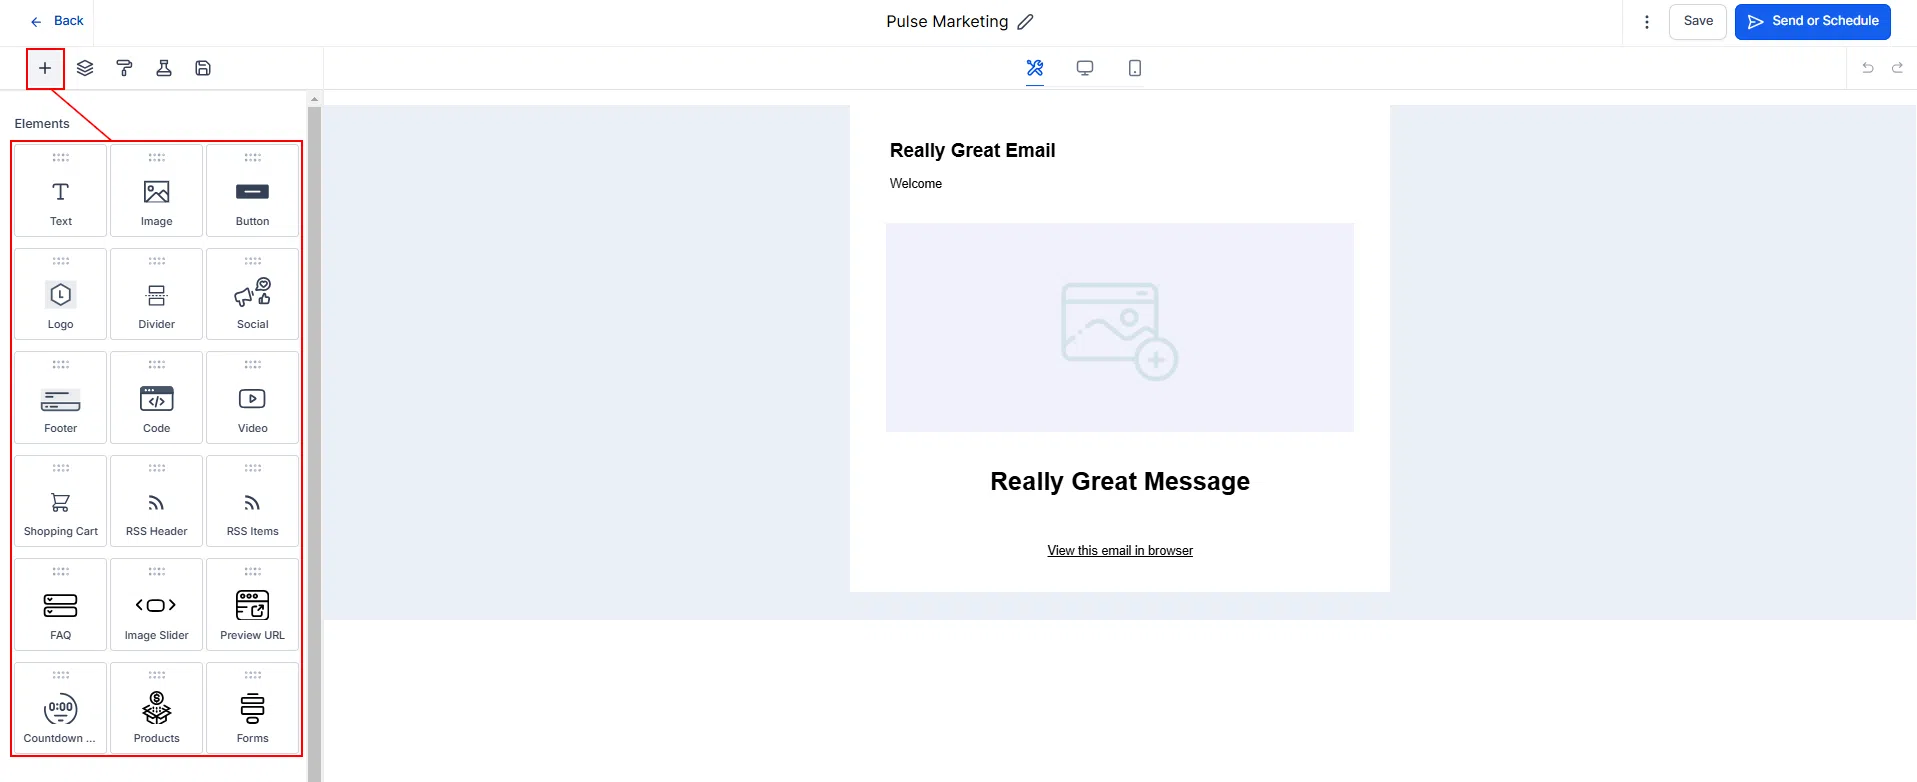
Choose an existing email template for the campaign. Use the eye icon to preview a template before selecting it. Once selected, enter the Email Builder to design your content and add any necessary elements.
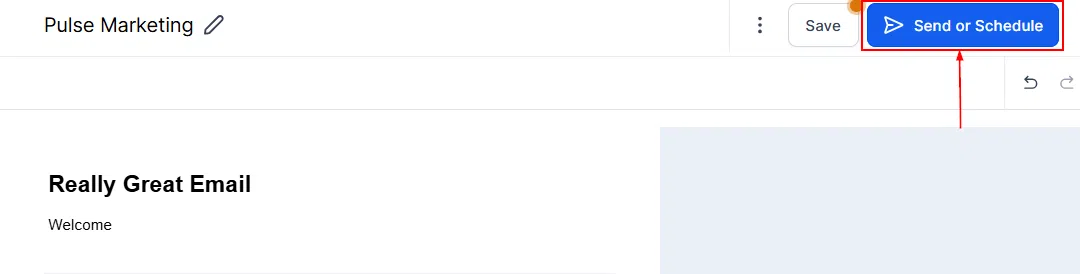
Step 2: Send or Schedule
After designing your email, click Send or Schedule to move to the delivery settings.
RSS Schedule Settings
The scheduling screen is where you configure how and when your RSS campaign runs.
RSS Feed URL
Enter your website’s RSS feed URL. This is the source Growth360 pulls content from when building each email send.
Delivery Frequency
Choose how often the campaign sends:
- Daily: Sends once per day on your chosen days.
- Weekly: Sends once per week on a nominated day.
- Monthly: Sends on the last day of the month, automatically adjusting for months with different day counts (28, 29, 30, or 31 days).
Time and Send-On Days
Set the time of day for the campaign to send. You can schedule and send on the same day. Use the Send On checkboxes to exclude specific days of the week – uncheck any days you don’t want the campaign to run. The helper text updates to reflect your chosen execution days and clears when no days are selected.
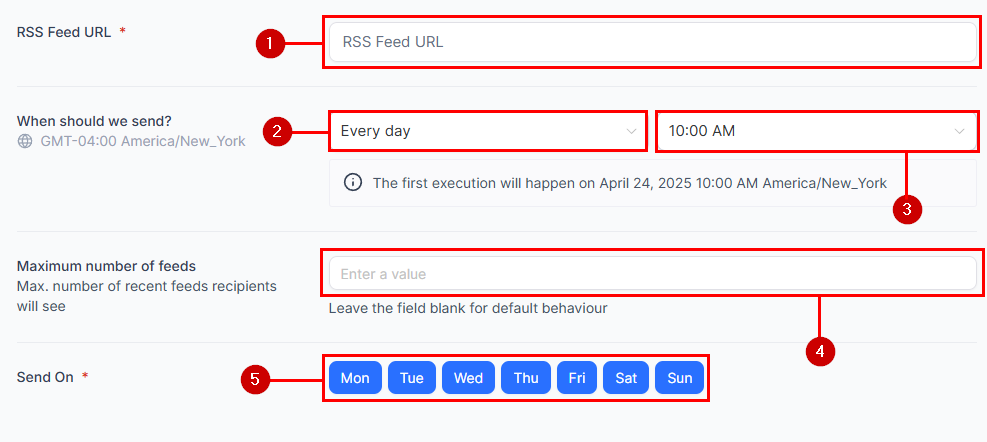
Maximum Number of Feeds
Set a limit on the number of feed items included per send to avoid overwhelming subscribers with too much content at once.
Sender Details and Subject Line
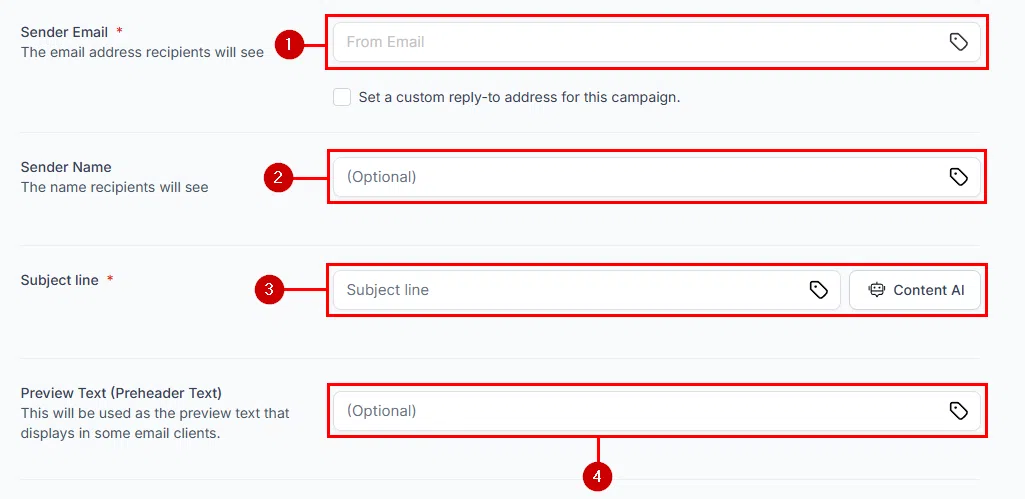
Add the sender email address, sender name, and subject line for the campaign. You can also add preview text – the short snippet of text displayed before a recipient opens the email.
Selecting Your Contacts
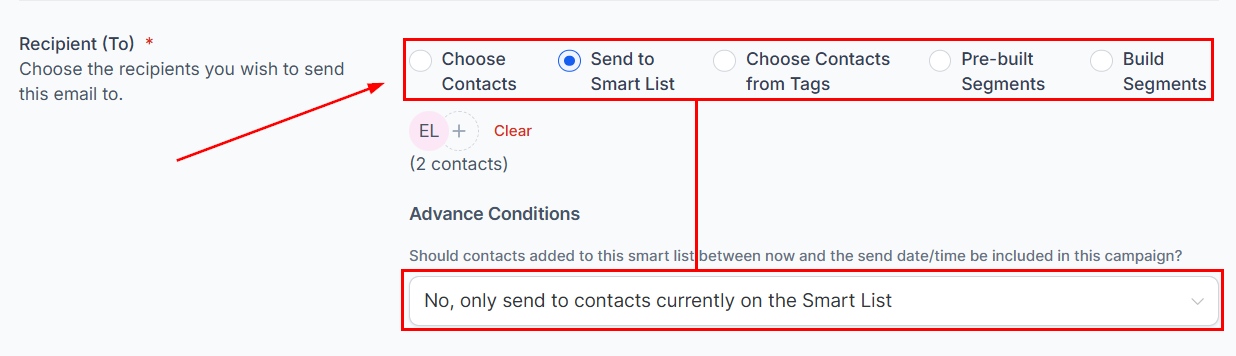
Choose the contacts you want to send to. If you’re sending to a Smart List or Tag, you can choose to limit the send to only the contacts currently in that list, or include any new contacts added to the system before the scheduled send date and time.
Additional Options
UTM Tracking
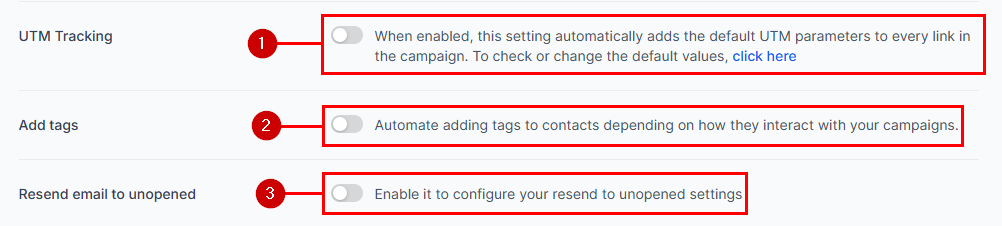
Toggle on UTM Tracking to automatically add UTM parameters to every link in the campaign. This lets you track traffic from your RSS emails in Google Analytics or similar tools.
Add Tags
Enable Add Tags to automatically apply tags to contacts based on their actions – such as clicking a link. Tags enable personalised targeting and more efficient segmentation in future campaigns.
Resend to Unopened
Use the Resend Email to Unopened option to follow up with recipients who didn’t open the original send. You can adjust the timing, monitor the resend status, or cancel it if needed.
Review and Schedule
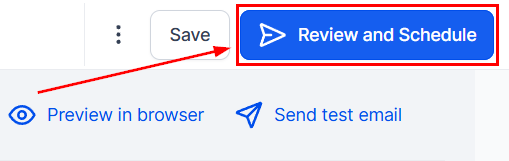
Once you’re happy with all settings, click Review and Schedule. Before confirming, verify the campaign details including the execution date, time, and time zone.
Managing an Active RSS Campaign
Once scheduled, you can manage your RSS campaign from the Campaigns list. Available options include:
- Delete: Remove the campaign entirely.
- Reschedule: Change the timing or frequency settings.
- Pause: Temporarily stop the campaign from sending without deleting it.