
You can manually schedule appointments for any contact directly from their contact record in Growth360, choosing the calendar, team member, date, time, and location.
Scheduling an Appointment
To schedule an appointment, navigate to the Contacts section from the left menu and locate the contact under Smart Lists.
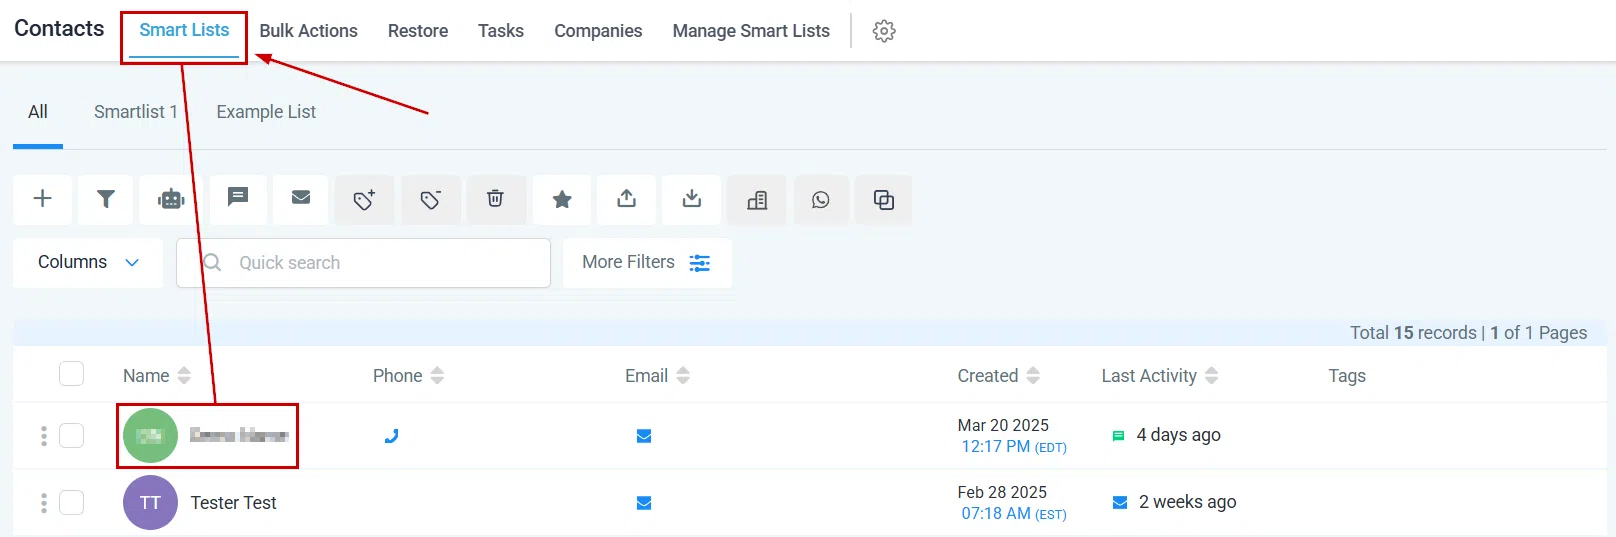
Click on the contact’s name to open their contact details.
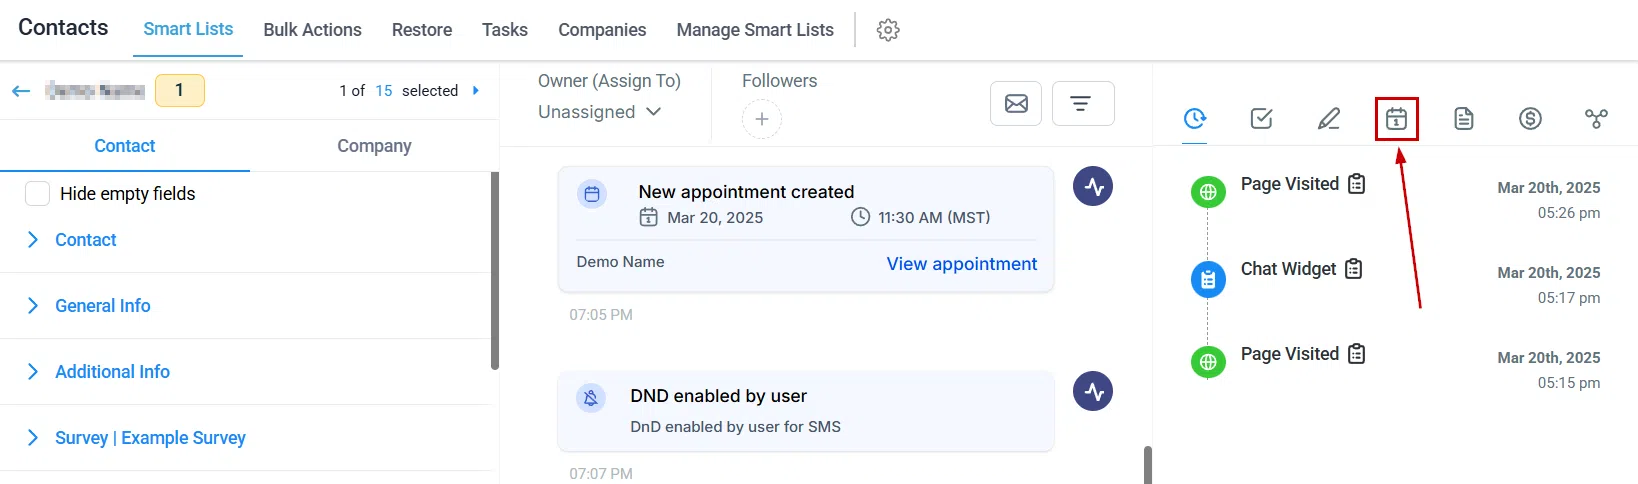
Click the Calendar icon in the right-hand panel to open the Appointments tab.
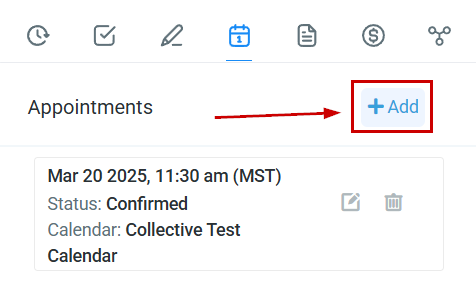
Click + Add to open the appointment booking form.
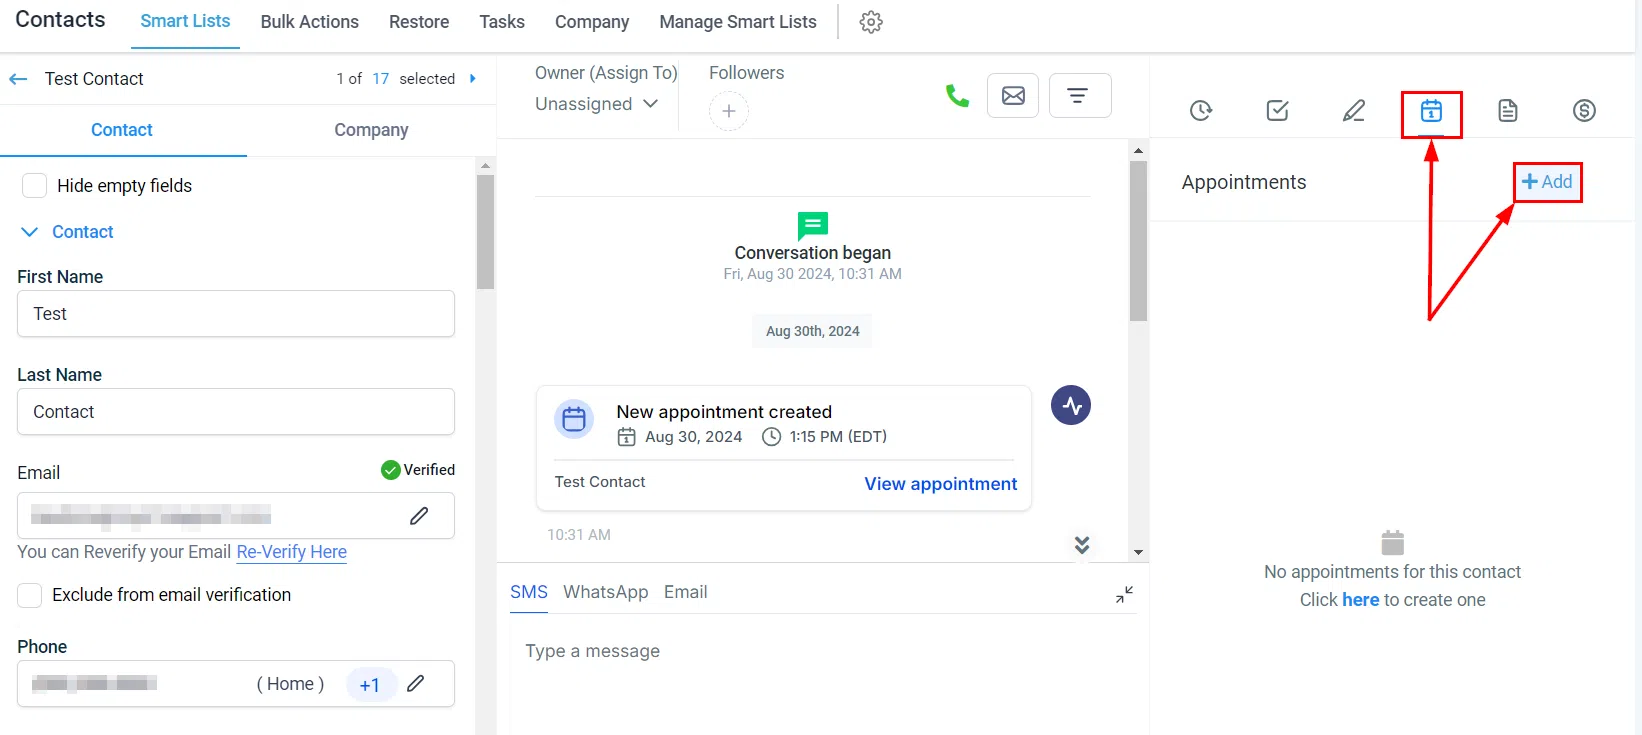
Appointment Options
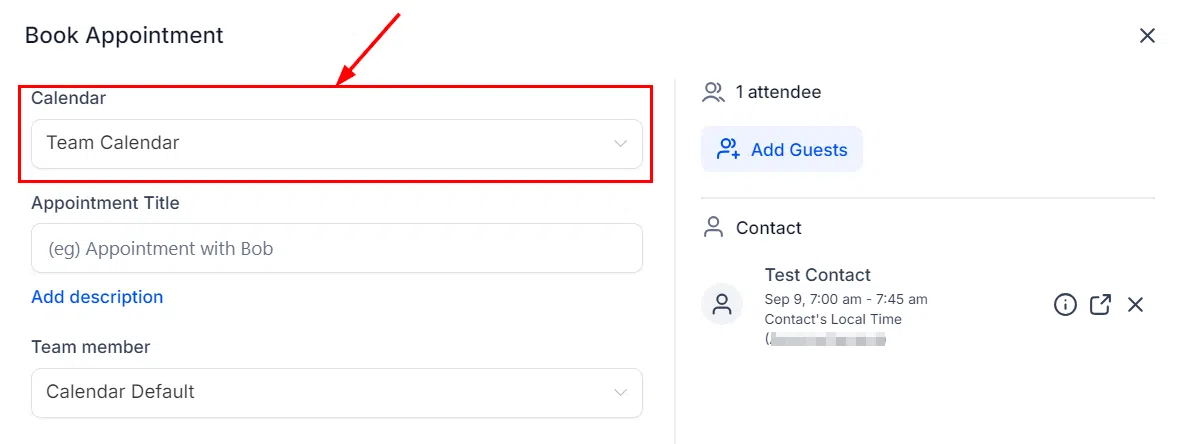
Choose a Calendar
Select the calendar on which you want to book the appointment. This determines which calendar’s settings and availability will apply.
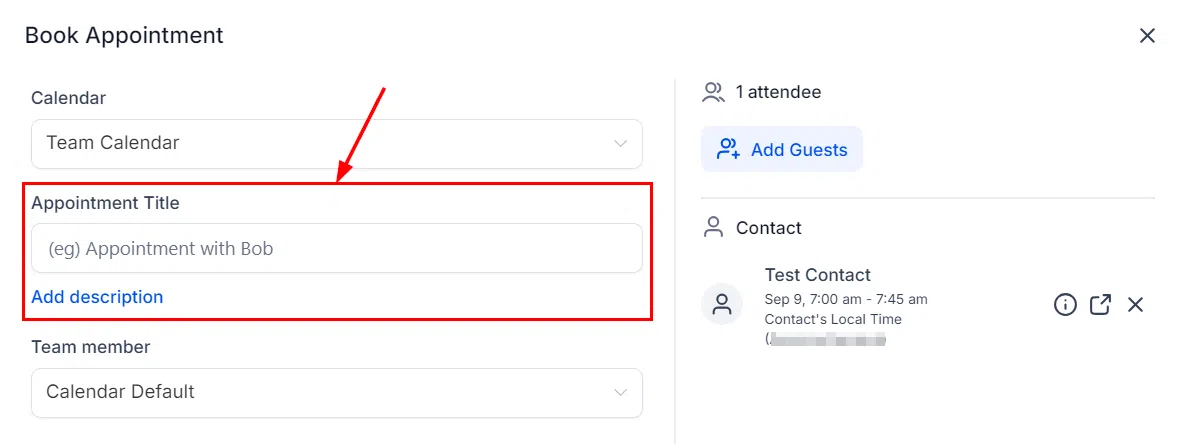
Appointment Title and Description
Give the appointment a title and description. If left blank, the default title and description from the calendar settings will be used.
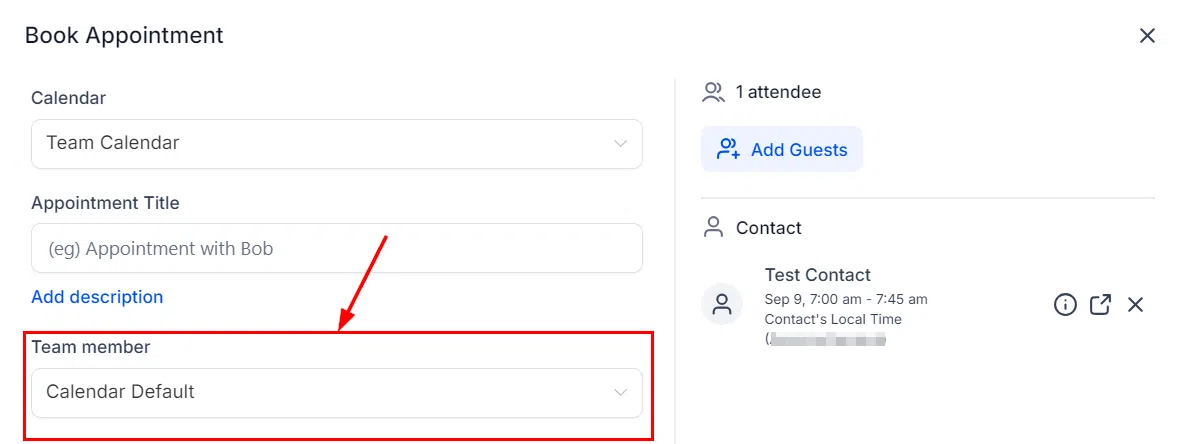
Team Member
Select a team member from the dropdown to assign the appointment. If no team member is selected, the calendar will automatically assign one according to its settings.
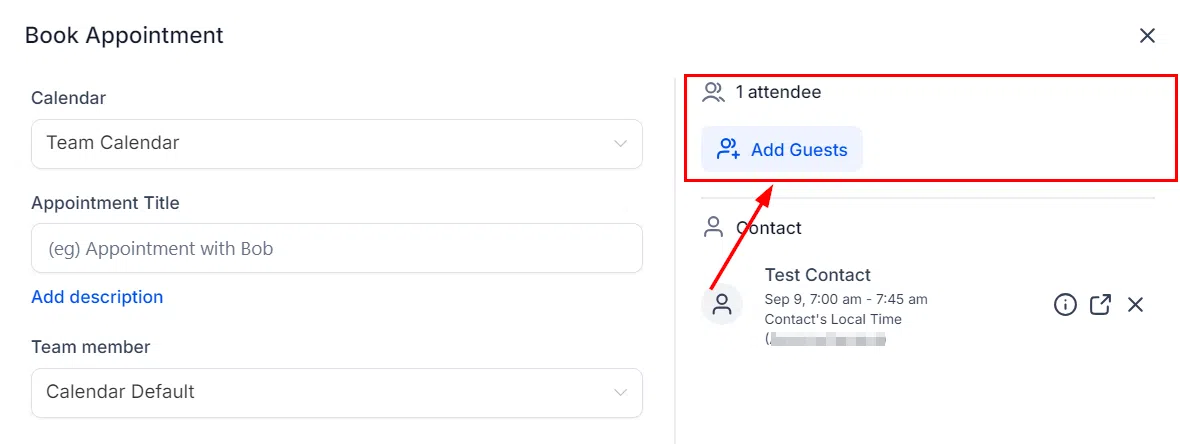
Attendees
If the calendar has Add Guests enabled, you can add other contacts to the appointment as guests. Click Add Guest and search for the contact the same way you selected the primary contact.
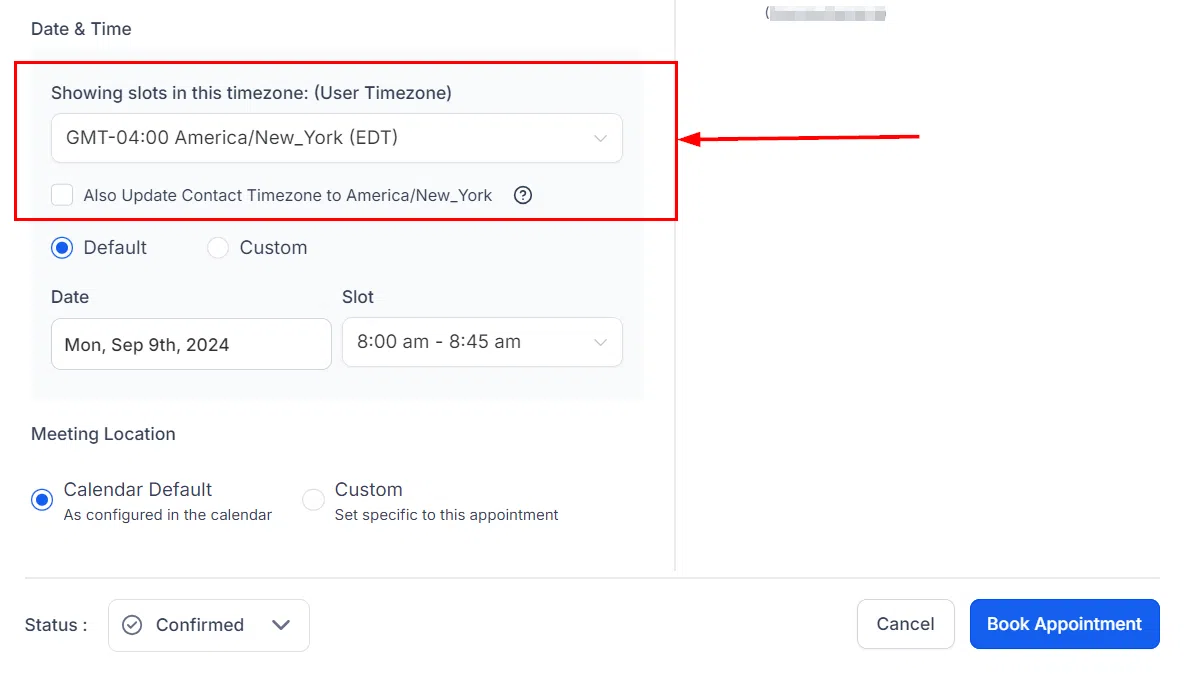
Time Zone
Make sure the time zone is set correctly so the appointment is booked at the agreed time and any follow-up communications are sent at the right moment.
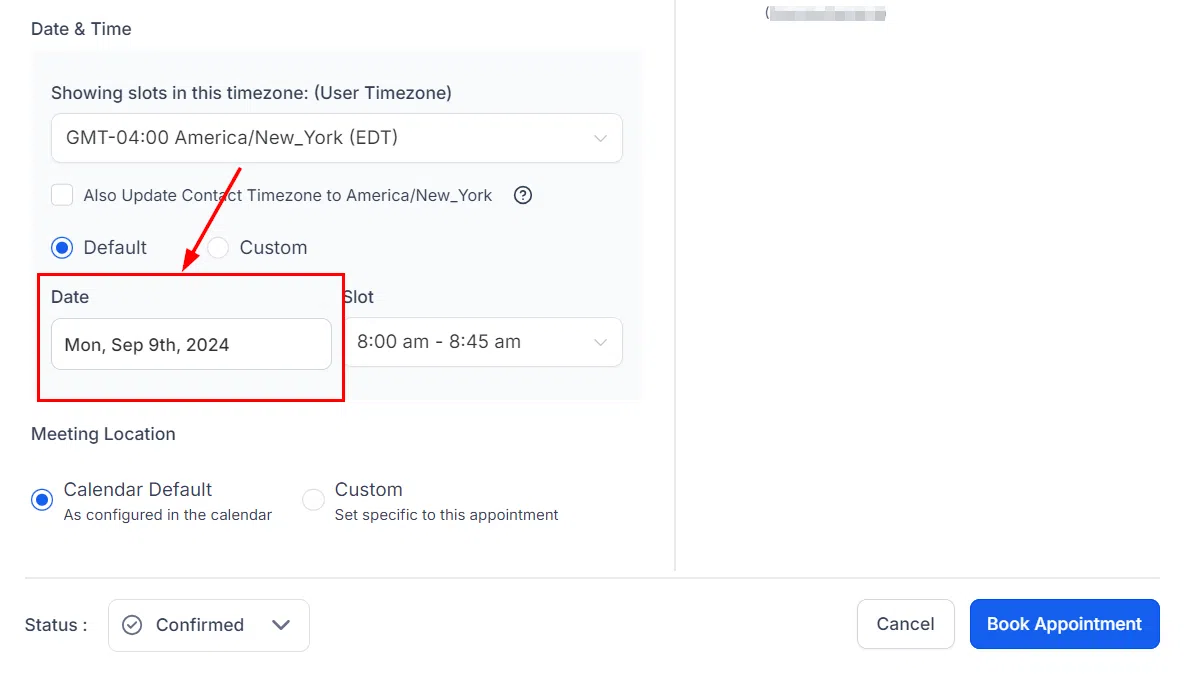
Choose a Date
Pick the date for the appointment from the calendar dropdown. Unavailable days are hidden automatically based on your calendar settings.
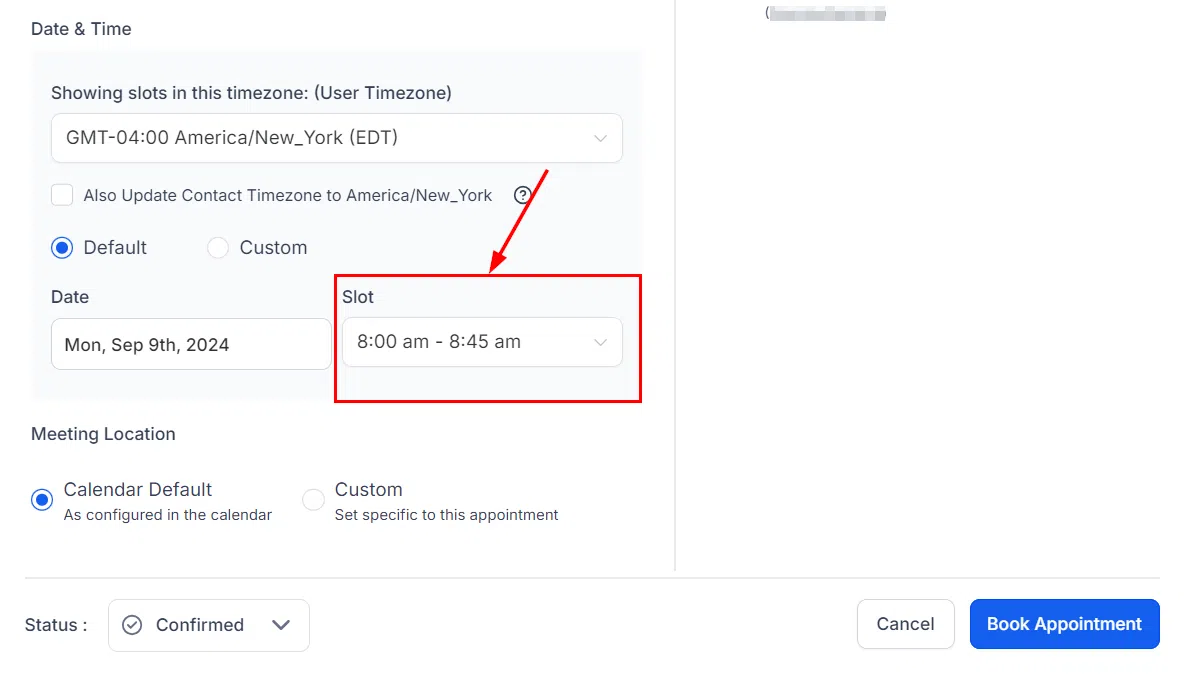
Choose a Time Slot
Select from the available time slots for your chosen day. You can also use Custom time to book outside of your normal available hours or on an already-occupied slot.
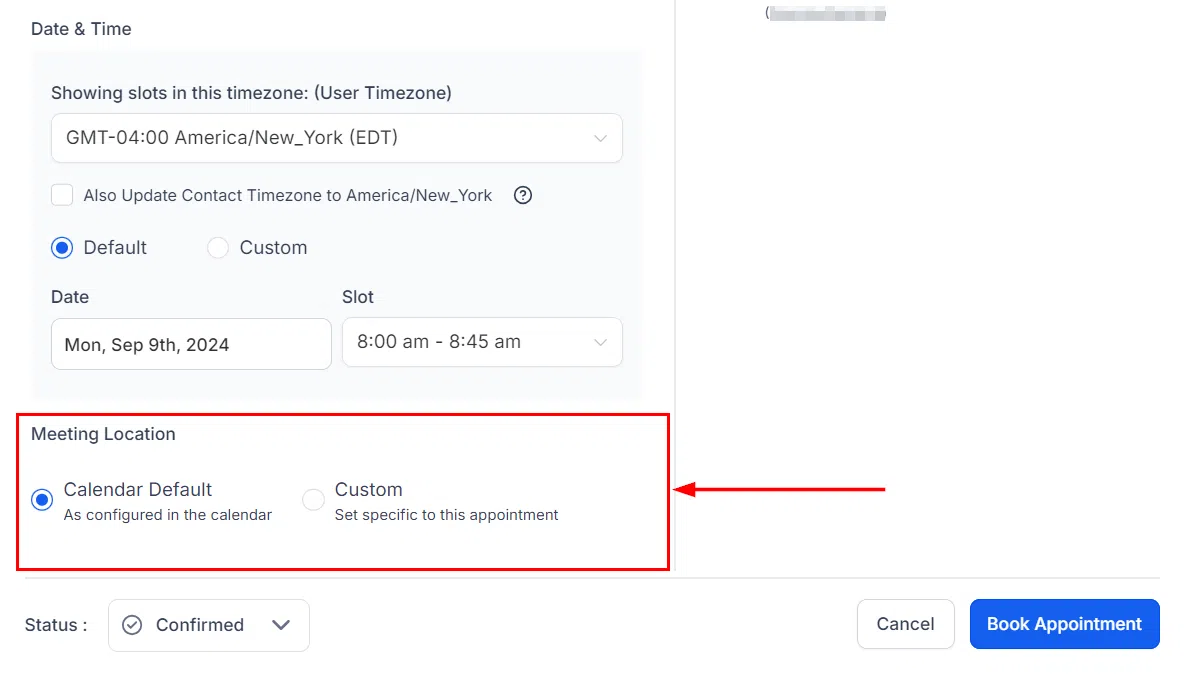
Meeting Location
Specify the meeting location, or leave it to use the calendar’s default. The location is shared with the contact in their appointment confirmation.
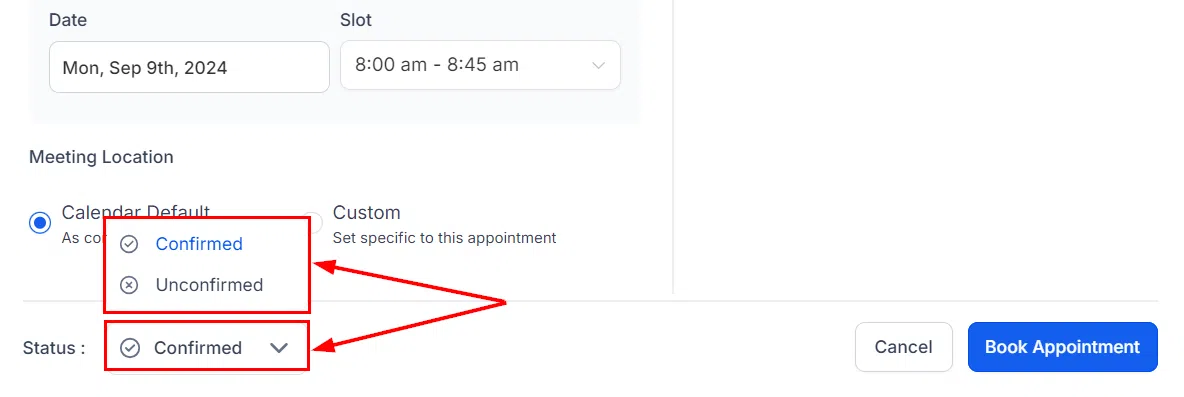
Status
Indicate whether the appointment is confirmed or unconfirmed.
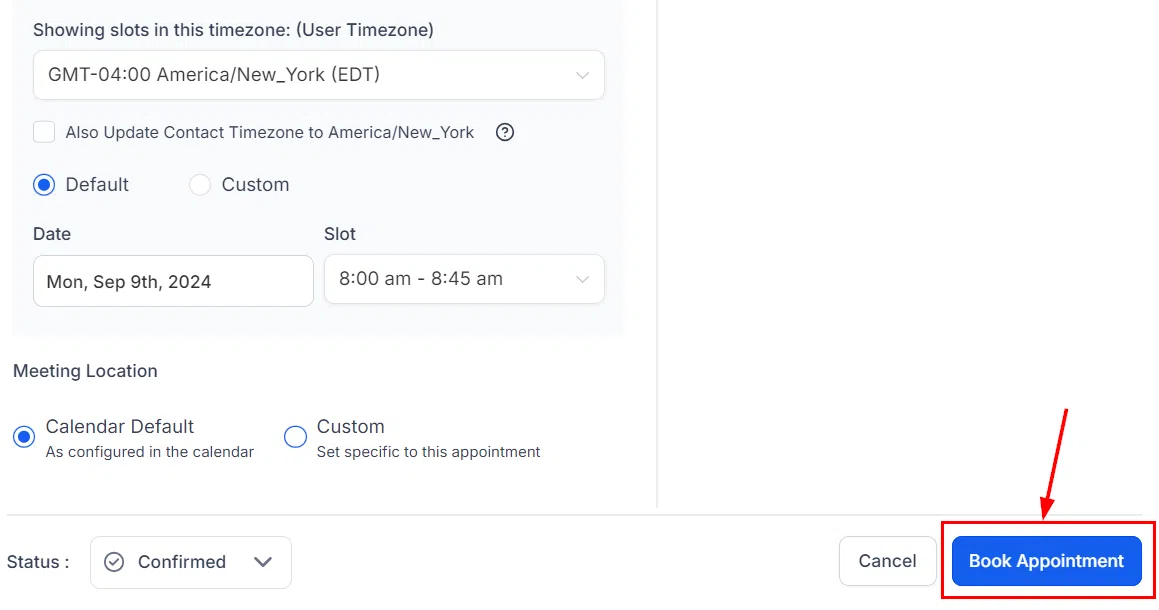
Book Appointment
Once all details are confirmed, click Book Appointment. The appointment will be added to the calendar and the contact will receive the relevant confirmation emails.
Managing Existing Appointments
Editing an Appointment
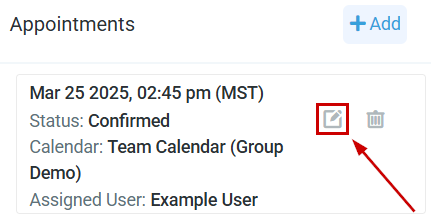
To make changes to an existing appointment, click the pencil icon next to it. This opens the full appointment form, identical to the booking view, where you can update any detail.
Cancelling an Appointment
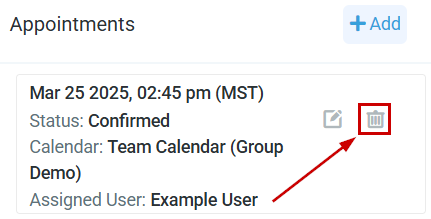
Click the trash icon to mark an appointment as Cancelled. Reminder messages will stop, and any workflows triggered by appointment cancellation will activate.
Common Questions
What if I can’t find a suitable time slot?
Check that your calendar settings are correctly configured and that no times are blocked. Adjust your available hours in calendar settings if needed.
How do I reschedule an appointment?
Open the appointment using the pencil icon and select a new date and time. Make sure to let your contact know about the change.
Can I set recurring appointments?
Yes – if your calendar has recurring appointments enabled, creating a new booking will automatically set up the recurring schedule.