Smart Lists let you segment your contacts in Growth360 using saved filter combinations, so you can quickly access targeted groups without re-applying filters every time.
What Are Smart Lists?
A Smart List is a saved, filtered view of your contacts in Growth360. Rather than manually filtering your contact list each time you need to work with a specific segment, you create a Smart List once and return to it instantly from the top panel of your contacts page.
Smart Lists update dynamically – any contact that meets your filter criteria will automatically appear in the list, and any that no longer qualify will drop out. This makes them ideal for ongoing campaigns, sales pipeline stages, and customer support workflows.
Creating a Smart List
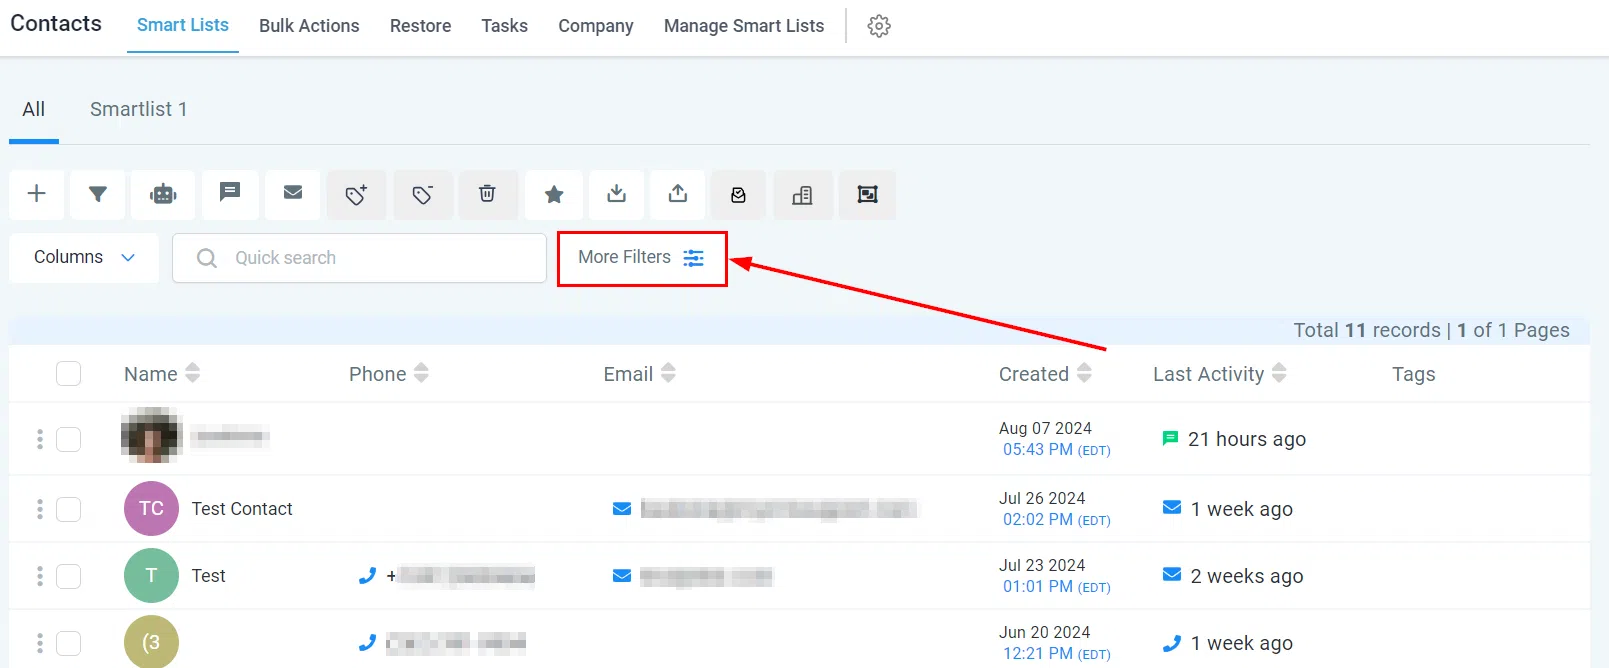
To create a Smart List, start from your Contacts tab. Click the More Filters button at the top of the contacts list to open the filters panel.
Apply Filters
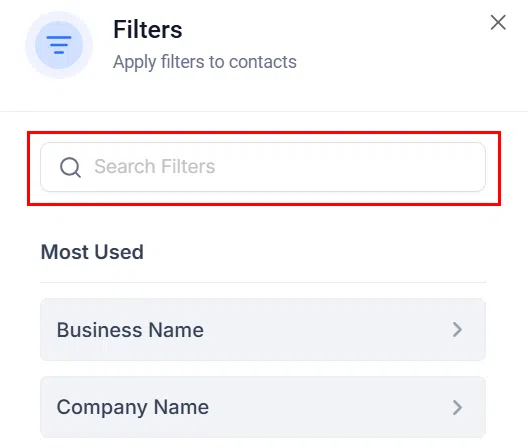
The filters panel opens on the right side of your screen. Use the search bar to find a specific filter quickly, then select it to see the available options for that filter.

Configure Filter Conditions
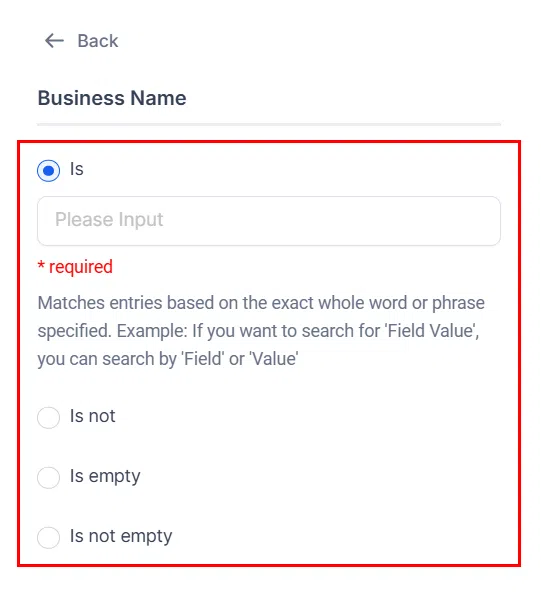
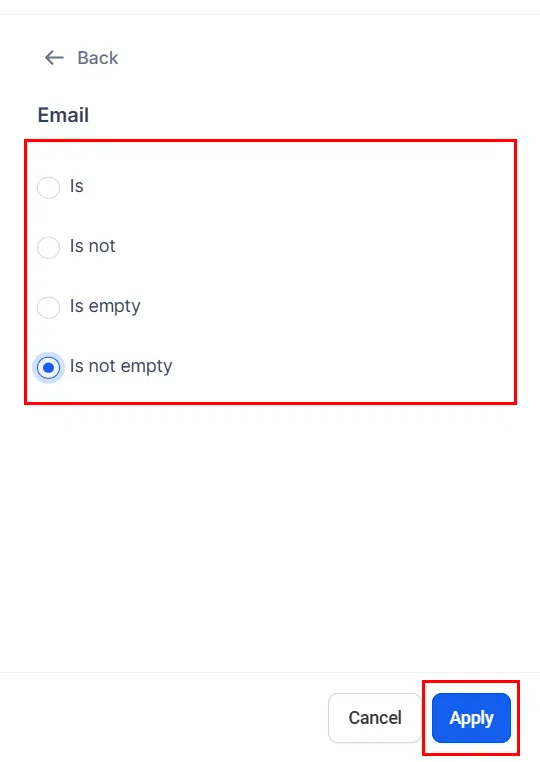
After selecting a filter, define the conditions a contact must meet to be included in your list. The available condition types are:
- Is / Is Not: match or exclude contacts with a specific value
- More Than / Less Than: useful for numeric fields like order count or lead score
- Contains: partial text match
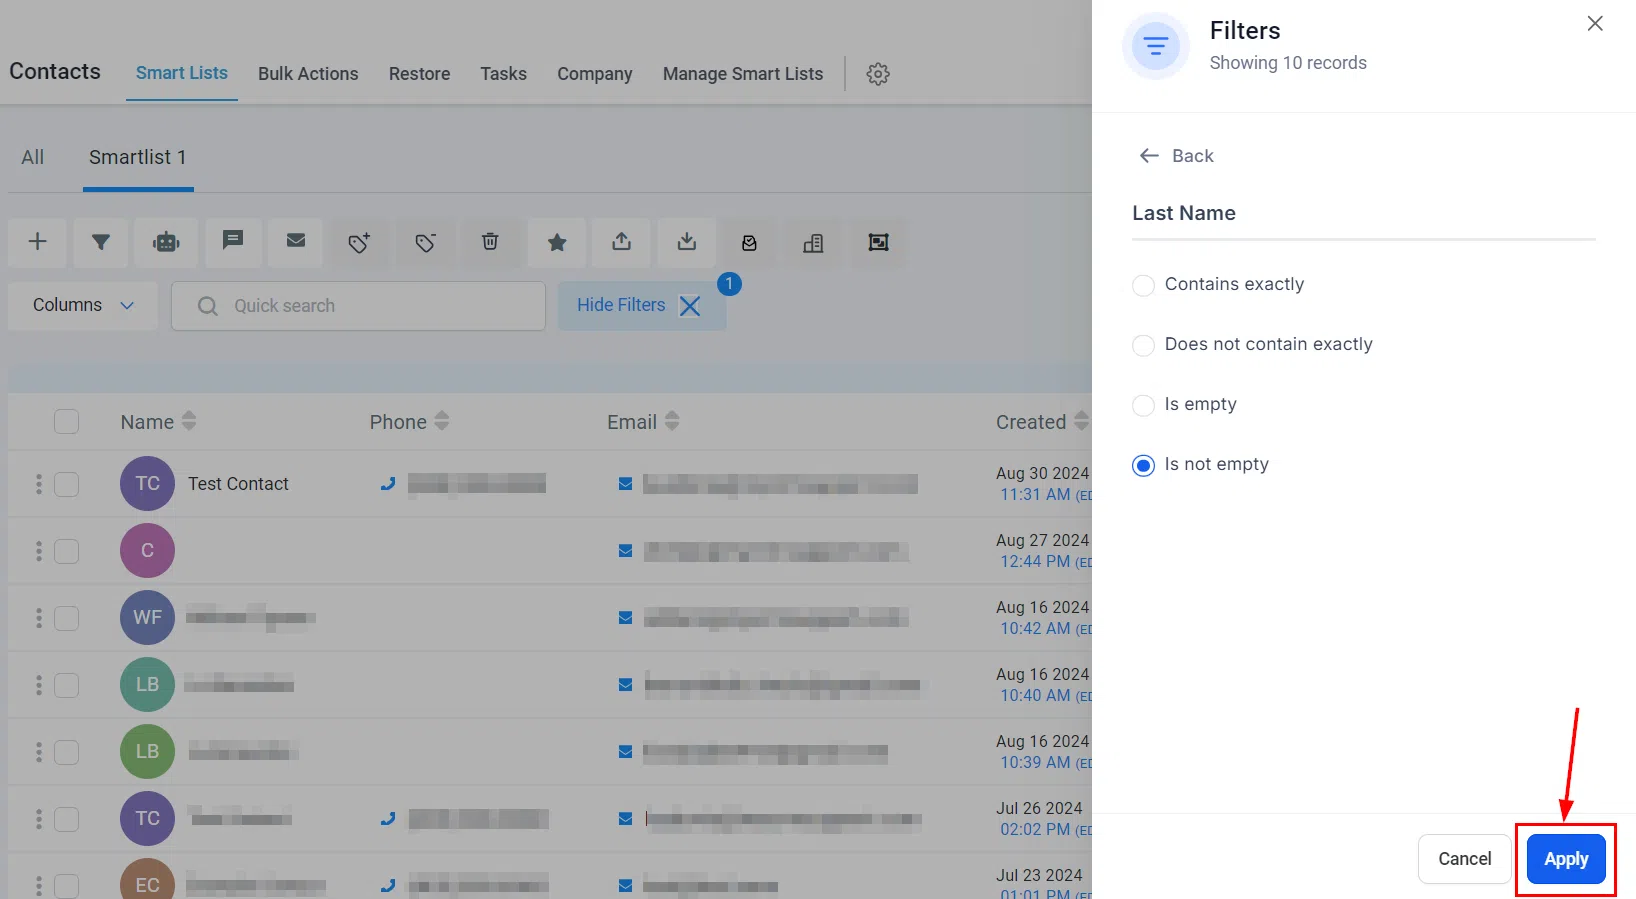
- Is Empty / Is Not Empty: checks whether a field has a value – no input required
- Has Active Campaign: checks whether the contact is currently in an automation
Once you have configured your conditions, click Apply to add the filter.

AND vs OR Logic for Multiple Filters
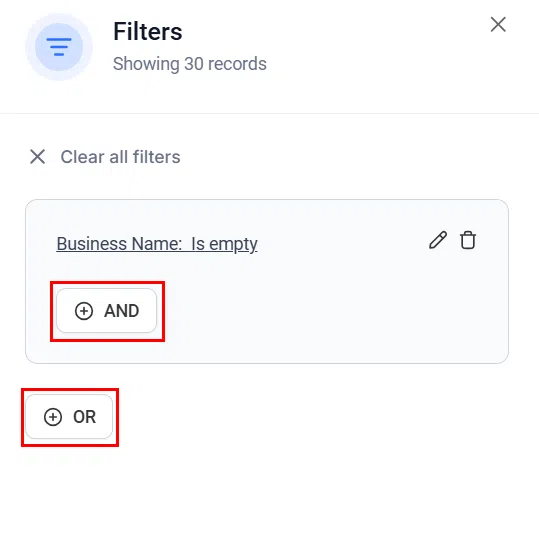
You can add more than one filter to a Smart List. When combining filters, Growth360 gives you the choice of two logical operators:
- AND: the contact must meet all selected criteria to appear in the list
- OR: the contact needs to meet any one of the selected criteria
Select the appropriate option before applying your second filter.
Save Your Smart List
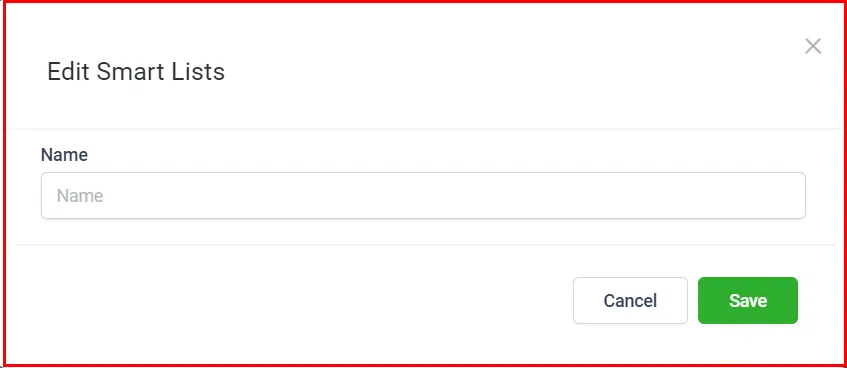
Once you are happy with your filters, click Save as Smart List at the bottom right of the page. Give your list a descriptive name that reflects the filters used – this makes it easier to distinguish similar lists later. Click Save to confirm.

Working With Your Smart Lists
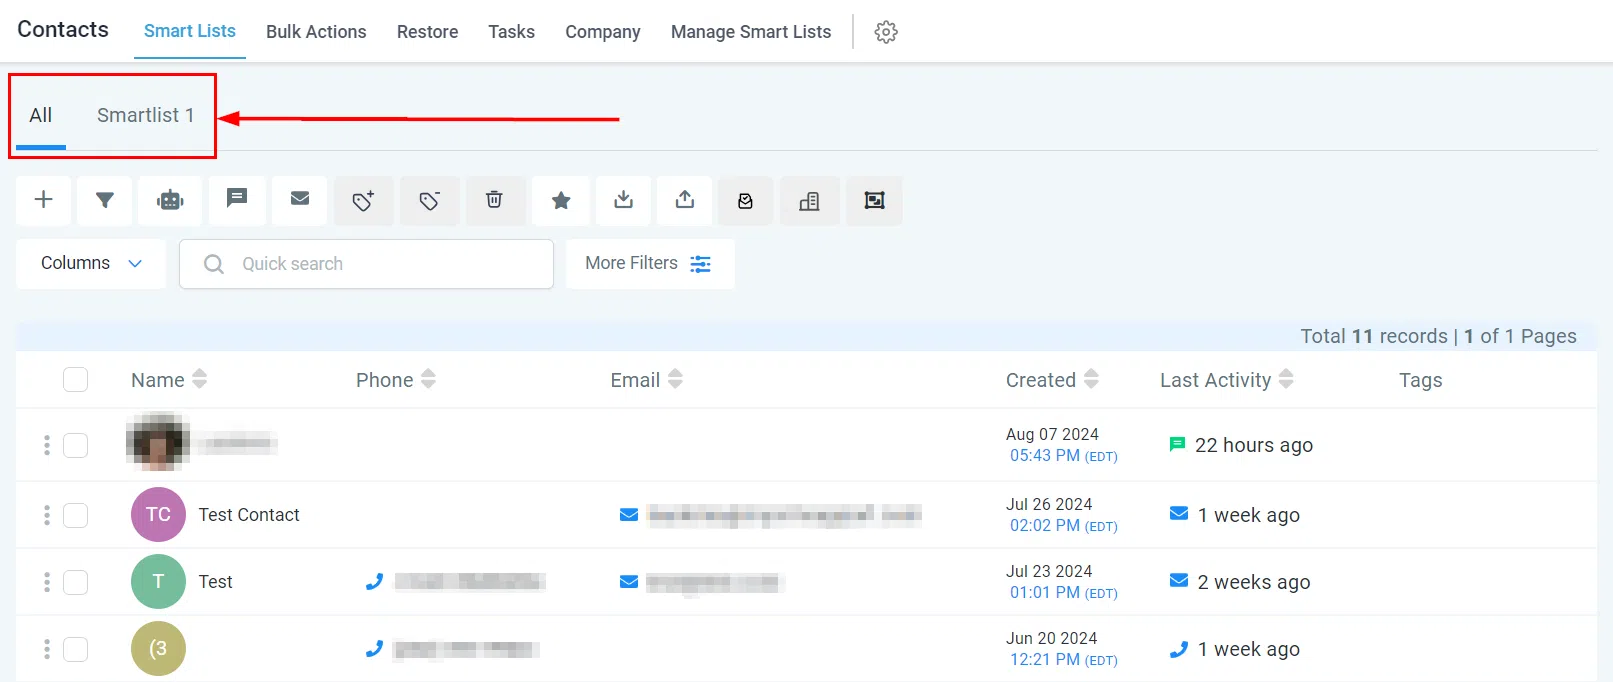
Once saved, your Smart Lists appear in the top panel of the contacts page. Click any list to instantly filter your contacts to that segment.
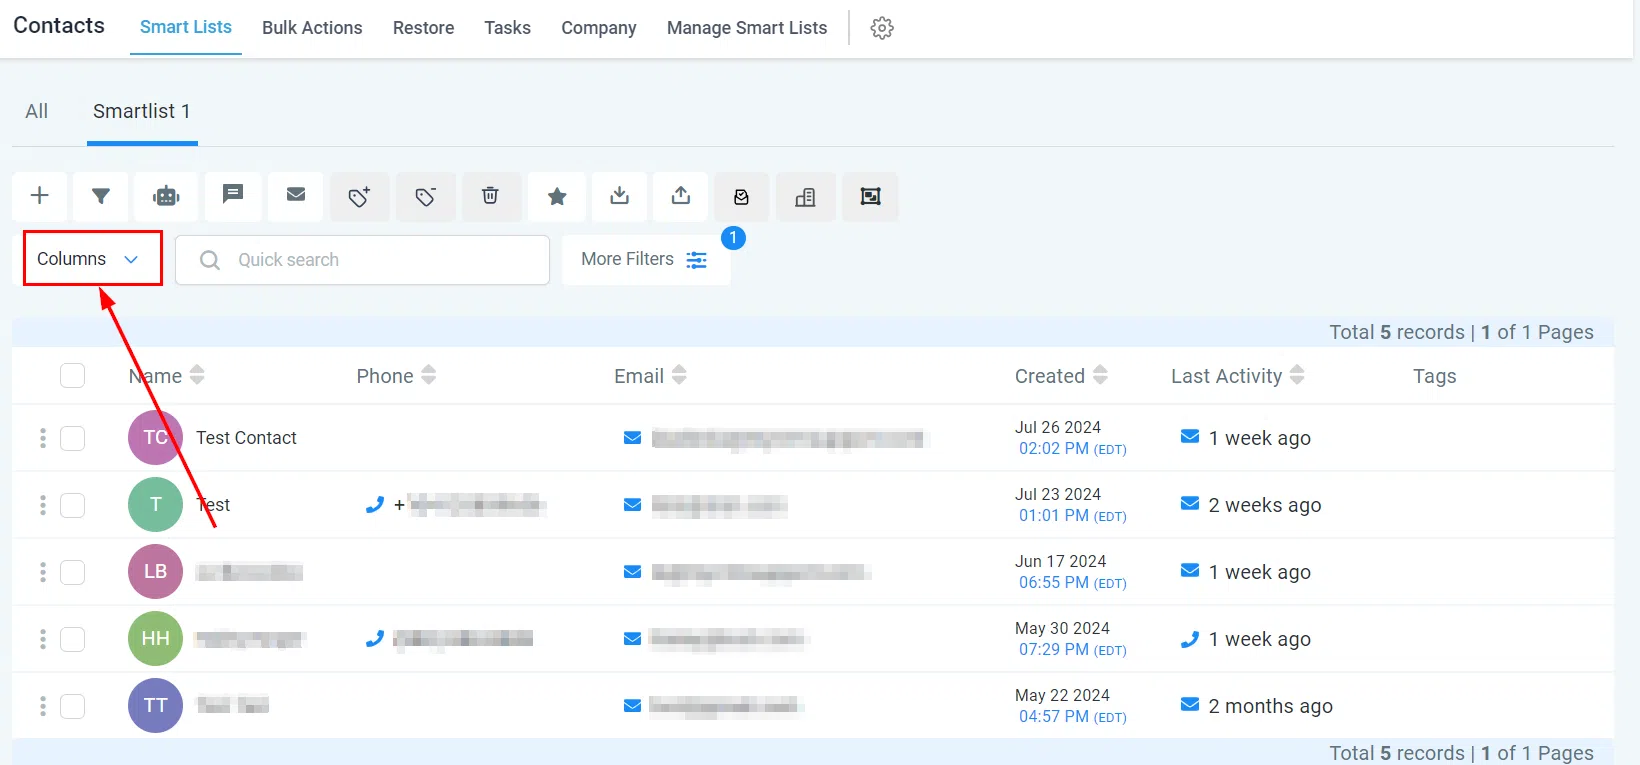
You can customise which columns appear in your contacts table while viewing a Smart List, making it easier to focus on the information most relevant to that segment.
Use the search bar within a Smart List to find a specific contact within that filtered segment.

Common Uses for Smart Lists
Smart Lists are flexible enough to support a wide range of business workflows. Here are some of the most effective ways to use them in Growth360:
- Marketing campaign segmentation: target contacts who have purchased within the last six months, opened a specific email, or been tagged with a particular label – without manually filtering each time you run a campaign
- Sales pipeline management: create lists for each stage of your pipeline so your team can quickly access leads at the same point in the process and follow up consistently
- Customer support: identify contacts who have submitted multiple support requests or have unresolved issues, so your team can proactively reach out
- Loyalty programme management: track contacts who meet loyalty thresholds and send them exclusive offers or early access to new products
- Cross-selling and upselling: build lists of contacts who have purchased a specific product, then target them with complementary or upgraded offers
Managing Your Smart Lists
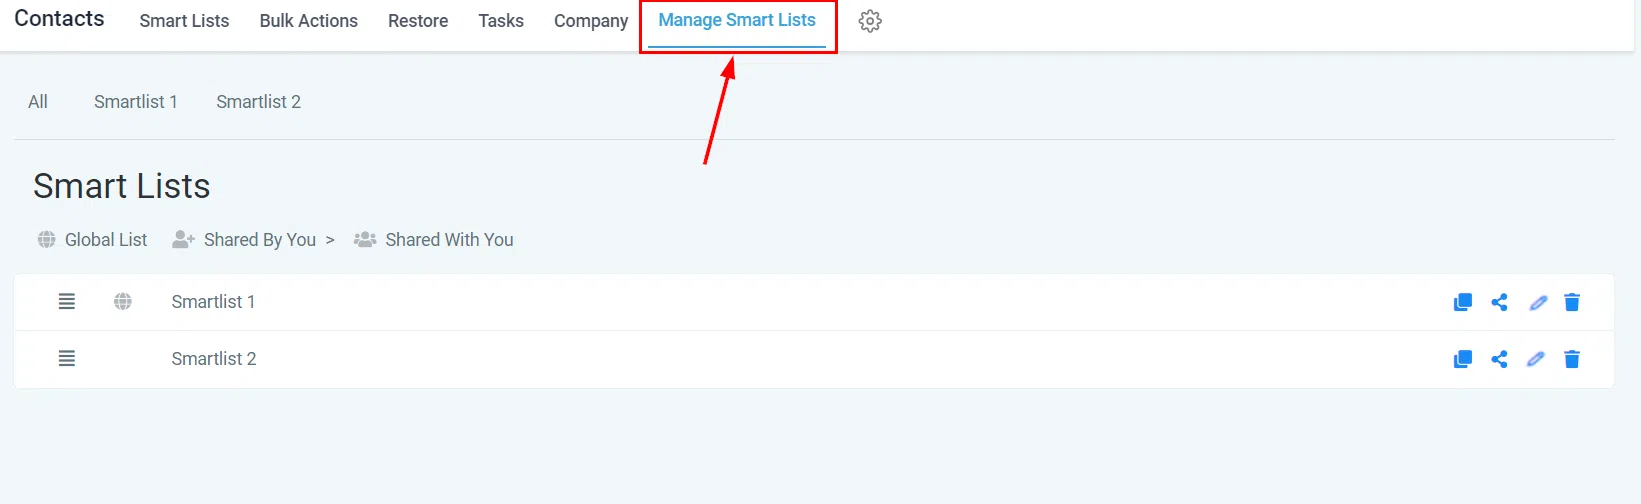
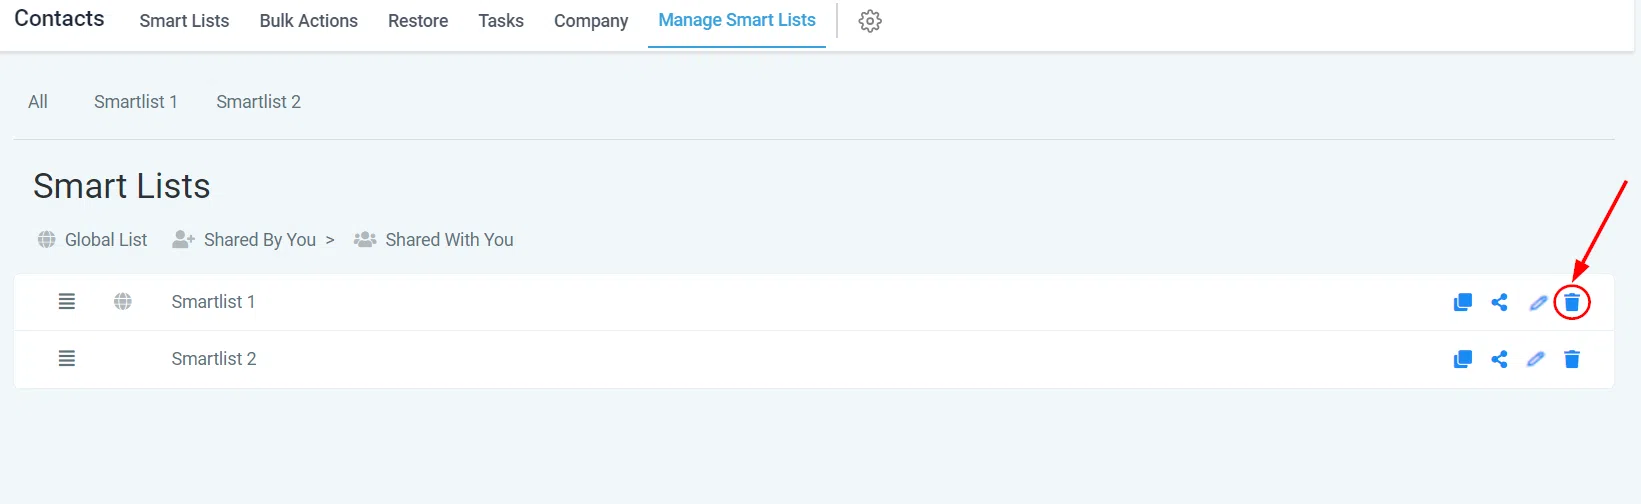
To view and manage all your saved Smart Lists, go to the Contacts tab and select Manage Smart Lists. This centralised section gives you full control over every list in your account.
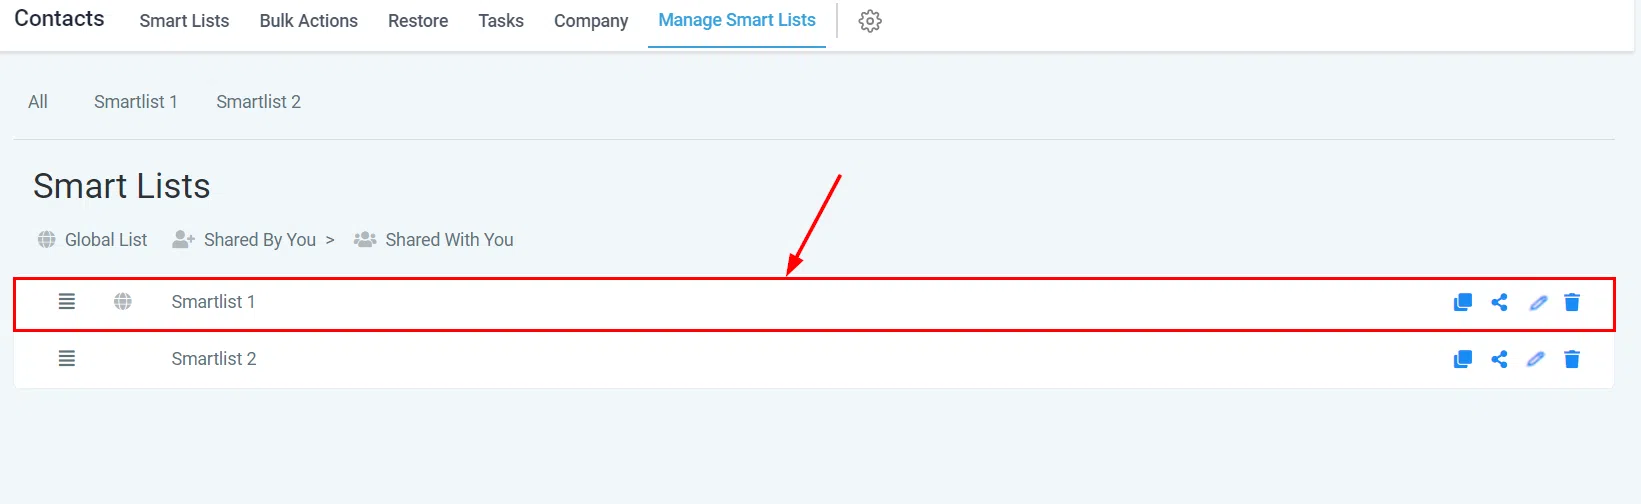
Each Smart List is displayed as a table card showing the list name and quick action buttons on the right-hand side.
Reordering Your Lists
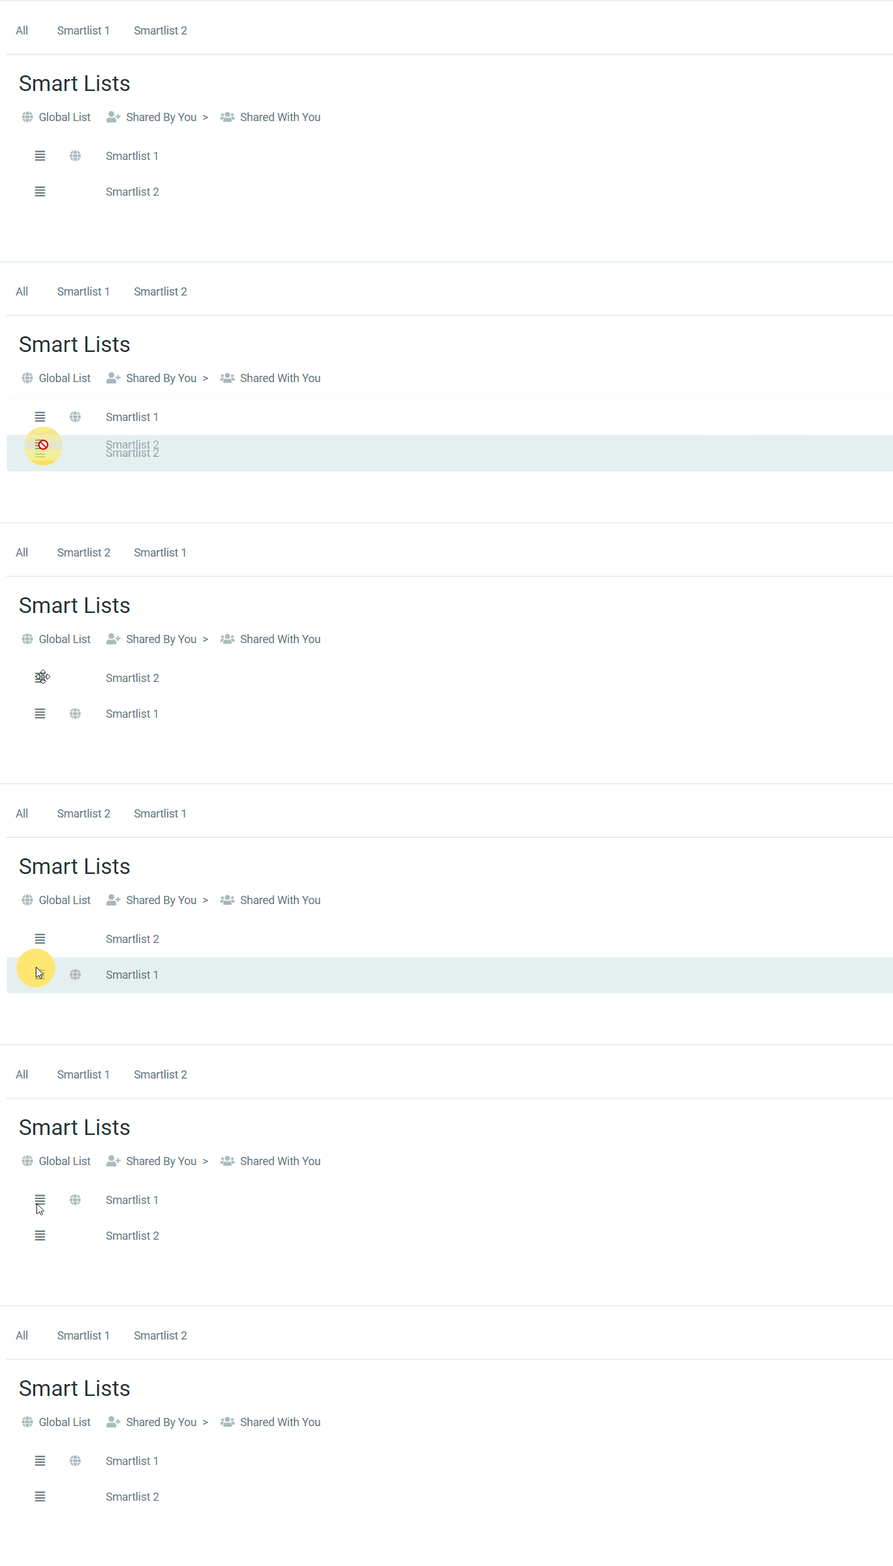
Use the drag-and-drop icon on each card to reposition lists within the table. Click and hold to drag a list above or below others.
Copying a Smart List
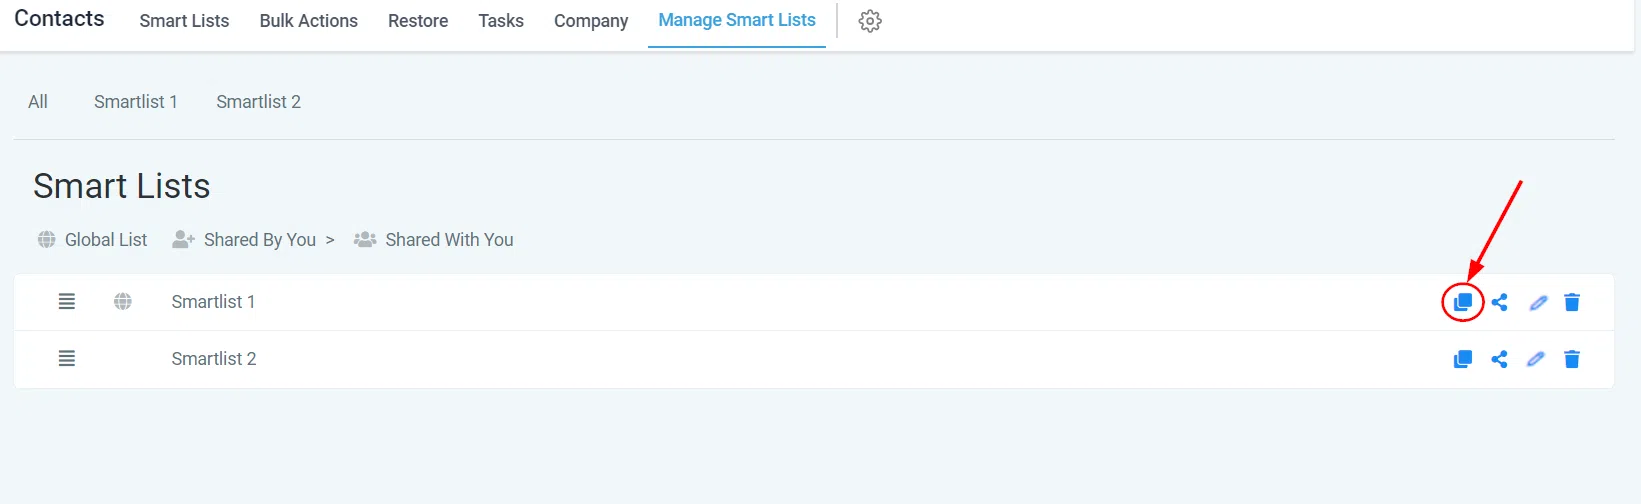
The copy button duplicates a Smart List including all its filters. This is useful when you want to use an existing set of criteria as a starting point for a new list.
Sharing Smart Lists
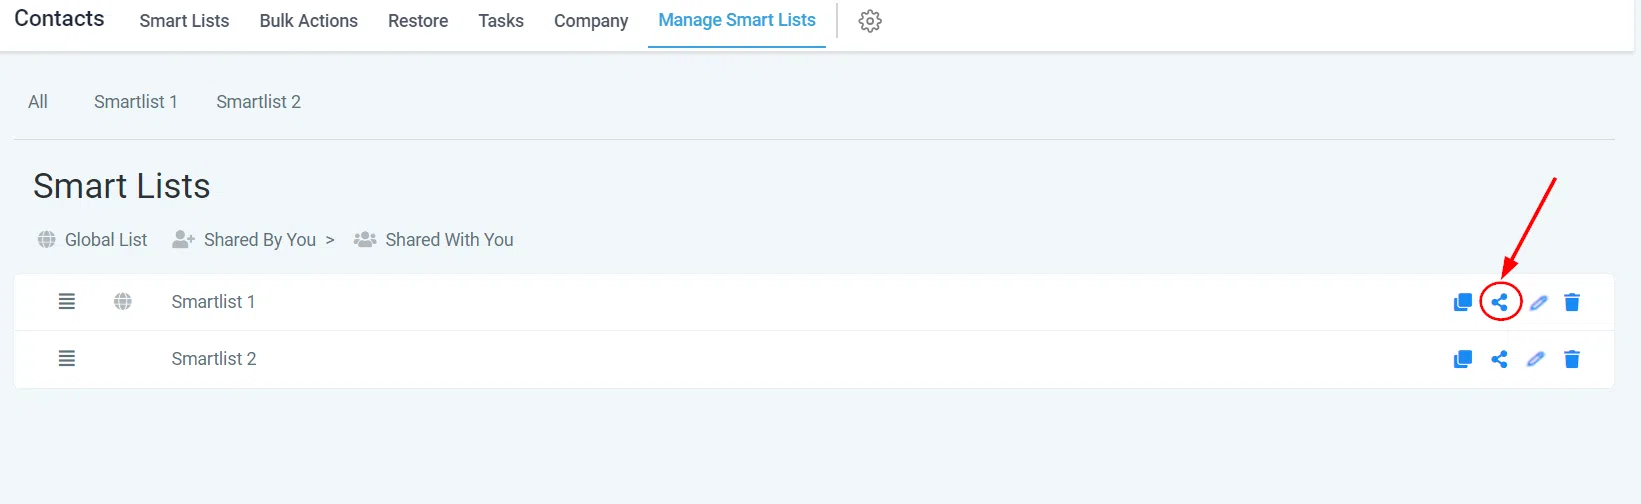
You can share a Smart List with all users in your account, or with selected individuals. Use the share button on the list card to configure access.
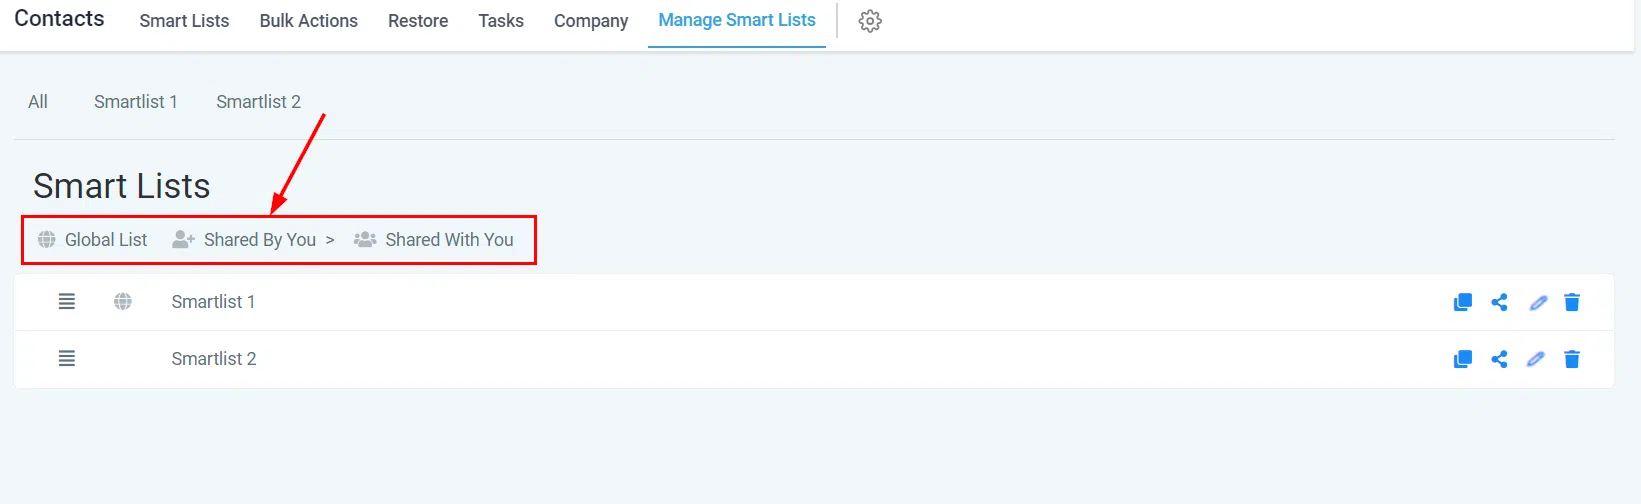
Icons next to each Smart List in the manage section indicate its sharing status:
- Globally Shared: visible to every user in your account
- User-Created Share: created by you and shared with selected users
- Shared with You: created by another user and shared with your account
Smart Lists without an icon are only visible to you.
Renaming a Smart List
Click the edit button on the list card to update the name of a Smart List at any time.

Deleting a Smart List
Click the delete button to remove a Smart List. The contacts within the list will remain in Growth360 – only the Smart List itself is deleted.
Note: if you have shared a Smart List with other users, you must revoke their access before you can delete it.
Editing a Smart List’s Filters
To update the filters in an existing Smart List, select it from the top panel of your contacts page to activate it.
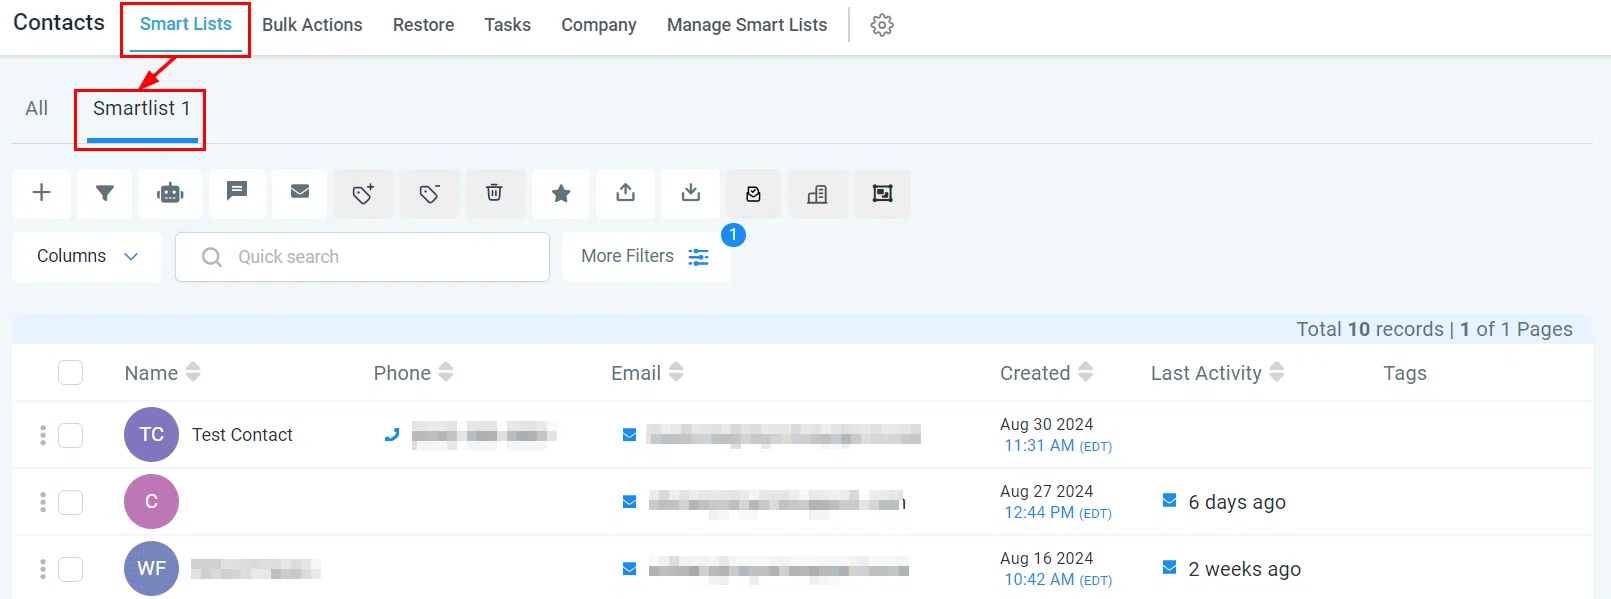
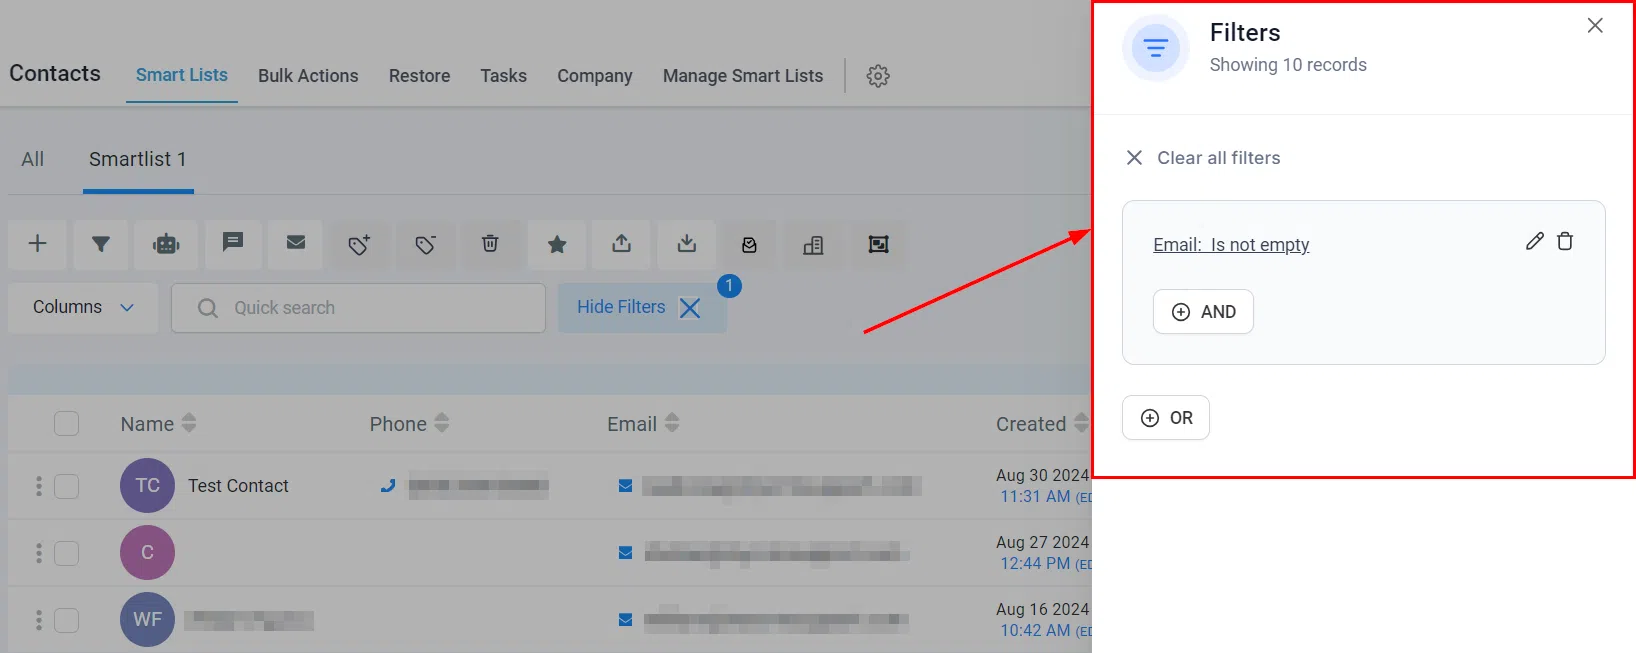
Click More Filters to open the filter settings for that list.

Within the filter panel, you can clear all existing filters using Clear All Filters, then add your updated criteria – or simply add filters to the existing set. Click Apply after each filter you add.
Saving Your Changes
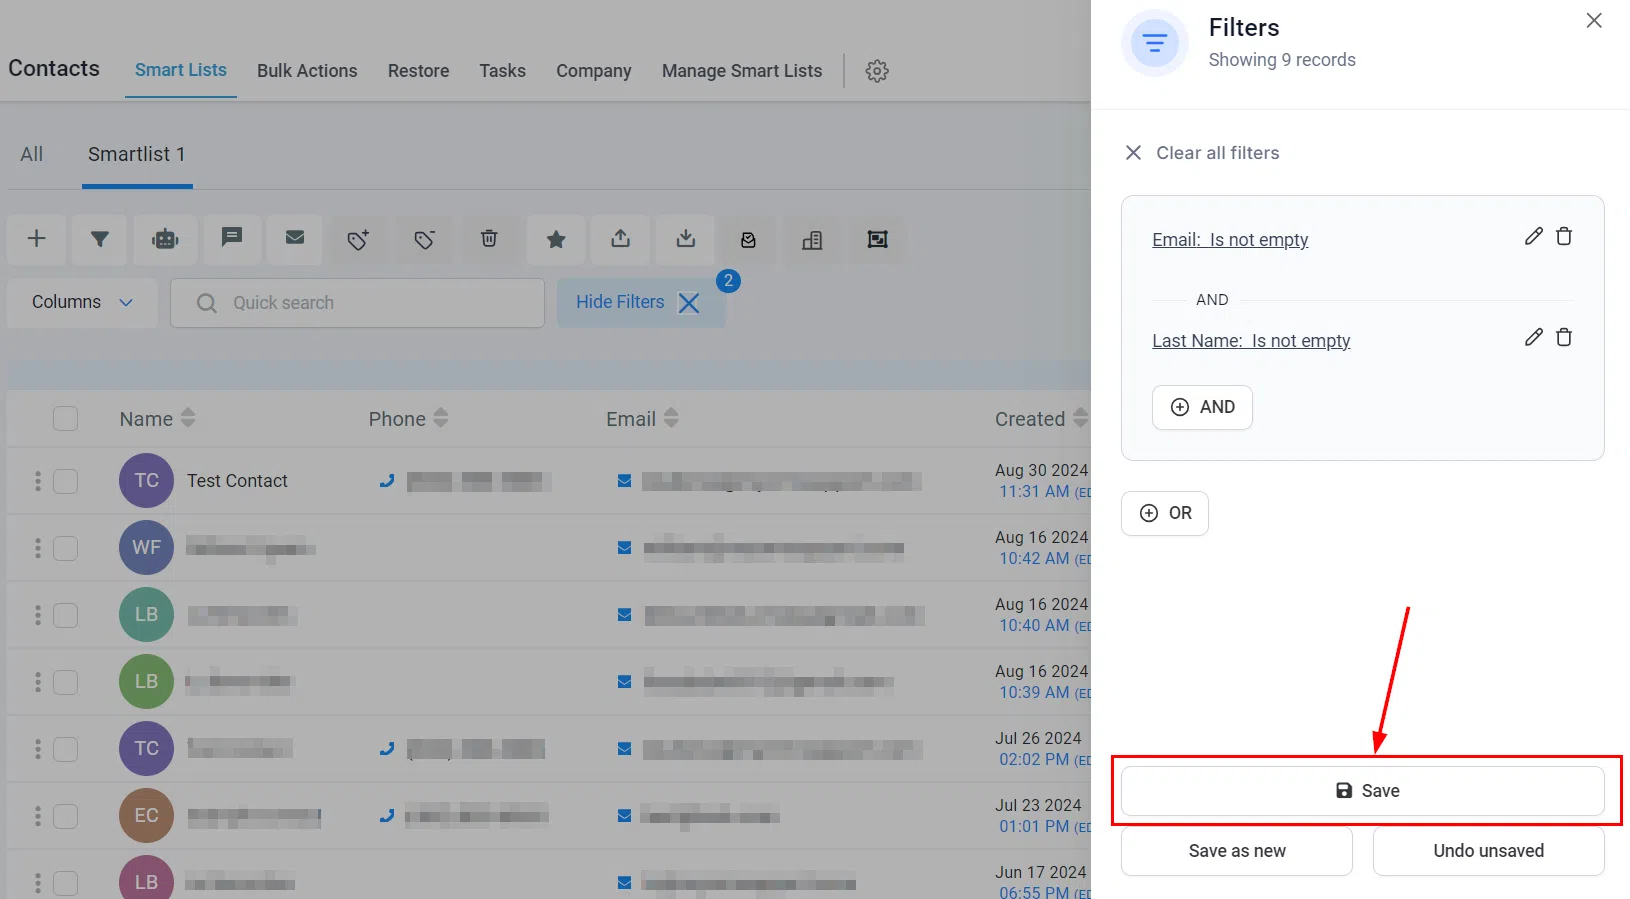
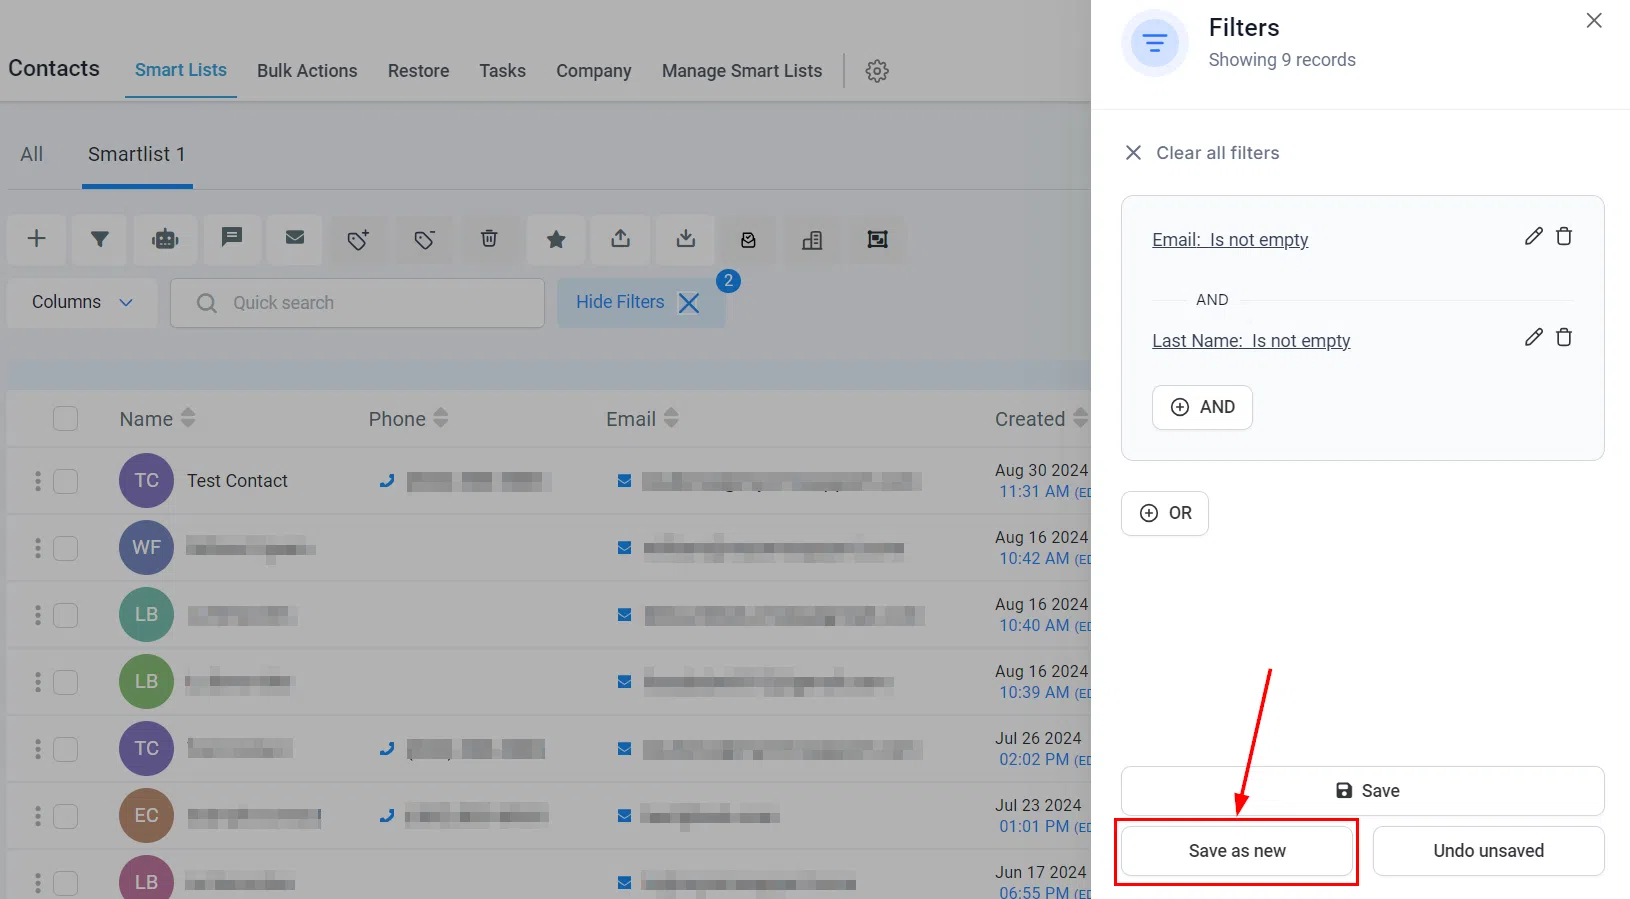
Once your updated filters are in place, you have three options:
- Save: updates the existing Smart List with your new filters
- Save as New: creates a new Smart List from your updated filters, leaving the original unchanged. Enter a name in the popup and click Save to confirm
- Undo Unsaved: discards changes made during this session and reverts the Smart List to its previous state