
Managing contacts within a company is a crucial aspect of maintaining organised records.
You can associate a contact with a company through either the Smart Lists section or the Company tab within your account.
Method 1: Via Smart Lists
Navigate to Contacts > Smart Lists and select a contact to begin.

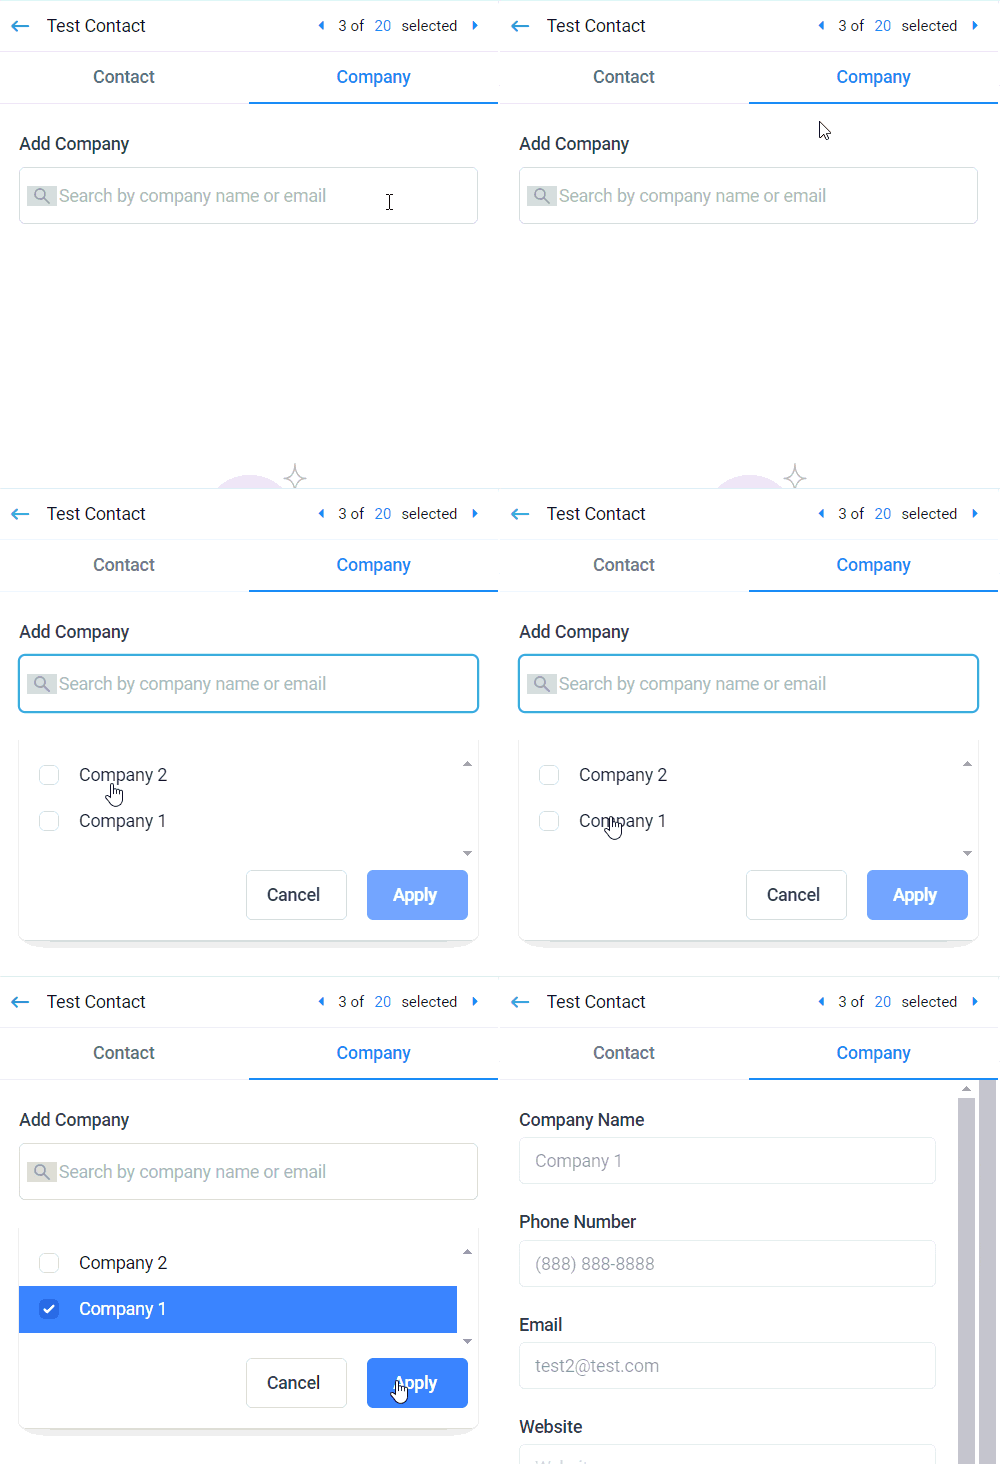
Go to the Company tab within the contact card. Use the search option to locate the relevant company, select it, then click Apply to add the contact.
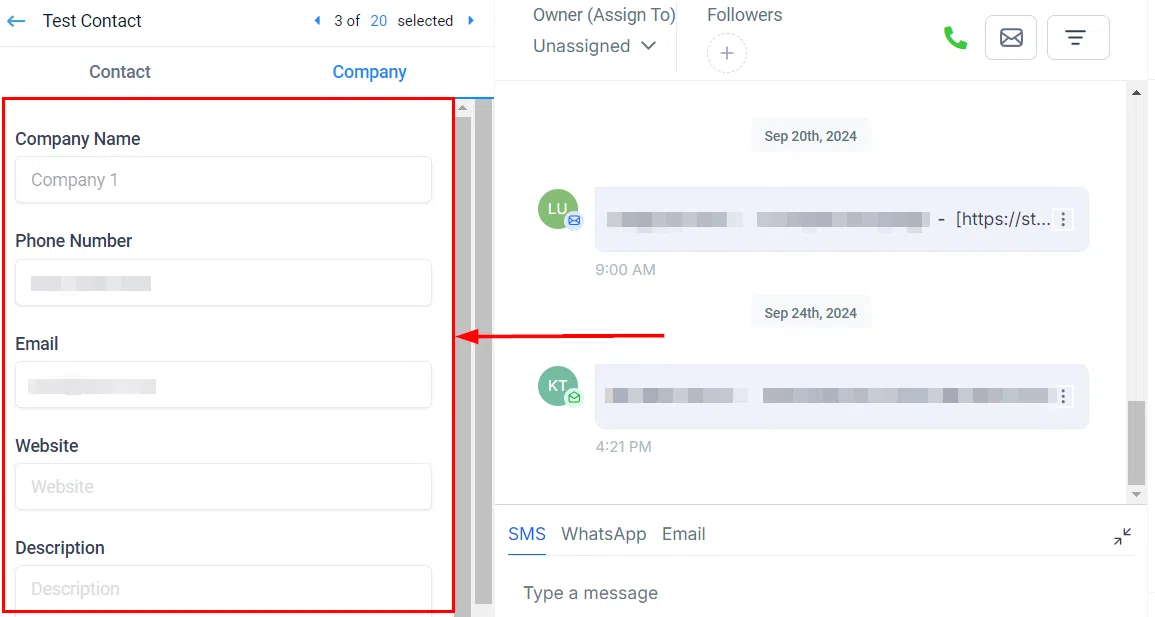
The company details will now appear on the contact card. Use the arrow buttons to navigate between contact records to update multiple contacts efficiently.

Method 2: Via the Companies Tab
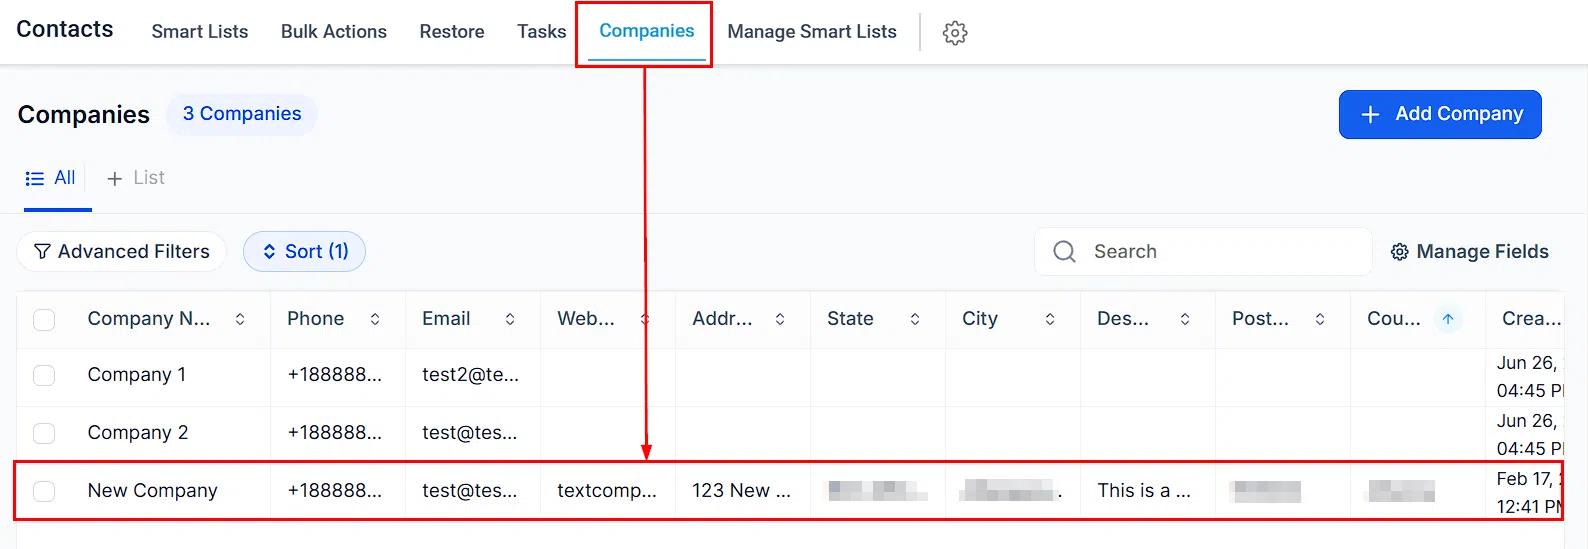
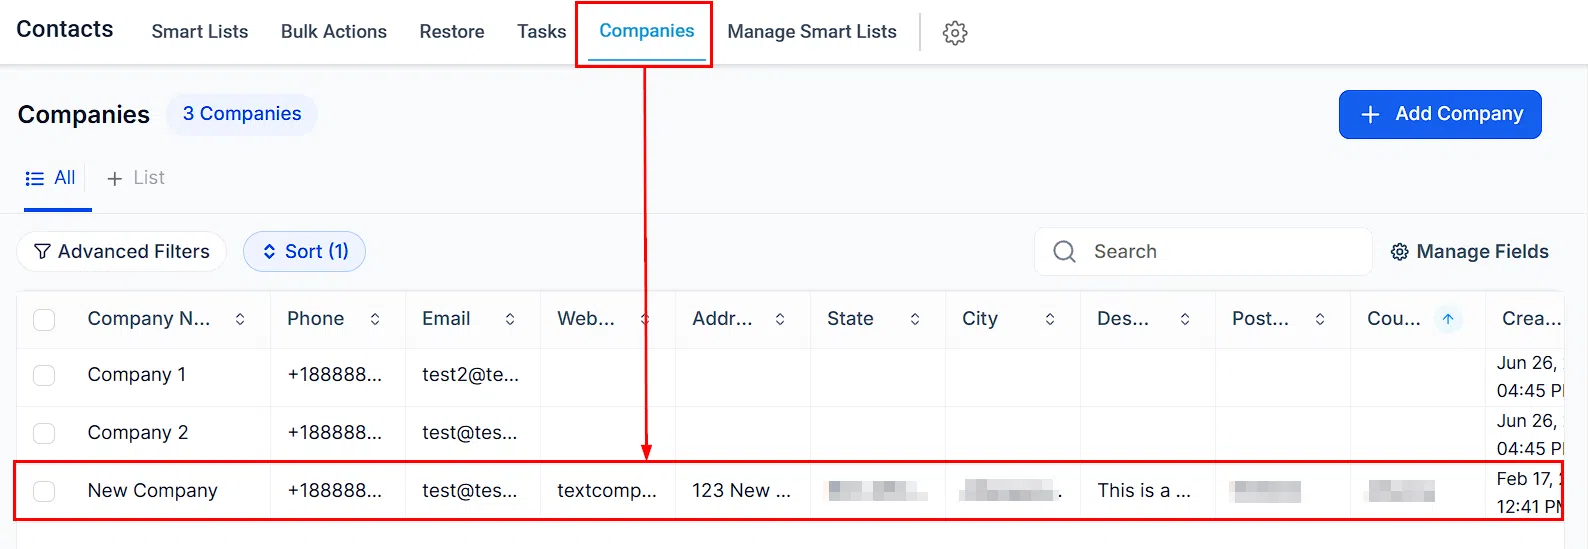
From the Companies tab, select the desired company from the list.
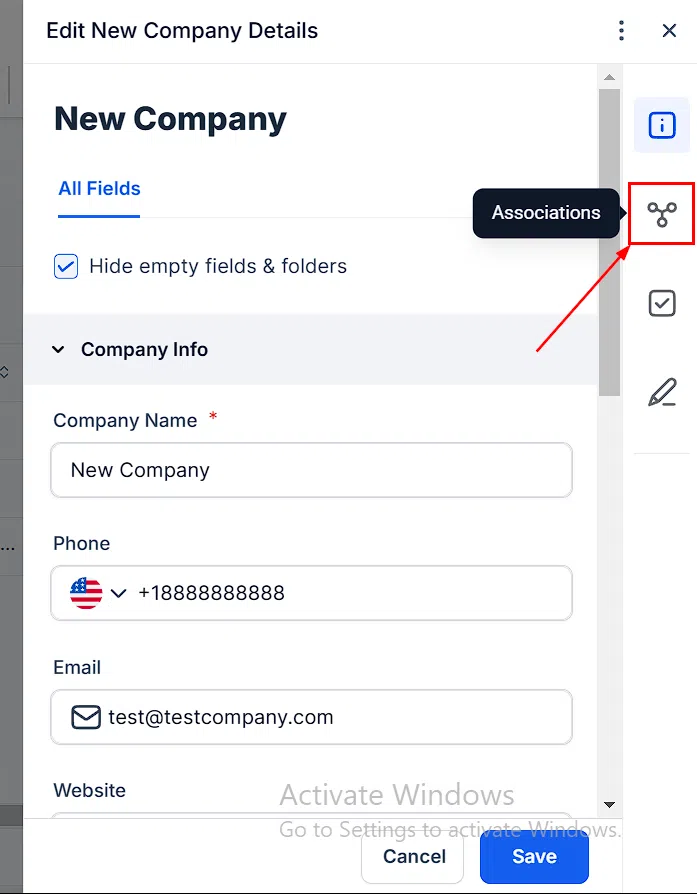
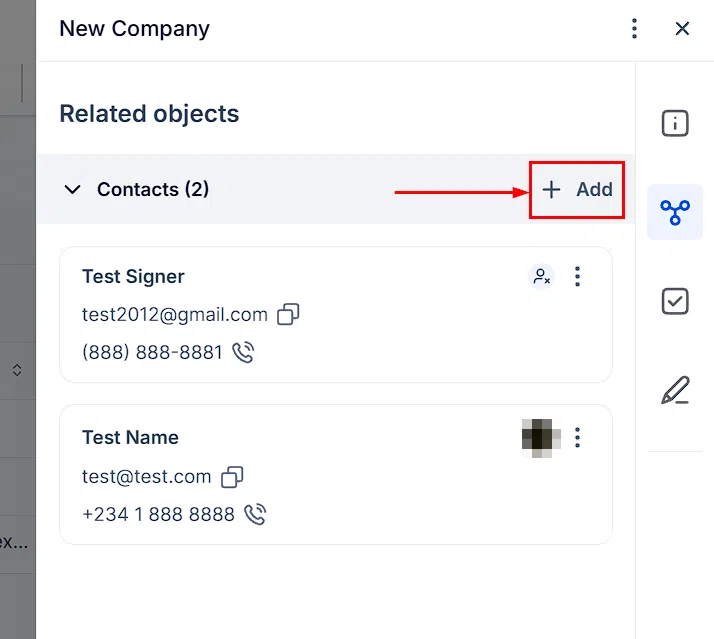
In the popup, select the Association tab on the right side of your screen.
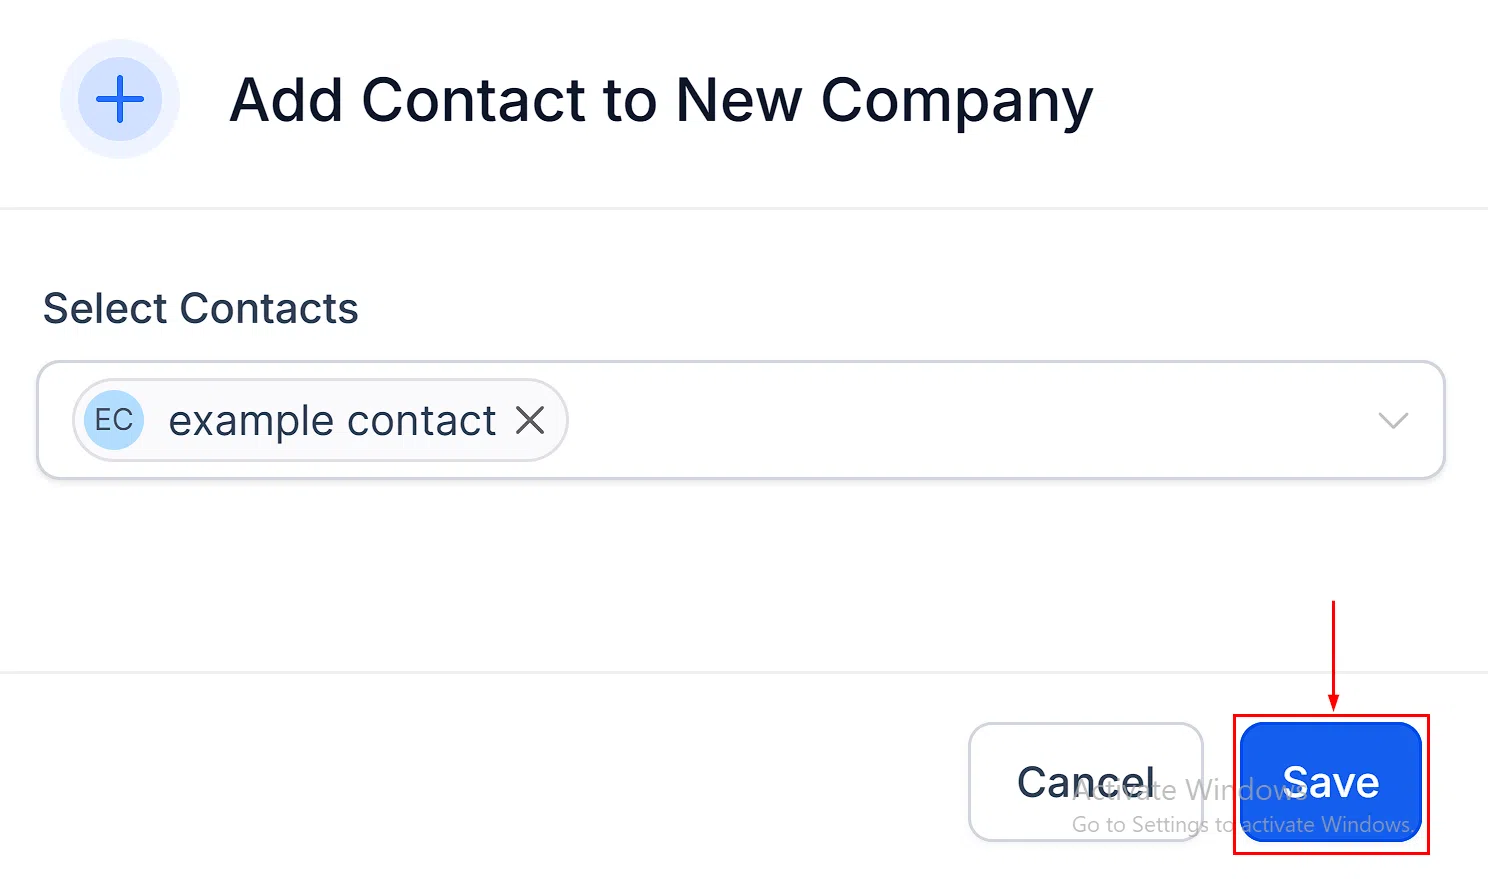
Click the Add button to search for the contact you wish to add.
Confirm the addition by clicking Save.
Removing a Contact from a Company
Navigate to the Company tab within your account and select the company from which you wish to remove the contact. Select the Association option in the popup.
Find the contact you want to remove, click the three-dot menu next to their record, and select Remove.
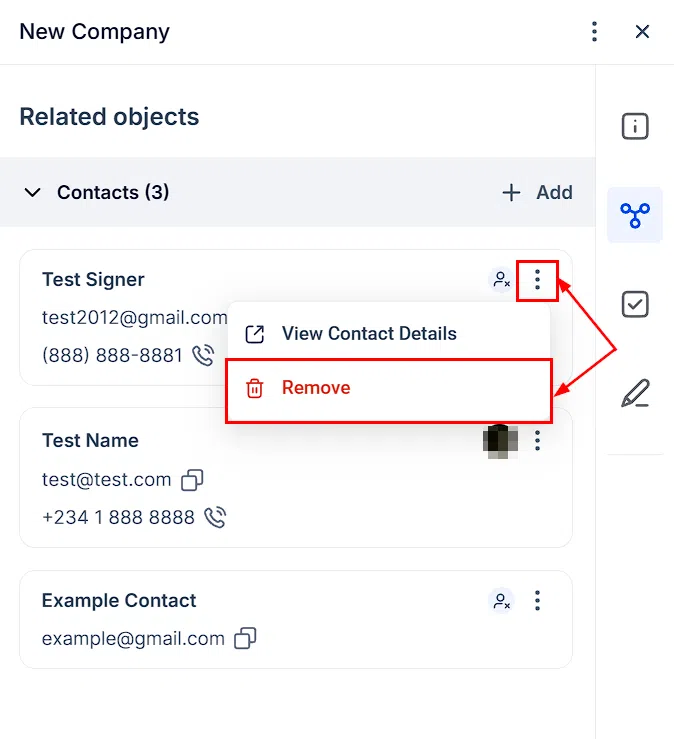
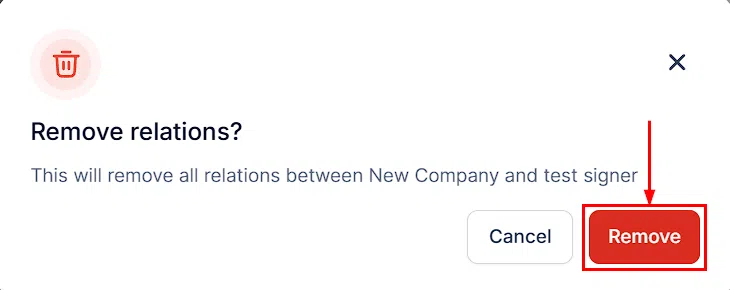
A confirmation prompt will appear. Click Remove to finalise.
📌 Note: Removing a contact from a company does not delete the contact from your contacts list – it simply removes the company’s details from the contact’s Company tab and removes the contact from the company’s contact list. You can re-add the contact to the company at any time.