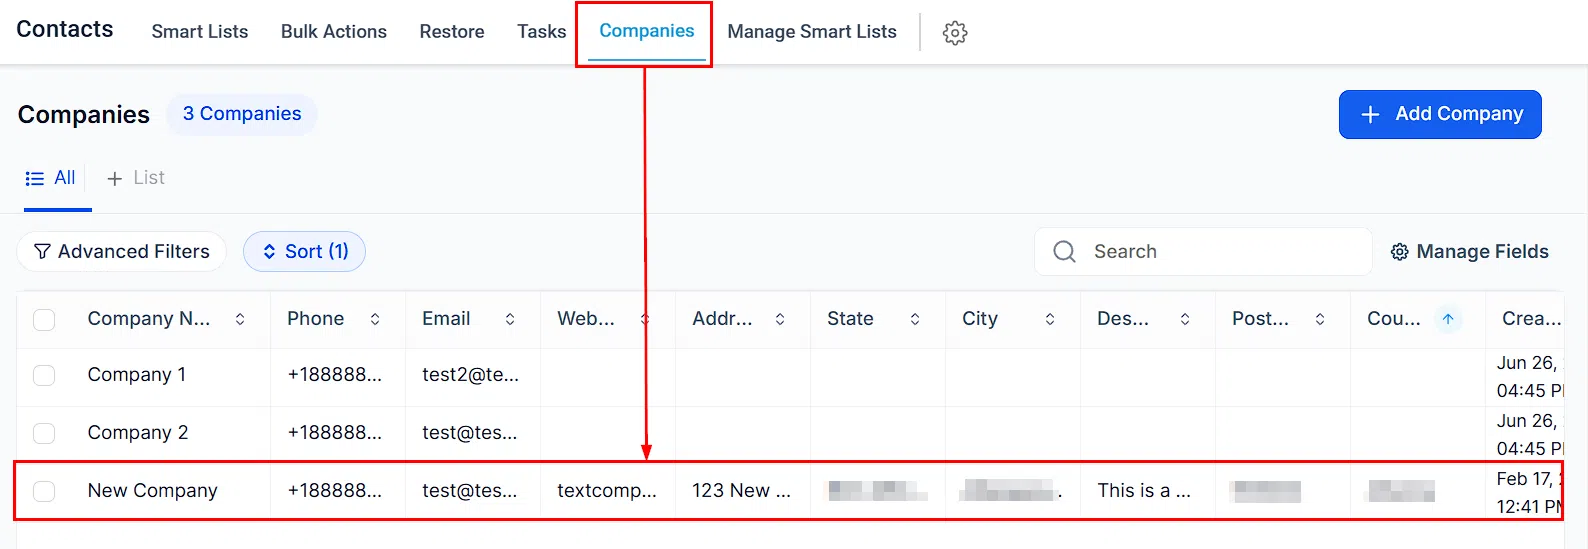
The Companies section in Growth360 lets you group contacts under a company record, giving you a consolidated view of every interaction, task, and note related to that business. Find it under Contacts > Companies.
The Companies List
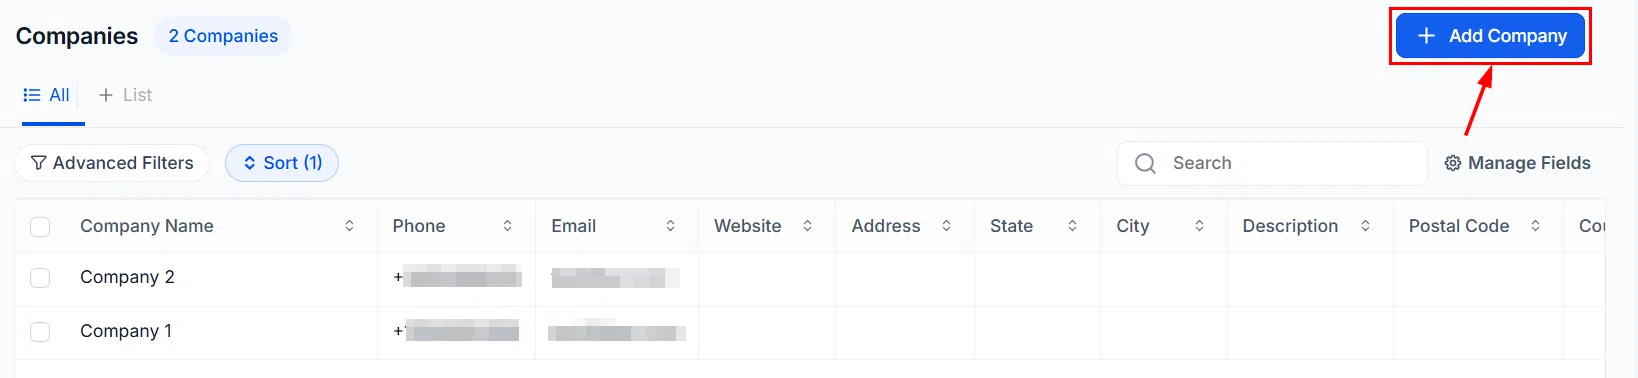
The main Companies screen shows all company records in your account. From here you can create new companies, search and filter your list, and open any company to manage it.

Creating a Company
Click + Add Company in the top right to create a new company record.
A popup will appear with fields to fill in. Complete the required details and click Save to create the record.
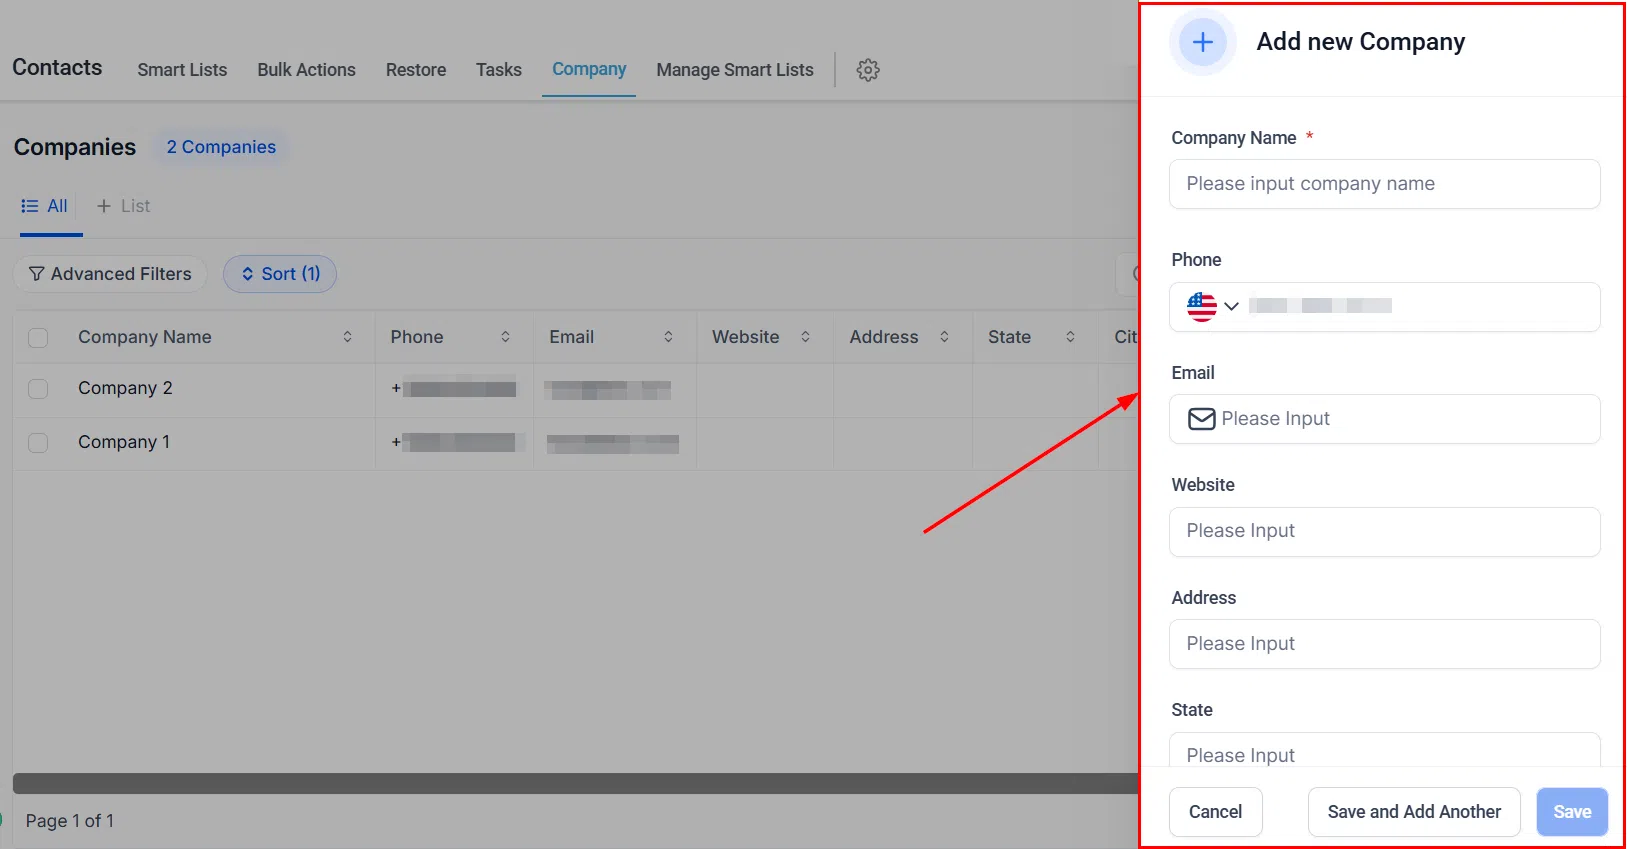
The available fields include: Company Name, Phone, Email, Website, Address, City, State, Postal Code, Country, and Description. You can also add custom fields relevant to your business.
Filtering Your Company List
Use the filter options to narrow your company list by specific field values such as location, industry, or any custom fields you have set up.
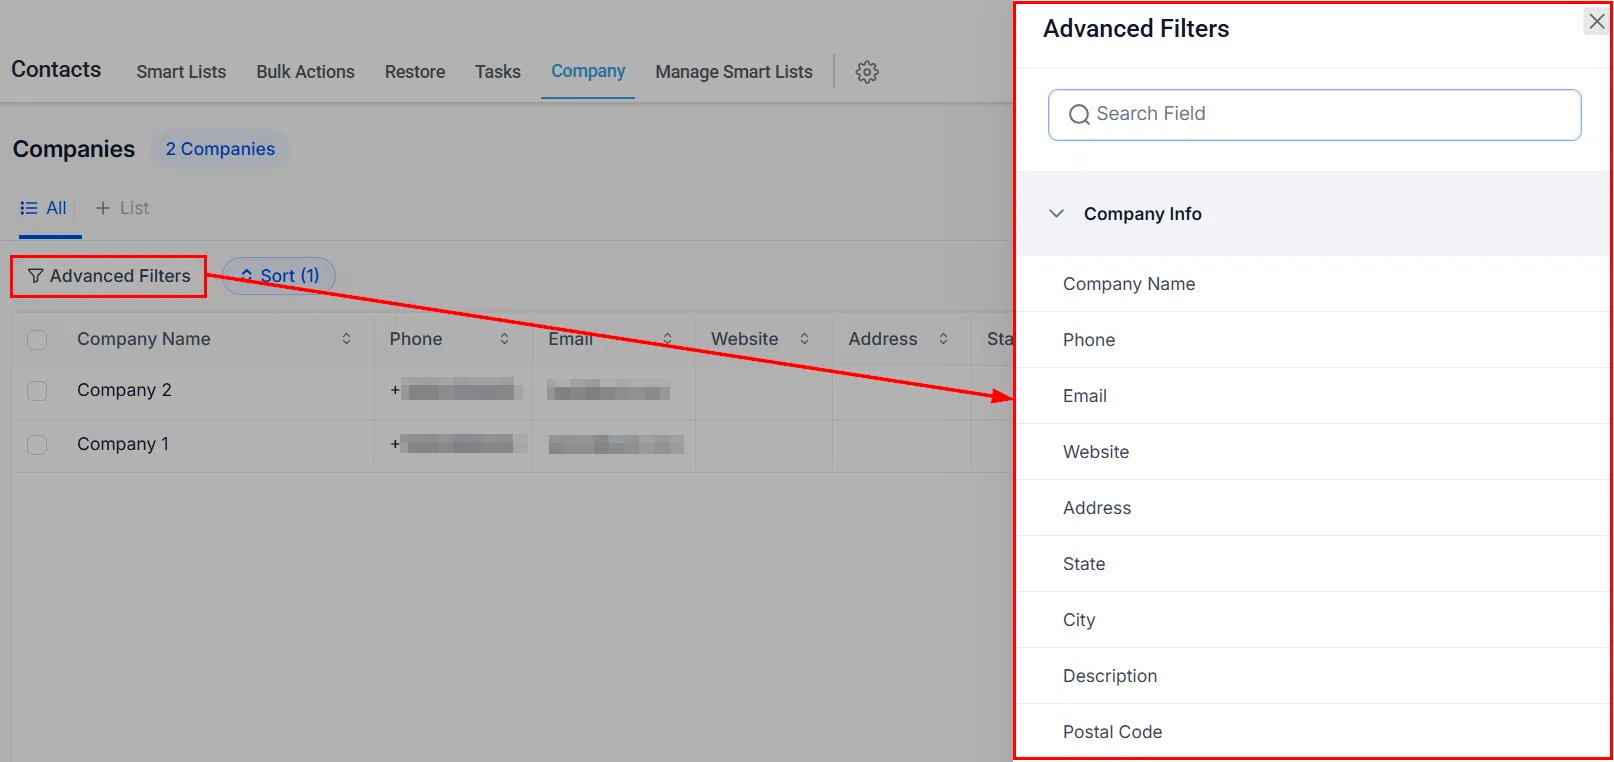
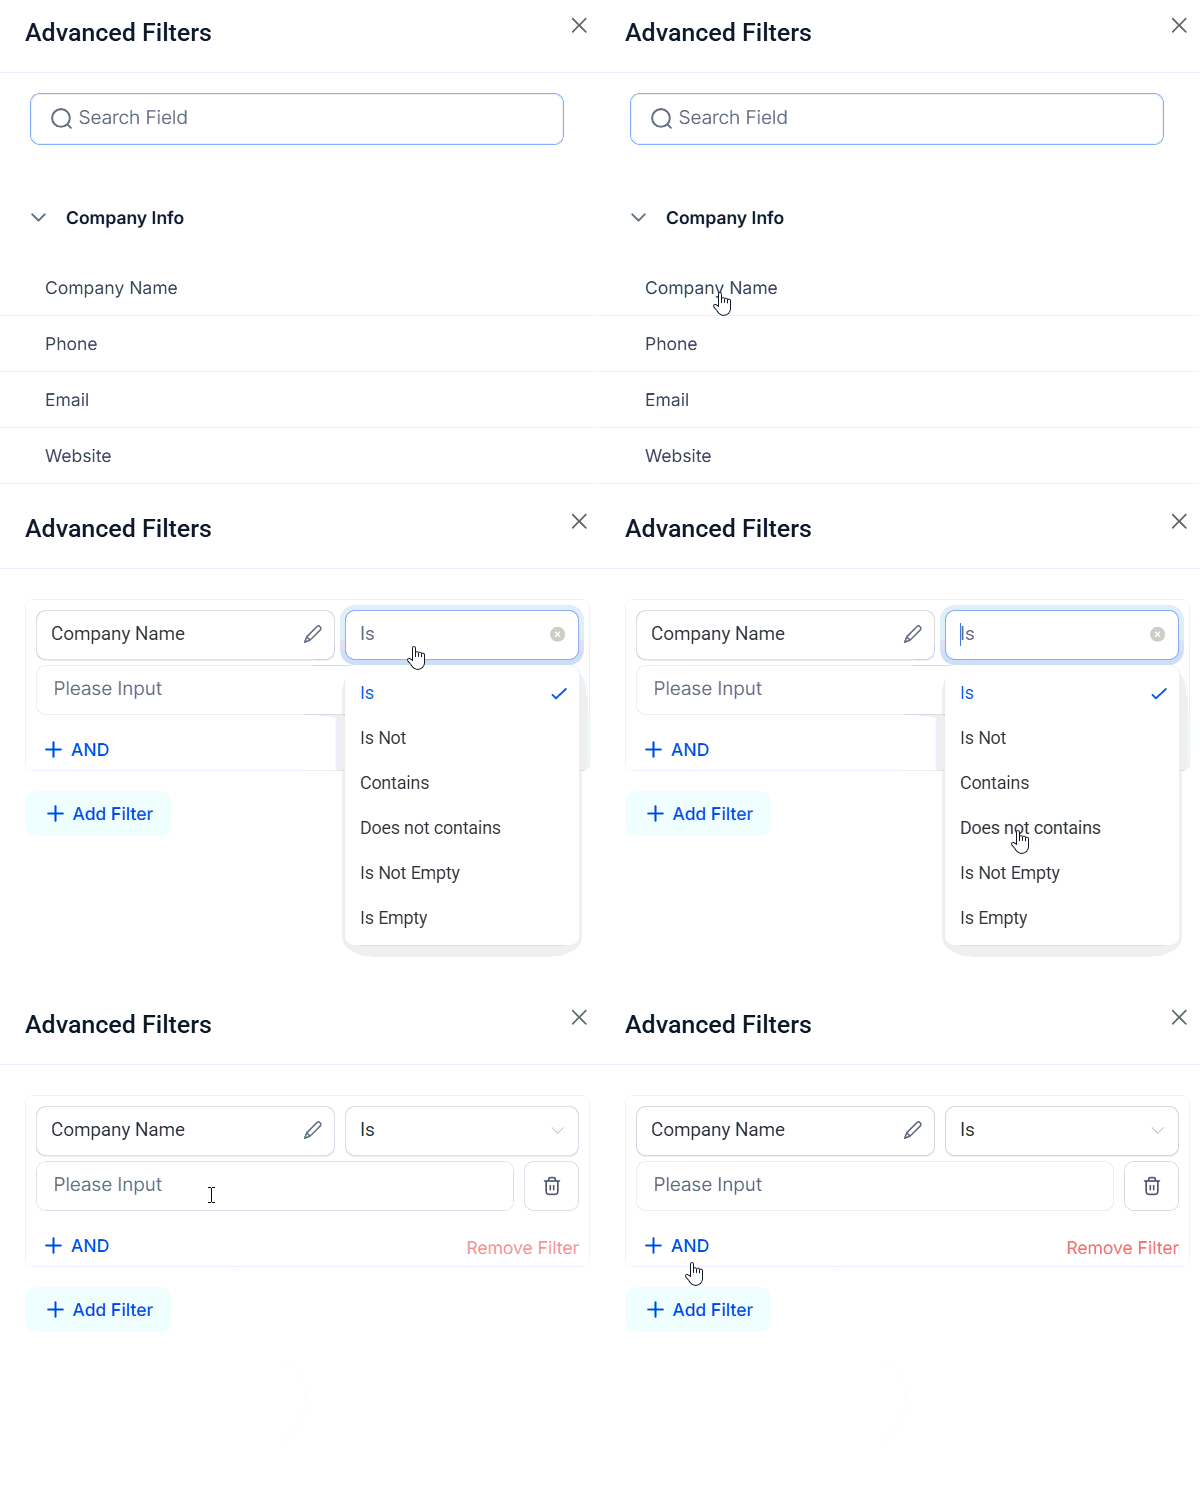
Select a filter field, choose the operator, and enter your value. Use And to find companies matching all criteria, or Add Filter to find companies matching any of them. Click Apply to load the filtered view.
Sorting and Display Options
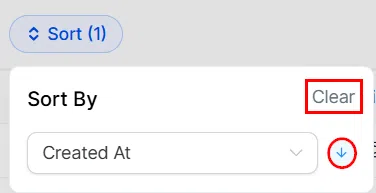
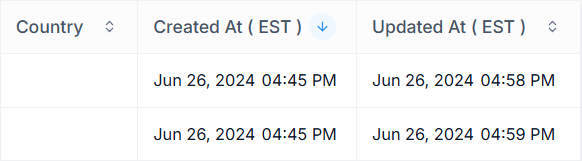
Sort your company list by any available field such as created date or company name. Choose ascending or descending order using the arrows.

Click Clear to reset any sorting back to the default view.
Searching
Use the search bar to quickly find a specific company by name.

Managing Columns
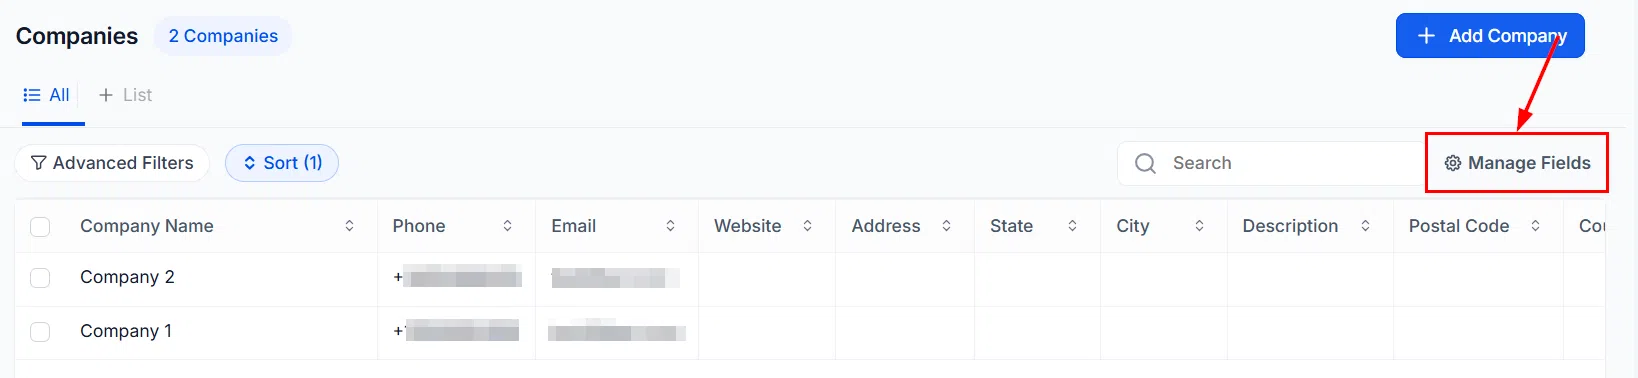
Use Manage Fields to choose which columns appear in your company list and set their display order. This lets you surface the data most relevant to your workflow.

Editing and Deleting a Company
Click the three-dot Actions menu on any company row to edit its details or delete the record.
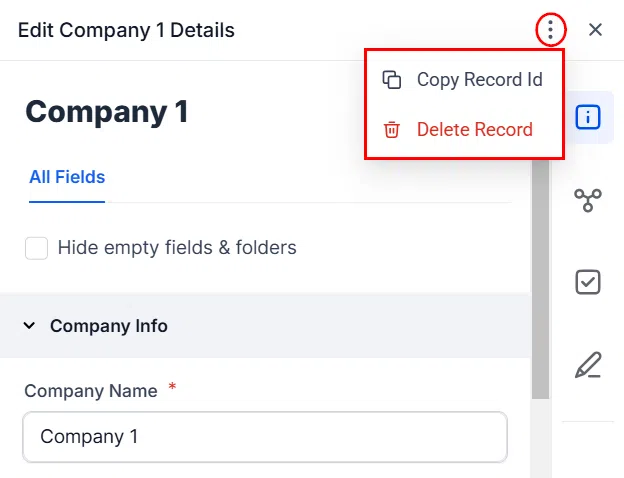
Note: Deleting a company does not delete the associated contacts – it only removes the company information from those contact records.
Inside a Company Record
Details
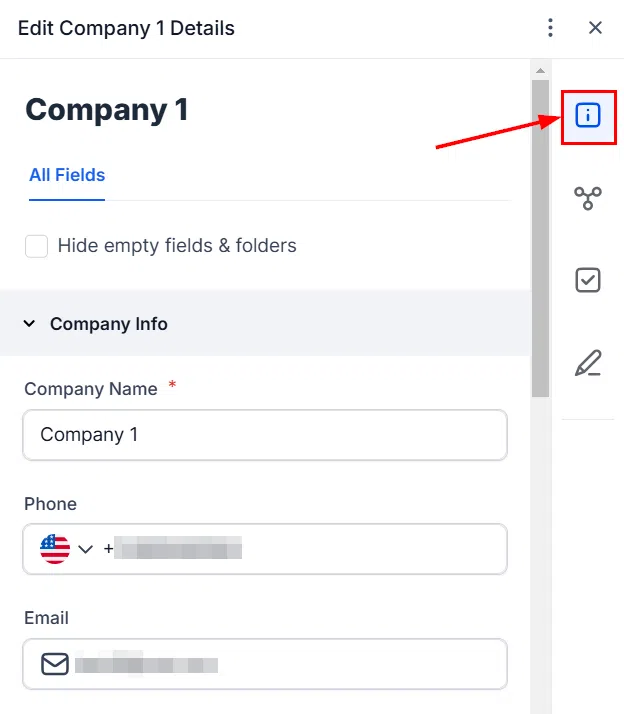
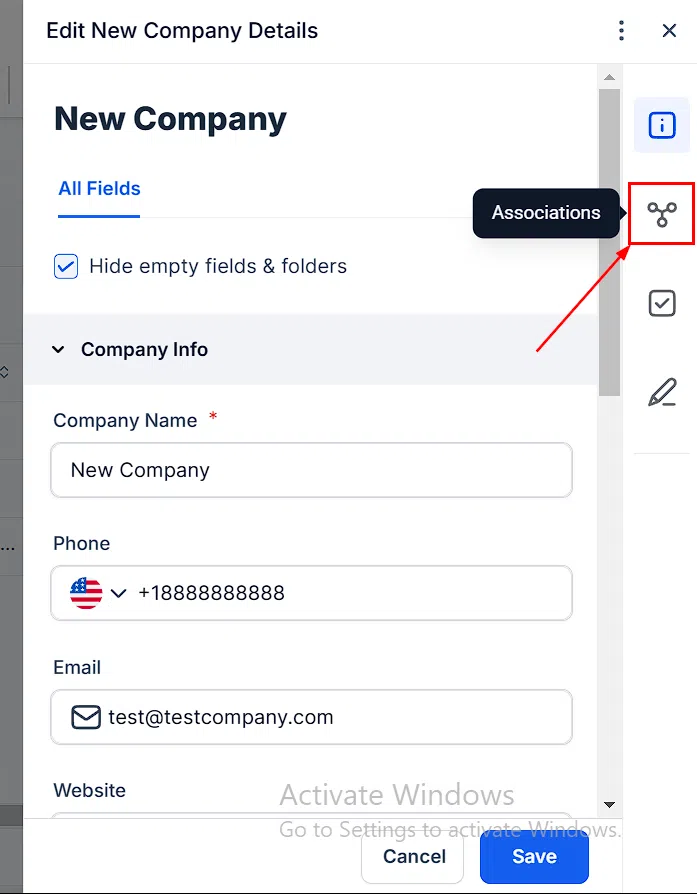
The Details tab shows all company information. Make changes and click Save to update the record.
Associations
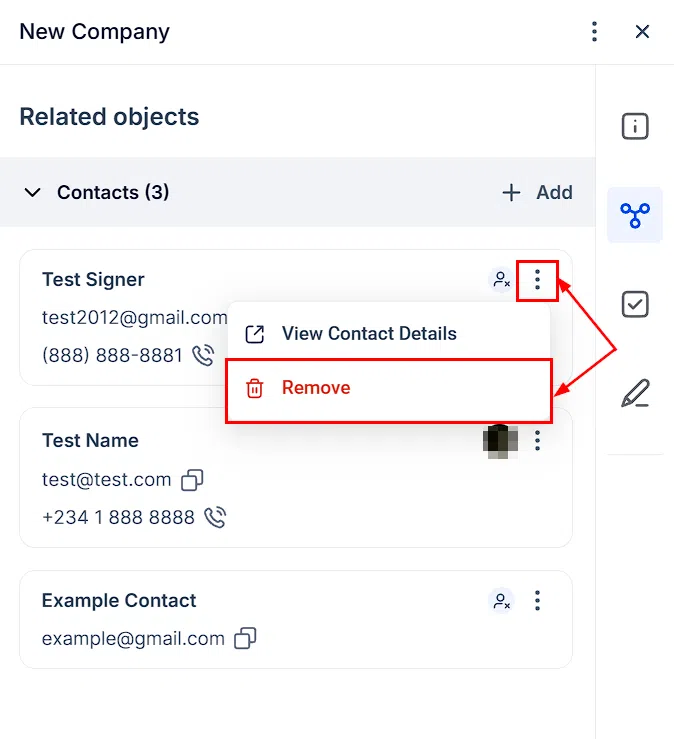
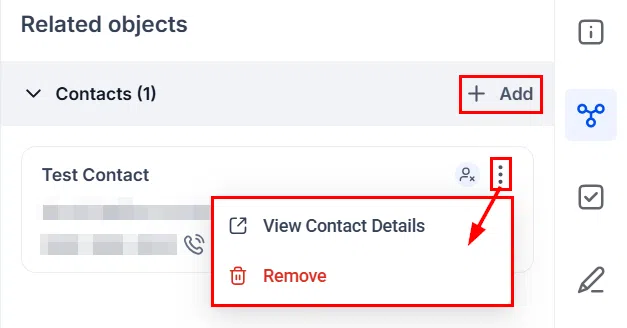
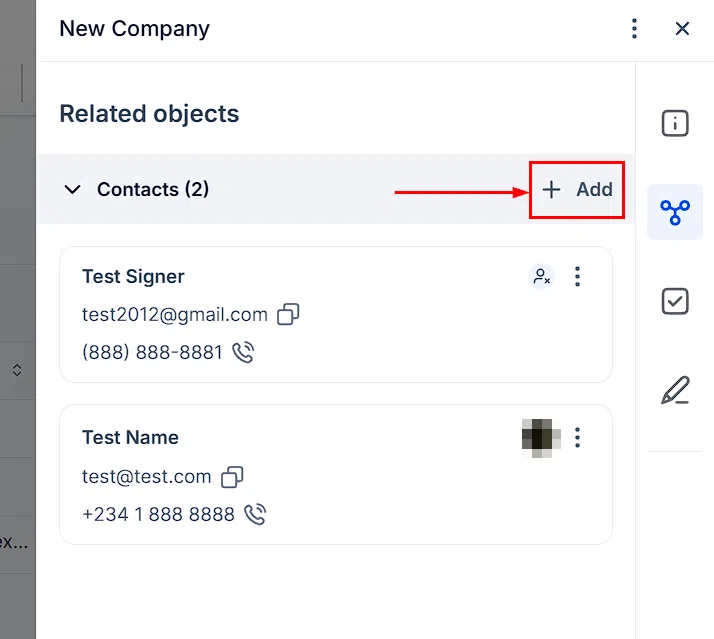
The Associations tab shows all contacts linked to this company. Click + Add to associate additional contacts. Use the three-dot menu next to any contact to view their details or remove the association.

Tasks
The Tasks tab shows all tasks across every contact associated with this company – useful for tracking outstanding actions at a business level.
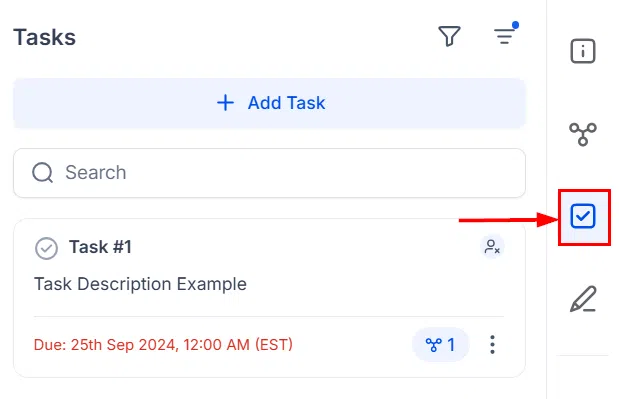
Filter tasks by assigned team member, status, or contact. Sort by due date or created date.
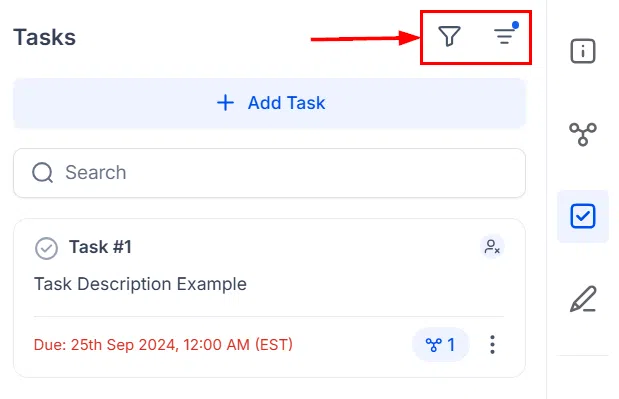
Assign a new task to any contact in the company by clicking + Add Task.

Use the search bar to find a specific task within the list.

Notes
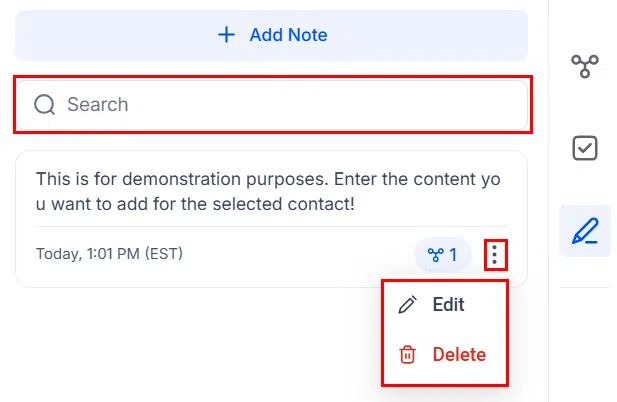
The Notes tab lets you add and review notes linked to contacts in this company.
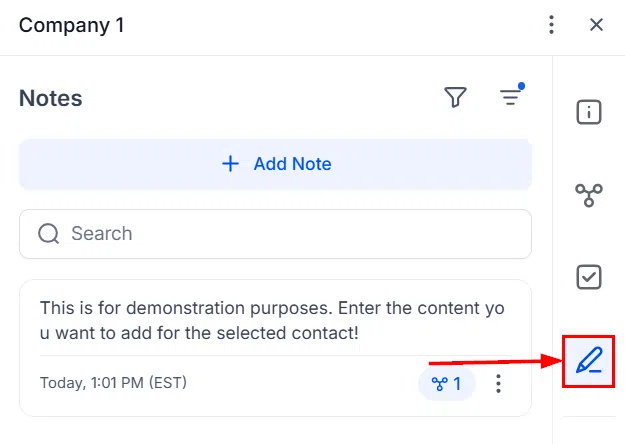
Sort notes by created date in ascending or descending order.
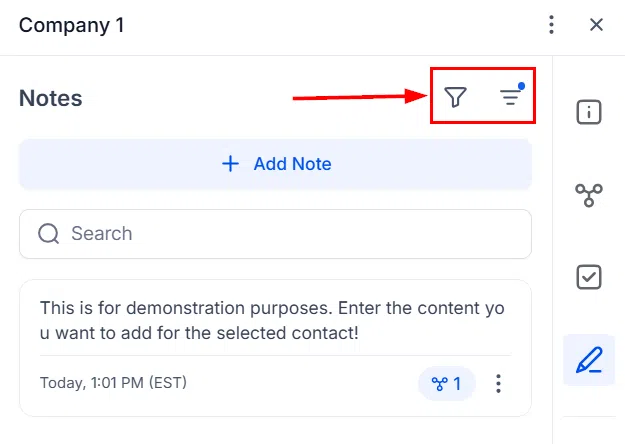
Click + Add Note to create a new note, then click Create to save it. Edit or delete existing notes using the three-dot menu.

How to Link Contacts to a Company
You can associate a contact with a company using either of two methods.
Method 1 – Via Smart Lists
Navigate to Contacts > Smart Lists and open a contact record.

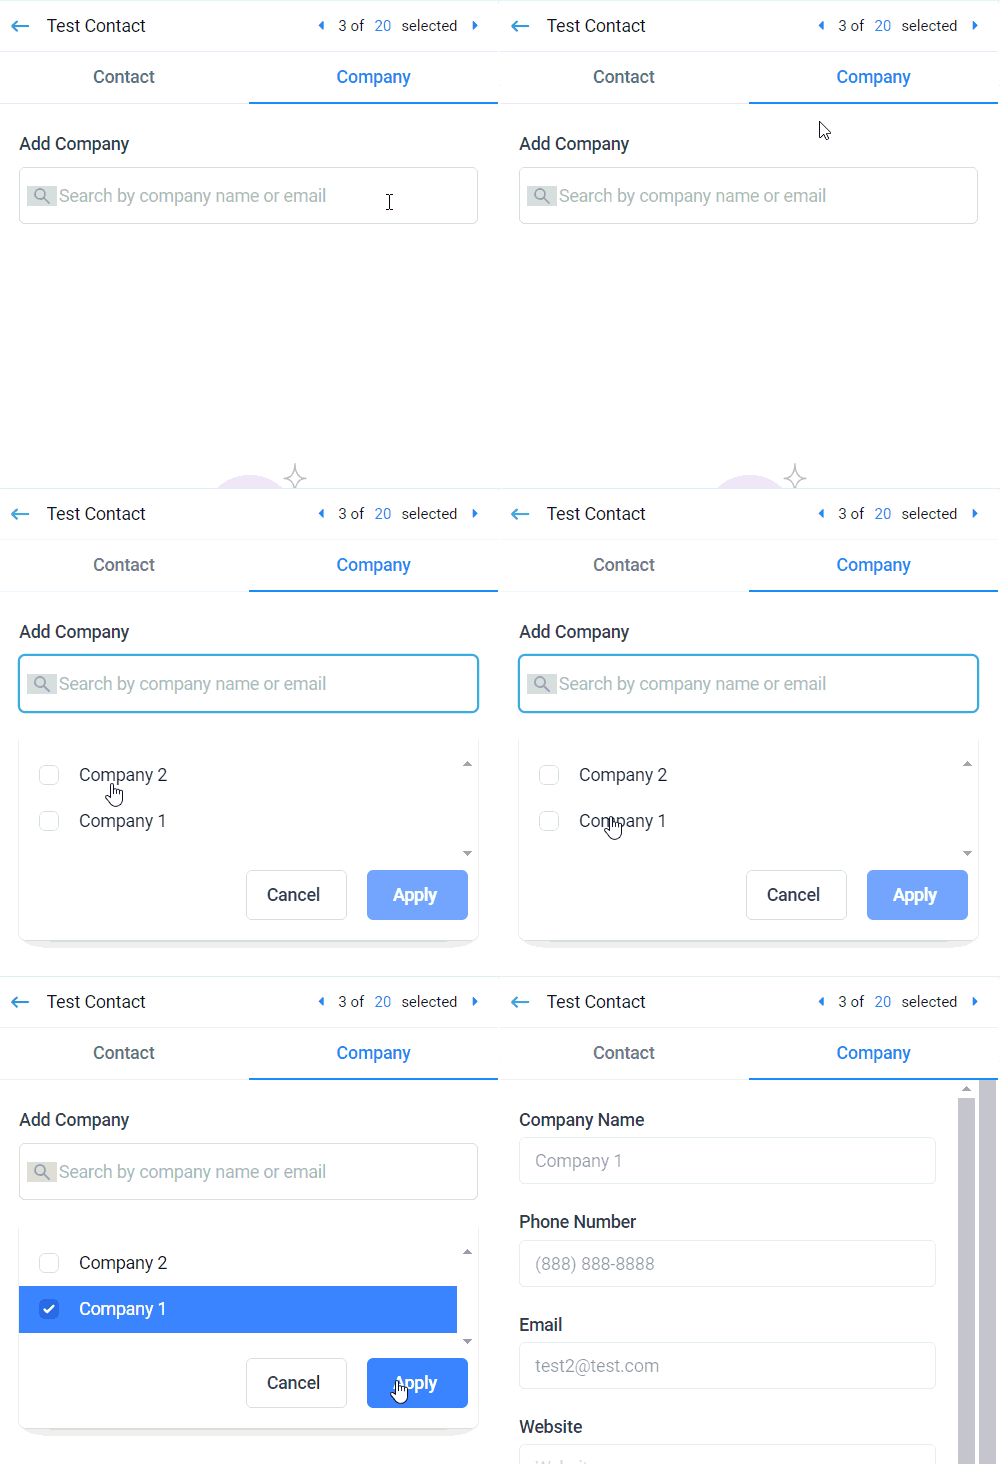
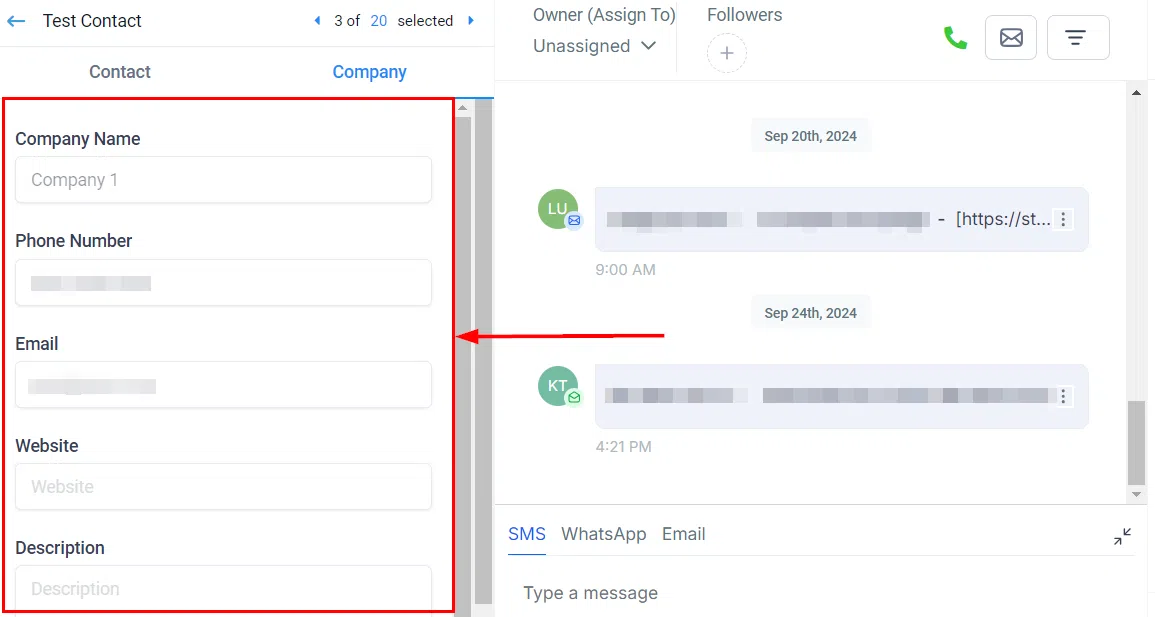
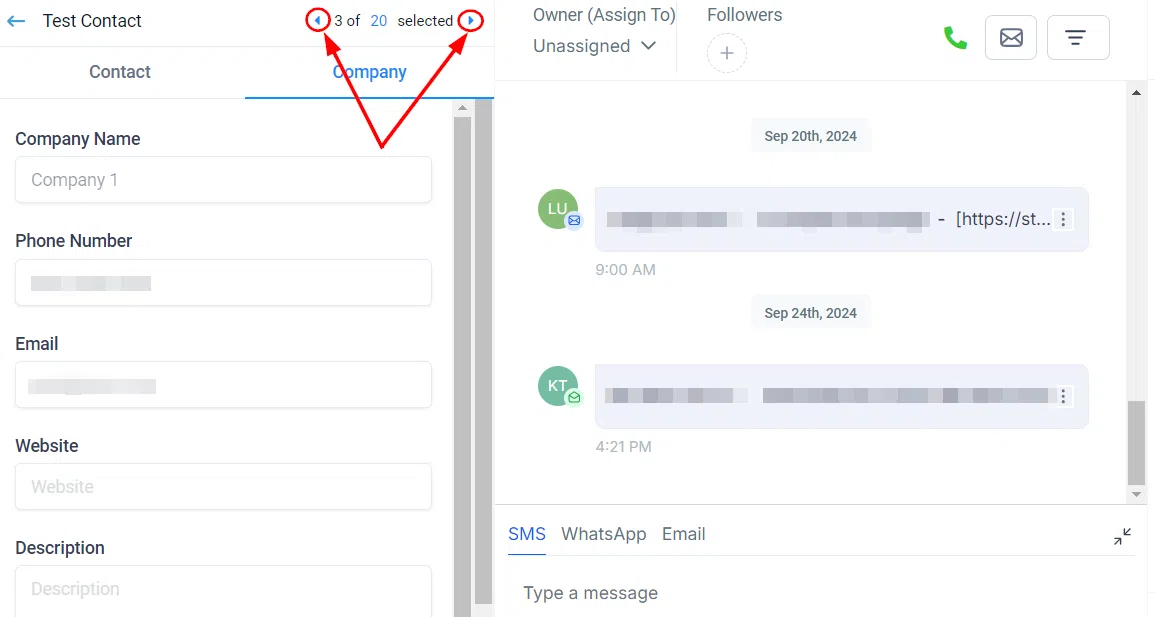
Go to the Company tab within the contact card and use the search to find the company. Select it to create the association.
Method 2 – Via the Company Record
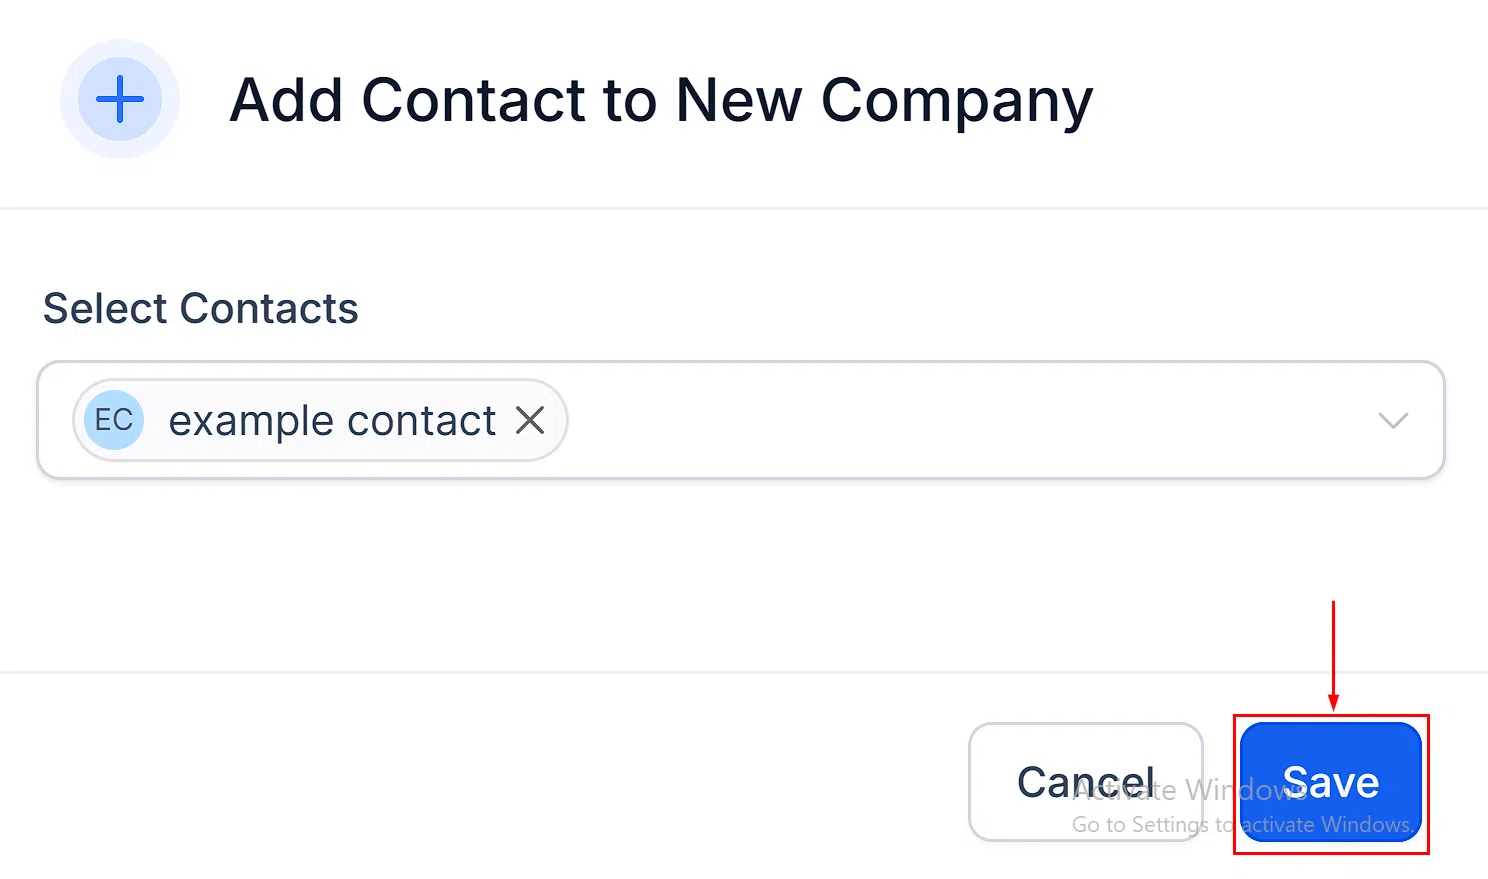
Open the company record, go to the Associations tab, and click + Add to search for and link a contact directly.
Removing a Contact from a Company
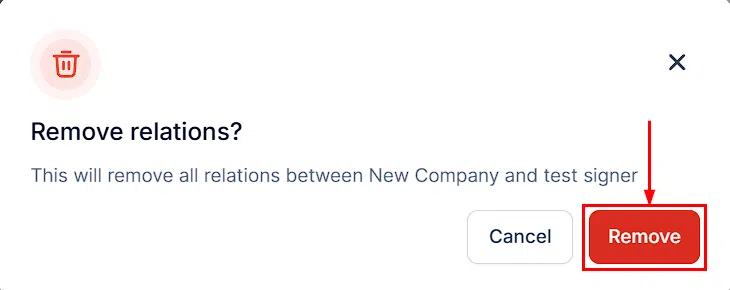
To remove an association, go to the Associations tab inside the company record and click the three-dot menu next to the contact, then choose Remove.