
Smart lists are an essential tool for managing your contacts. With smart lists, you can sort, filter, and manage your contacts with ease, making it easier to keep track of your customer data.
Here we’ll take you through the different components of smart lists and how to create them.
Creating a New Smart List
Creating smart lists is a crucial step in efficiently managing your contacts. By segmenting them according to their position in the sales process or their interactions with your business, you can easily target specific groups with personalised content.
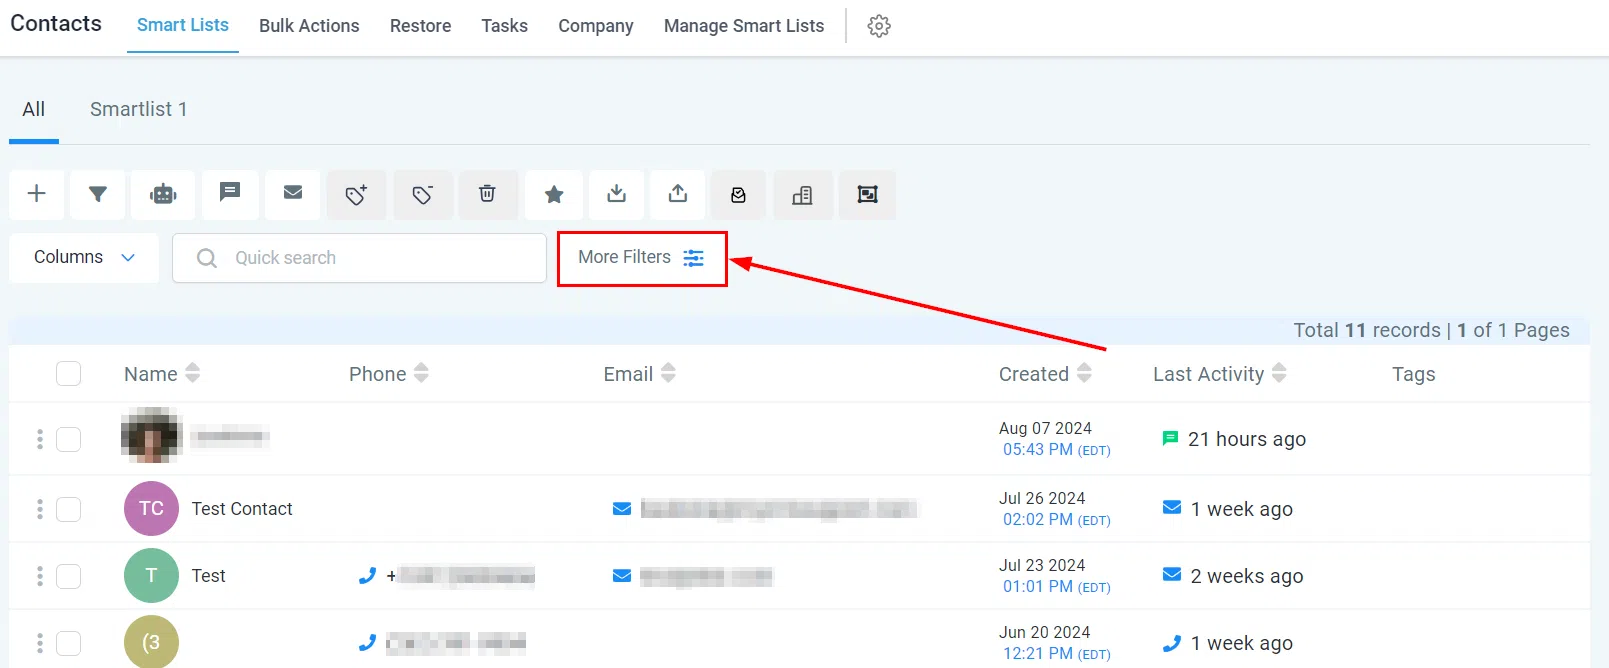
To get started, click the More Filters button at the top of your contacts list.
Applying Filters
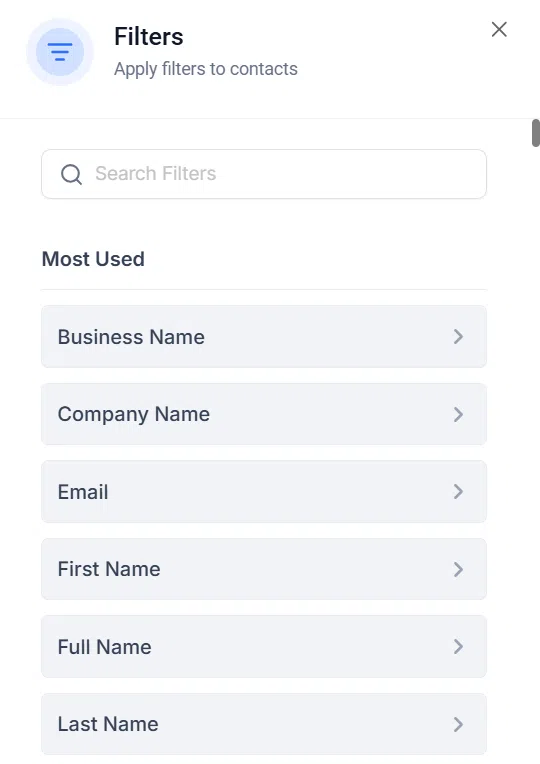
A list of filters will be displayed on the right-hand section of your screen. These filters refine the criteria for your smart lists, making them more relevant and useful.
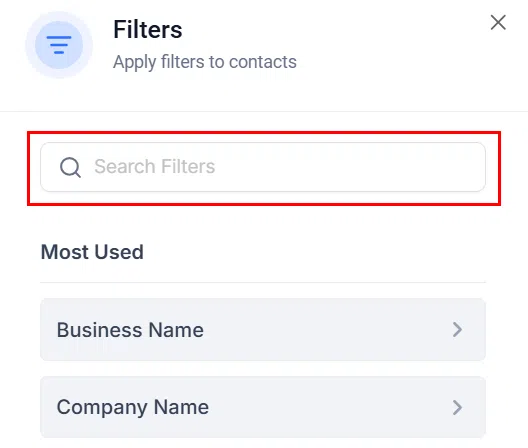
Use the search bar to locate specific filters you wish to apply, then select them to view additional filtering options.
Configuring Your Filters
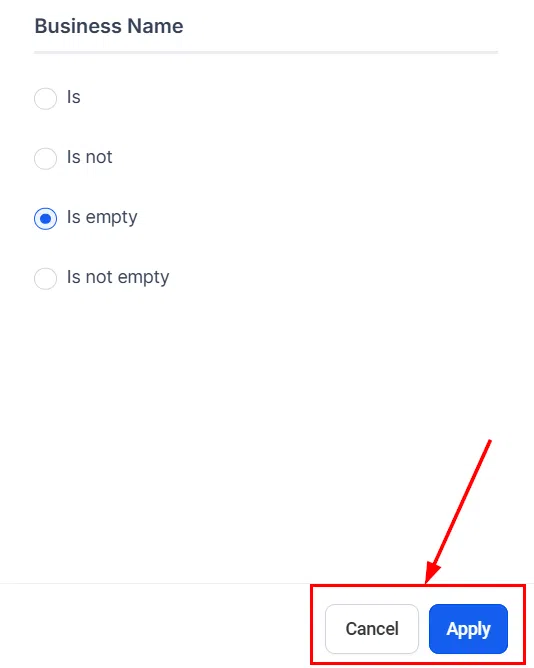
After selecting a filter, define the conditions contacts must meet to be included in the smart list. Filters such as Is, Is Not, More Than, Less Than, and Contains require specific input values. Options like Is Empty, Is Not Empty, and Has Active Campaign simply verify the presence or absence of the specified criteria.
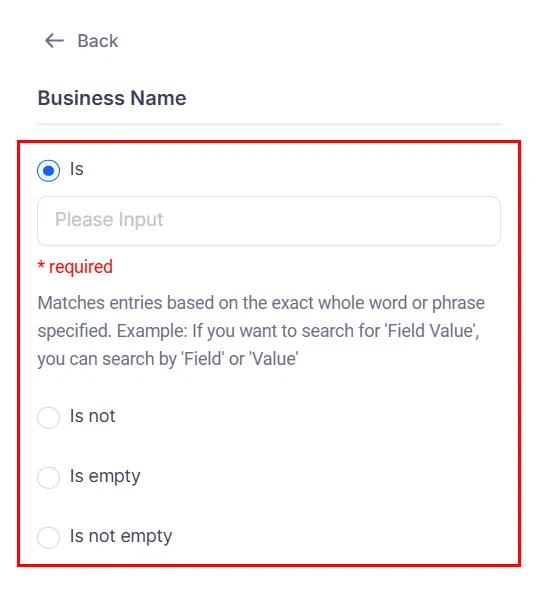
Once you have chosen your preferred option, click Apply to confirm your filter. Click Cancel to discard.
Applying Multiple Filters
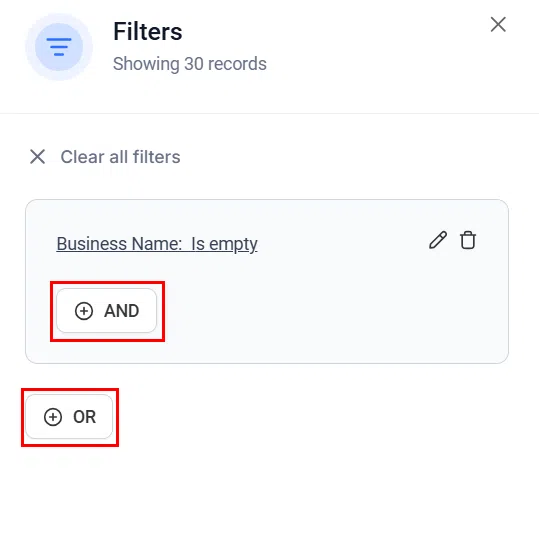
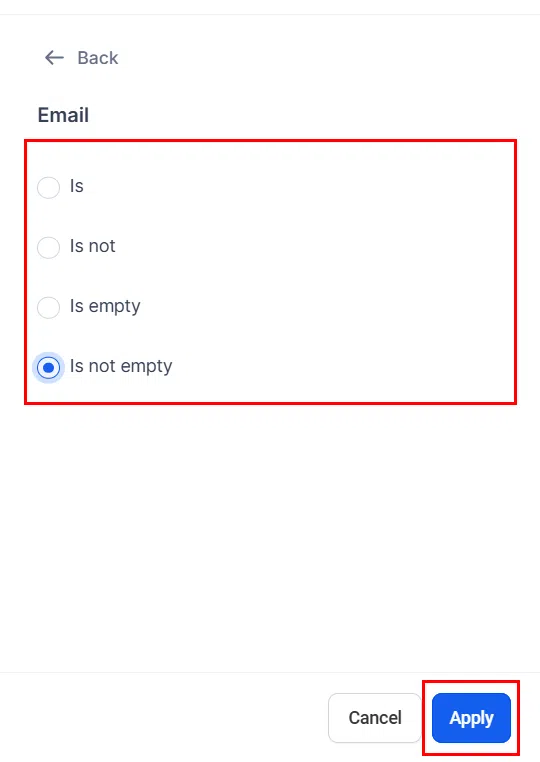
To incorporate multiple criteria, use the And or Or options. And includes only contacts meeting all specified criteria; Or includes contacts meeting any of the selected criteria. Select the option that best suits your needs, then choose an additional filter and click Apply.
Saving Your New Smart List
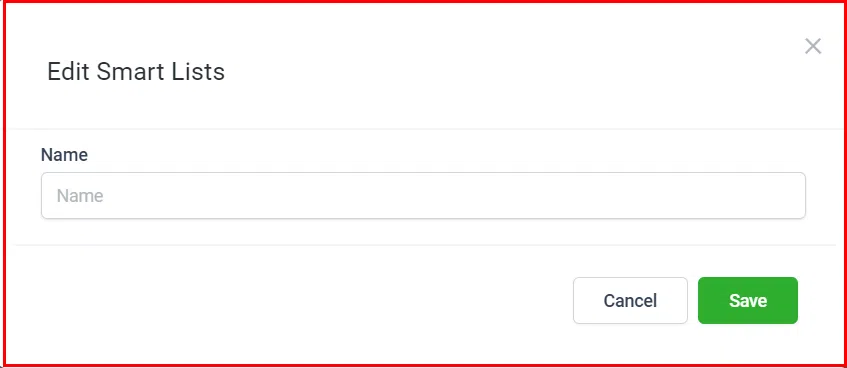
Once your filters are configured, click the Save as Smart List button at the bottom right of the page. Give your smart list a descriptive name that reflects the filters used – this makes it easy to identify later.
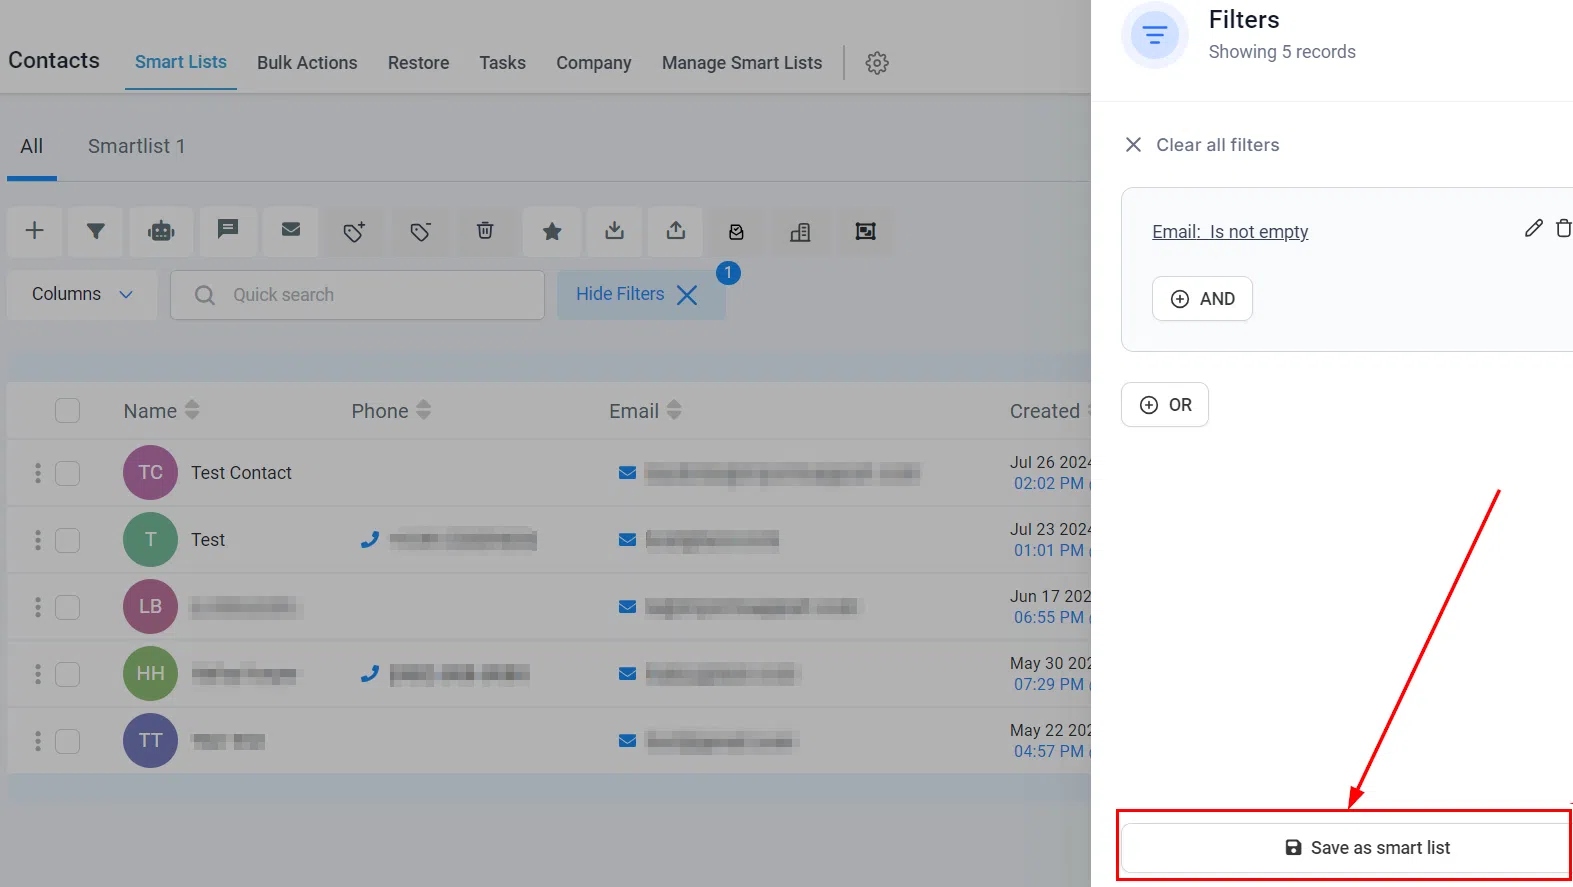
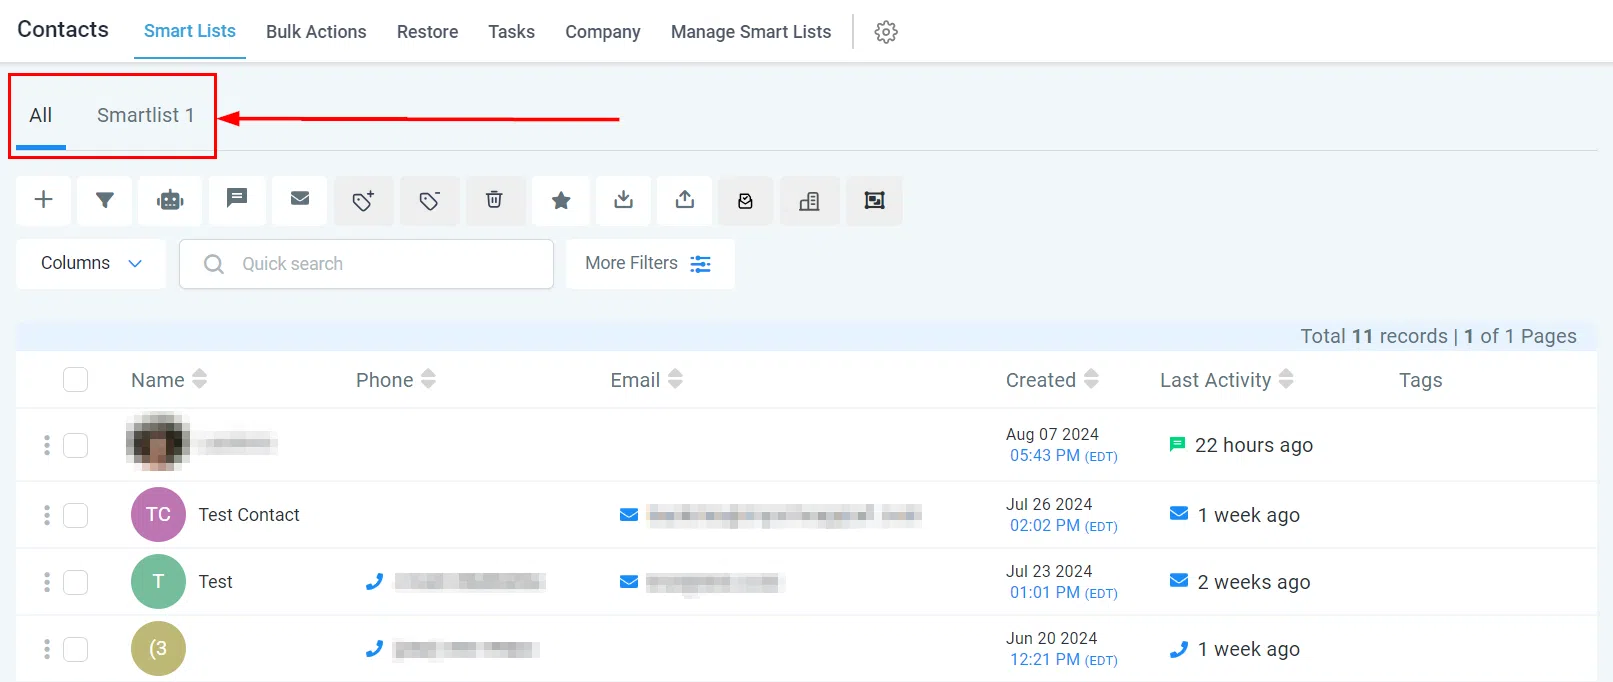
Your new smart list will appear pinned in the top row of your lists for easy access and remains available for future use.
Working With Your Smart List
Edit Smart List Columns
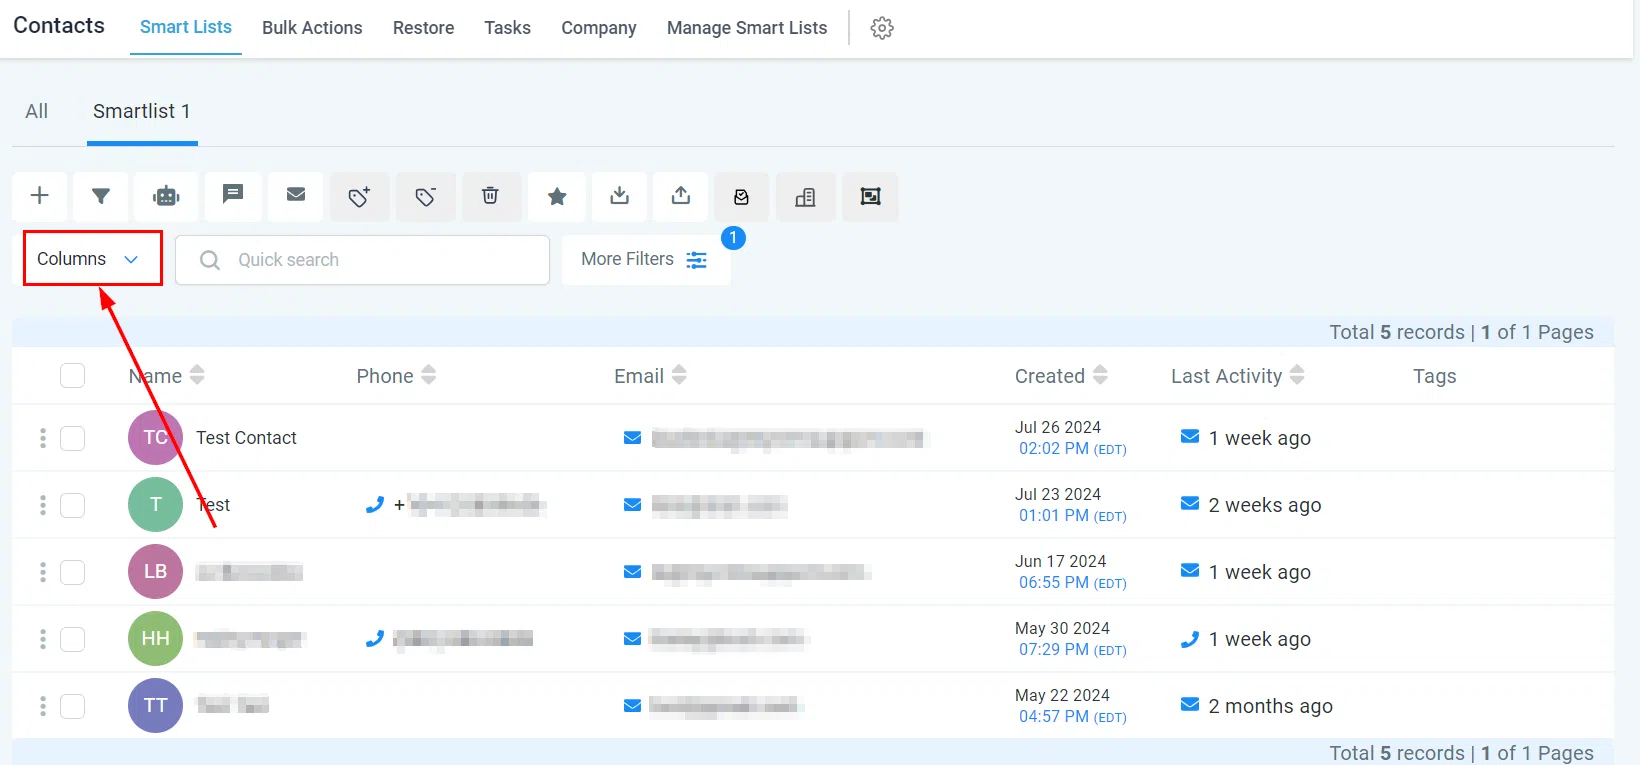
To control the information you see, use the Columns drop-down option (top right of any contact list) to toggle data columns on and off, customised to suit your viewing needs.
Search For Contacts
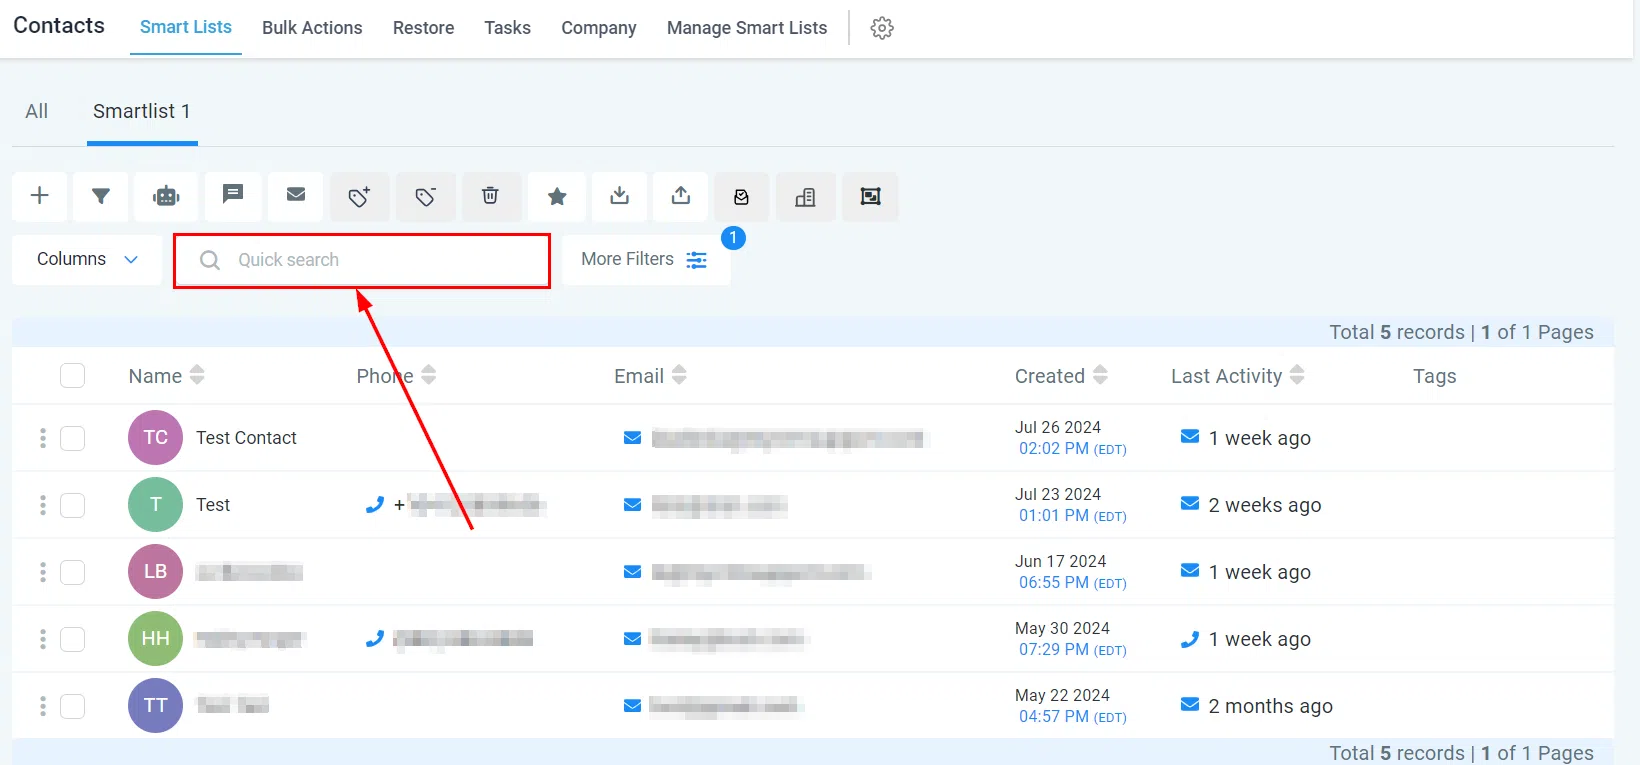
Use the search bar at the top right to search by contact name, business name, tags, email, or phone number – enter a minimum of 3 characters to begin.
With well-defined smart lists, you can save time and focus on reaching out to the right people at the right time, improving your lead generation and conversion rates.