Growth360 lets you issue full or partial refunds directly from the Transactions tab, and import historical transaction data via CSV to keep your payment records complete.
Managing Refunds
Growth360 integrates with Stripe, Authorize.net, NMI, and PayPal, allowing you to process refunds seamlessly across multiple payment providers. All refund attempts – whether successful or failed – are recorded in the Transaction Details page.
Accessing the Refund Option
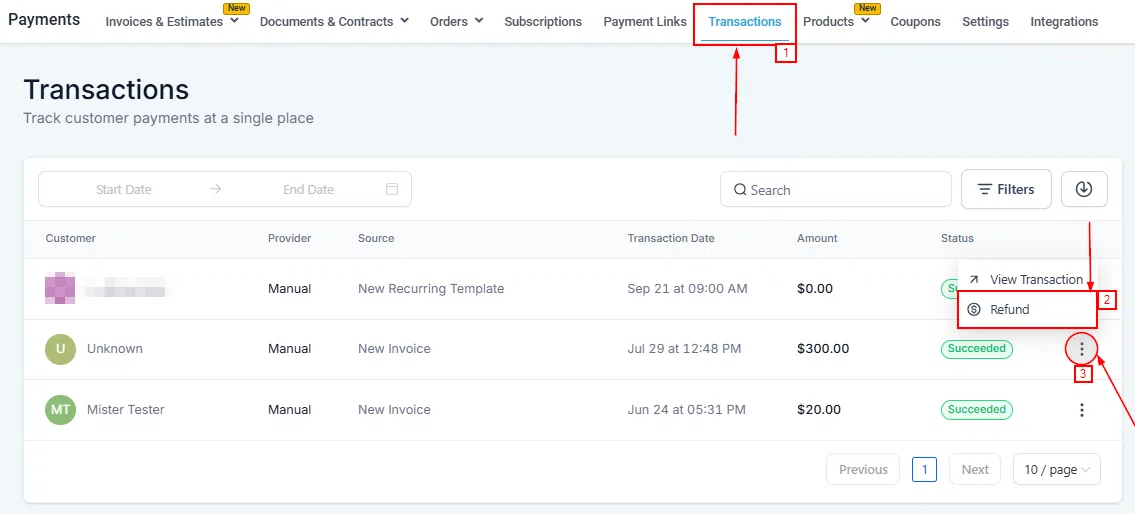
Go to Payments > Transactions, locate the transaction you want to refund, then click the three-dot actions menu and select Refund.
Full Refunds
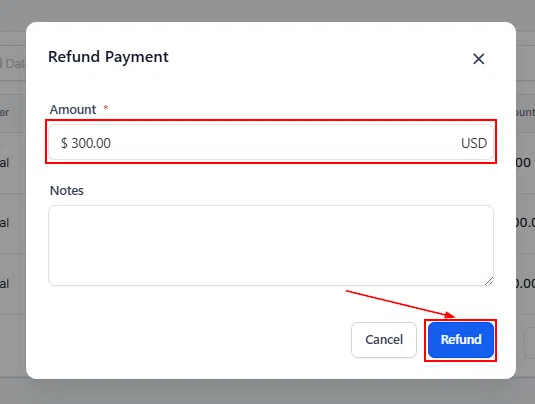
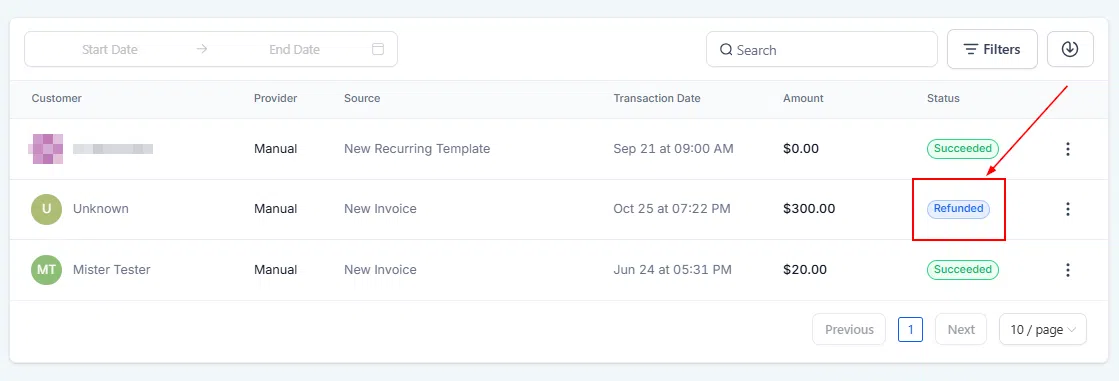
After clicking Refund, a confirmation window appears. Leave the amount as-is and click Refund, then confirm the action. The full transaction amount is returned to the customer.
Partial Refunds
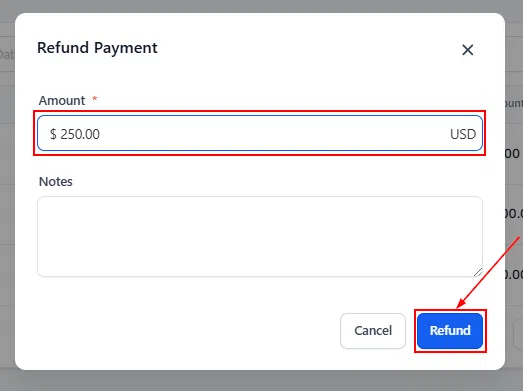
To refund only part of a transaction – for example, to apply a retroactive discount – enter the partial amount in the refund window before clicking Refund.
Viewing Refund Records
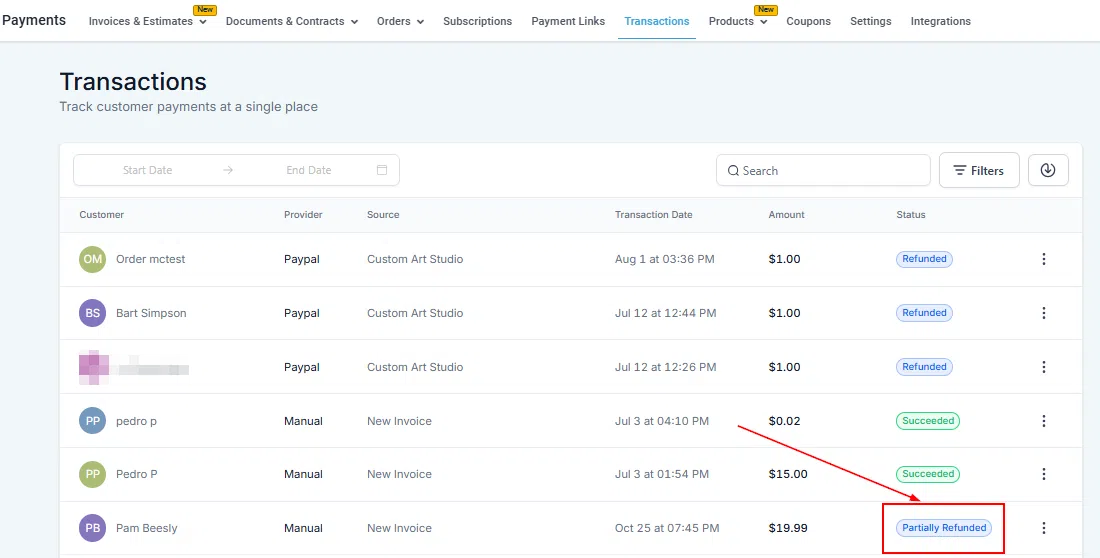
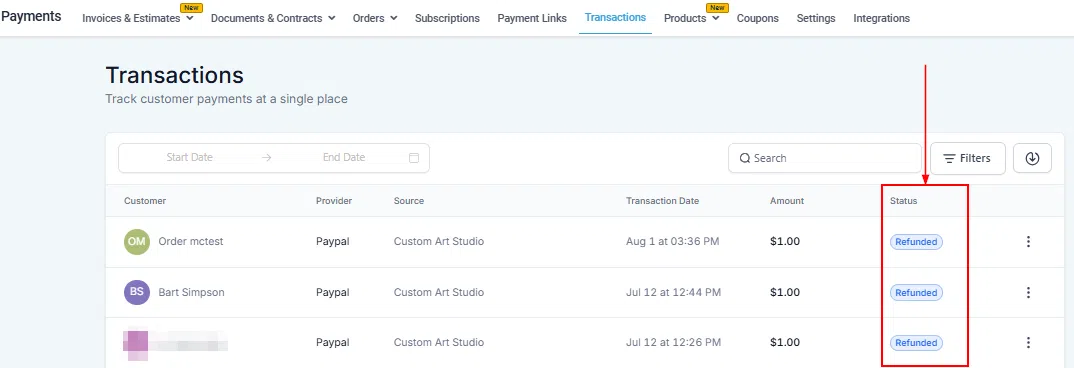
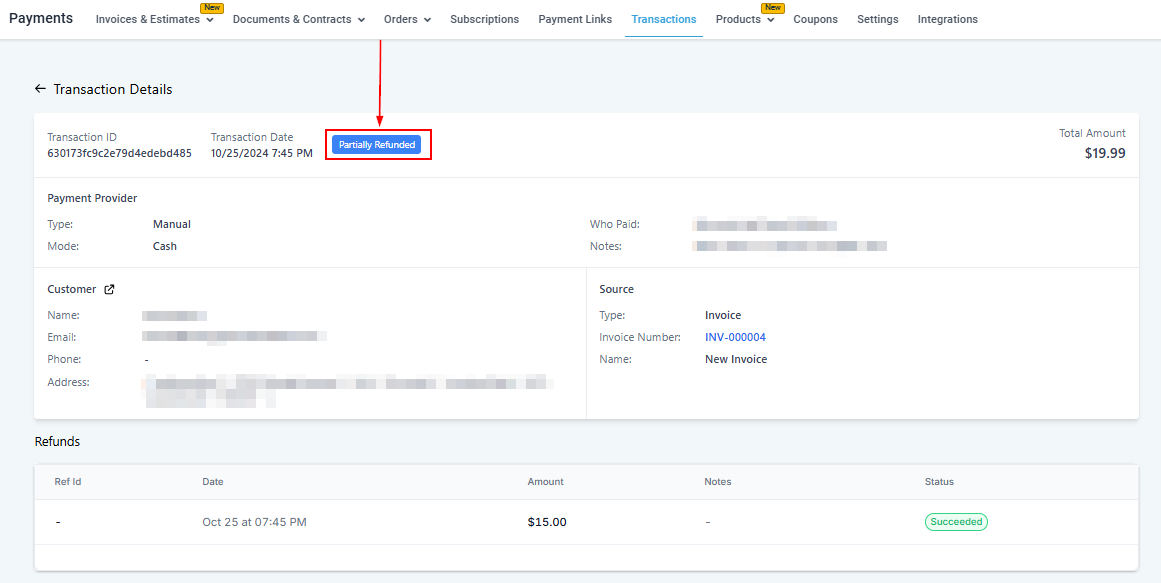
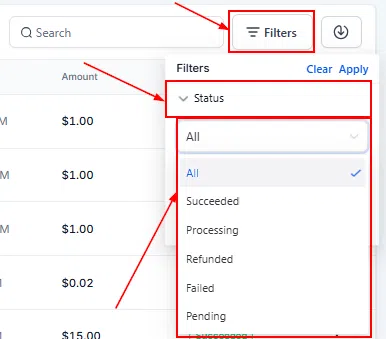
All refund activity is recorded in the Transaction Details page. Use the Status filter in the Transactions tab to display refunded transactions only.
Frequently Asked Questions
Where are refunded transactions recorded? All successful and failed refund attempts appear in the Transaction Details page, so you can track refunded amounts for any transaction.
Authorize.net showing “does not meet criteria for issuing a credit”? This typically means the original transaction doesn’t meet that provider’s refund eligibility rules. Contact Authorize.net support for the specific transaction details.
Can I restrict which users can process refunds? User-level permissions for refunds are not yet available. To identify refunds made by specific users, check the transaction details. You can filter for refunded transactions using the Status filter in the Transactions table.
Importing Transactions
If you have transaction history from other platforms or sources, you can import it into Growth360 via CSV. This keeps all your payment data centralised in one place.
How to Import
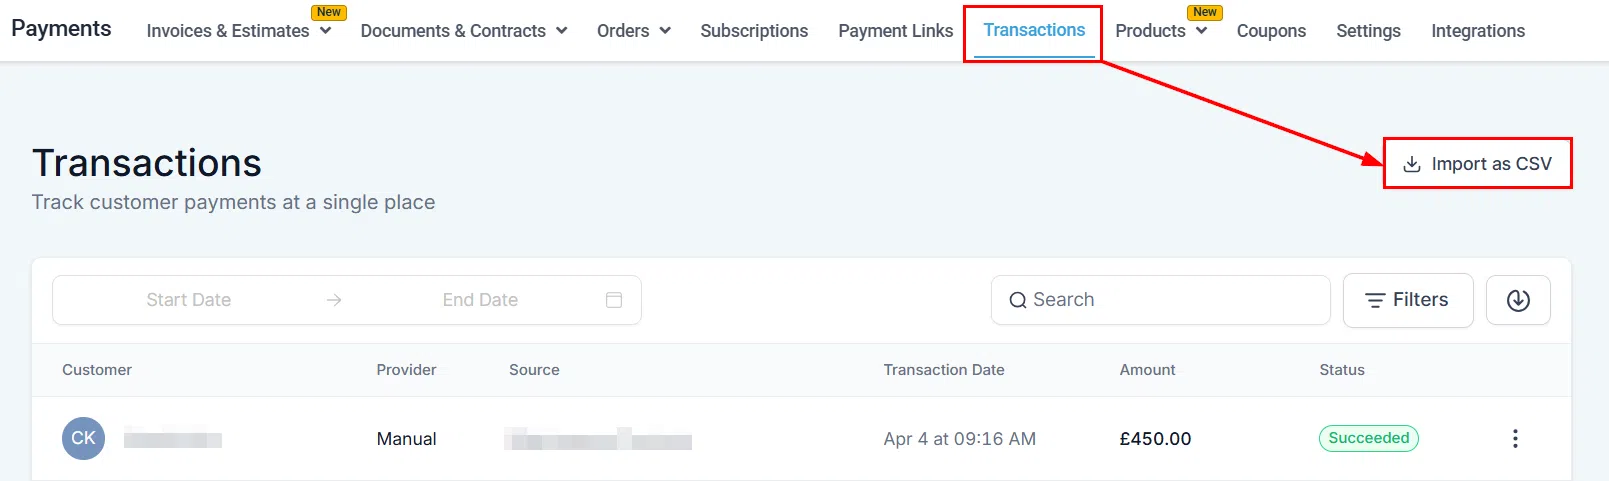
Go to Payments > Transactions and click Import as CSV. Download the sample CSV file to use as a template – it shows the required columns and format. Review the import guidelines before uploading to avoid errors.
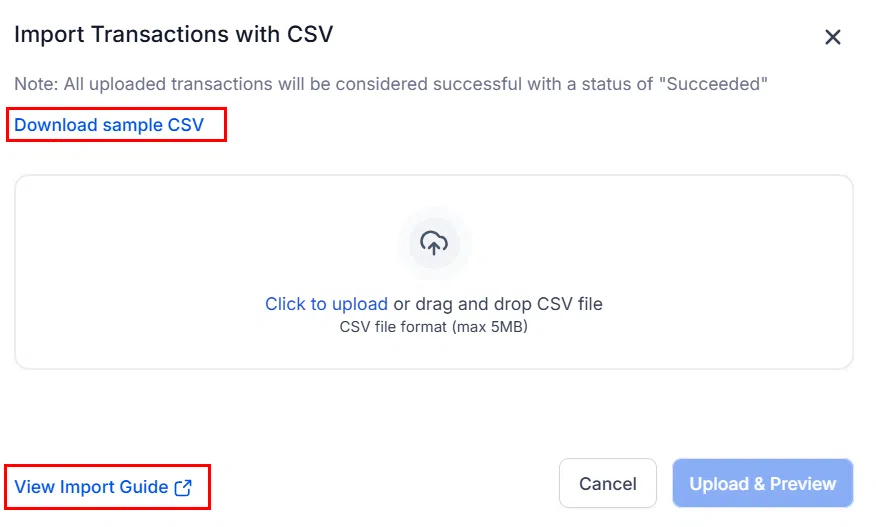
A few things to note when preparing your CSV: currencies must use the correct ISO code (for example, AUD not $), dates must follow the required format, and all required fields must be populated.
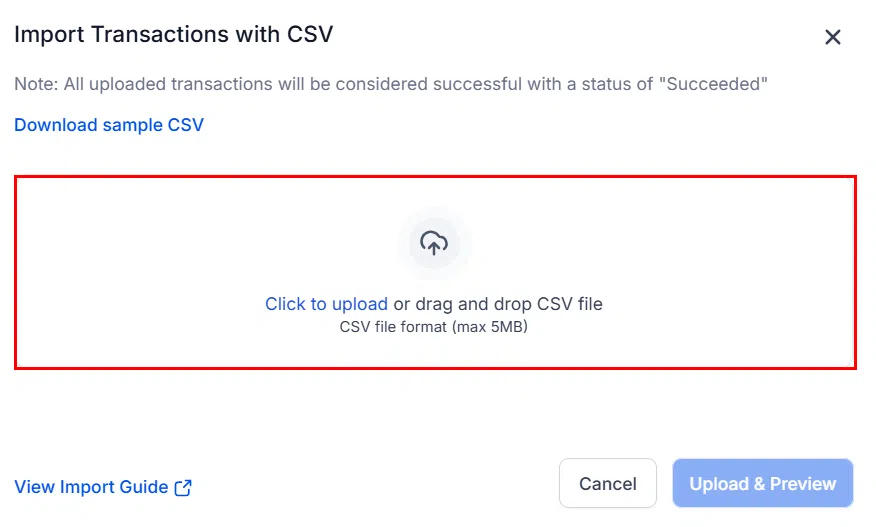
Once your file is ready, click to select it and upload.
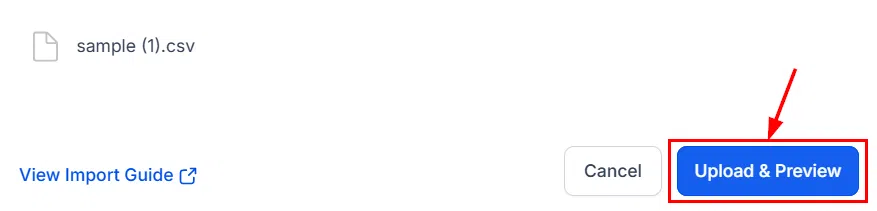
Click Import to begin processing. Growth360 will validate the data and flag any rows with errors.
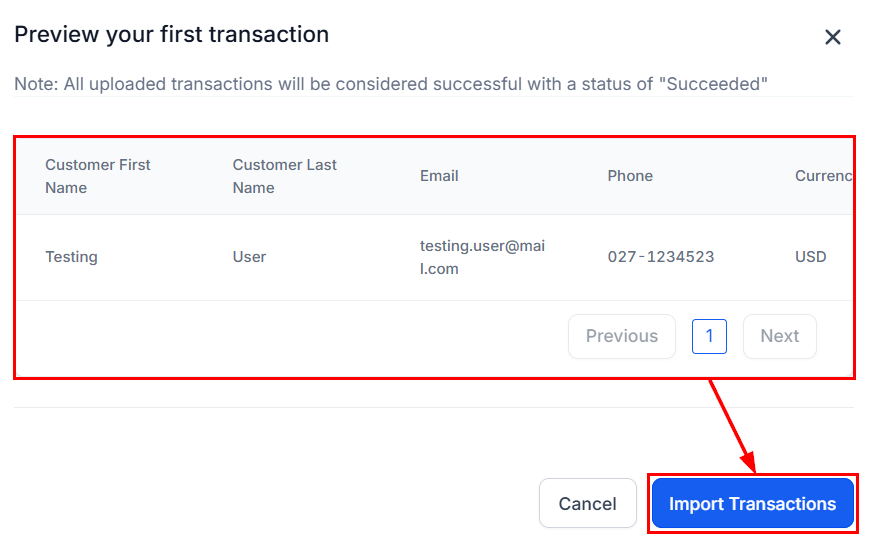
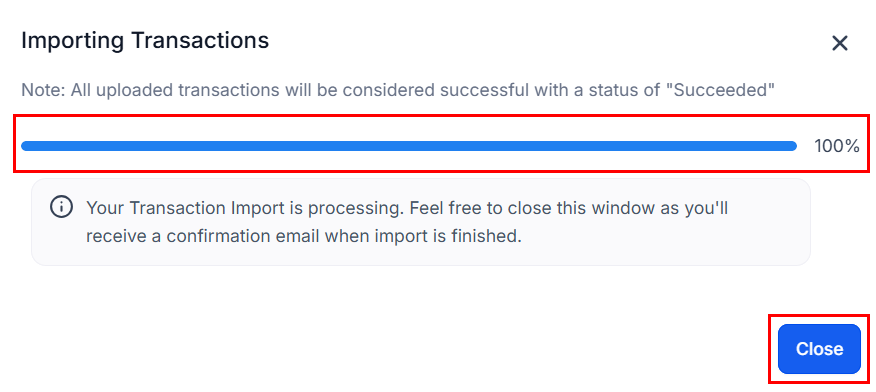
Once complete, your imported transactions appear in the Transactions tab alongside all other payment activity.