Growth360’s Chat Widget lets you capture website visitors as leads and manage conversations in real time. This guide covers how to create and customise a new chat widget, then connect it to your website – whether it is built inside Growth360, hosted externally, or running on WordPress.
Creating a New Chat Widget
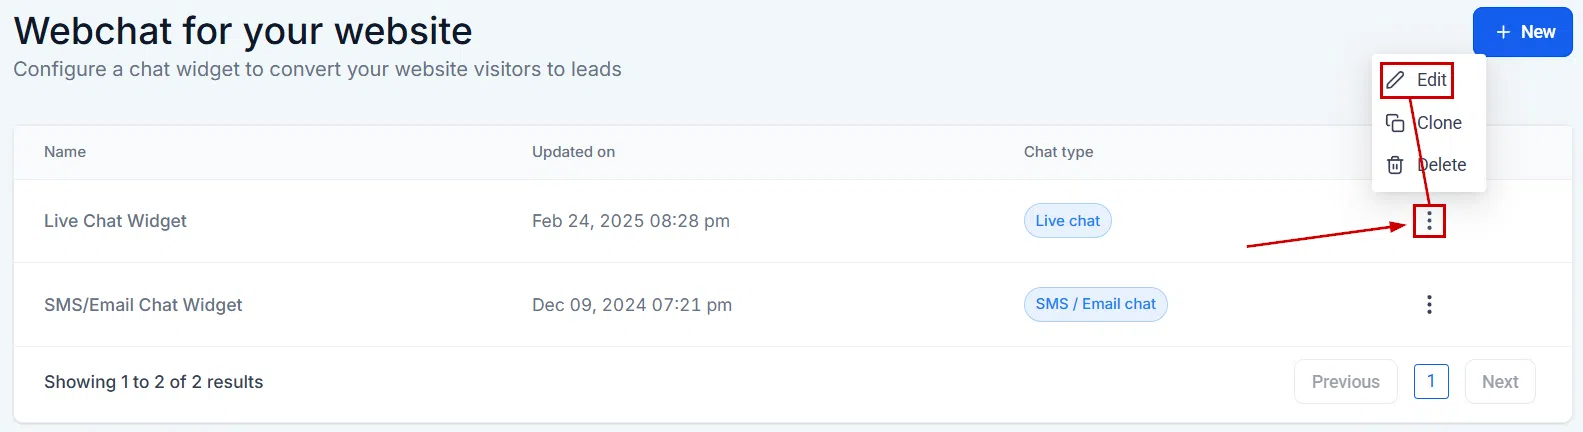
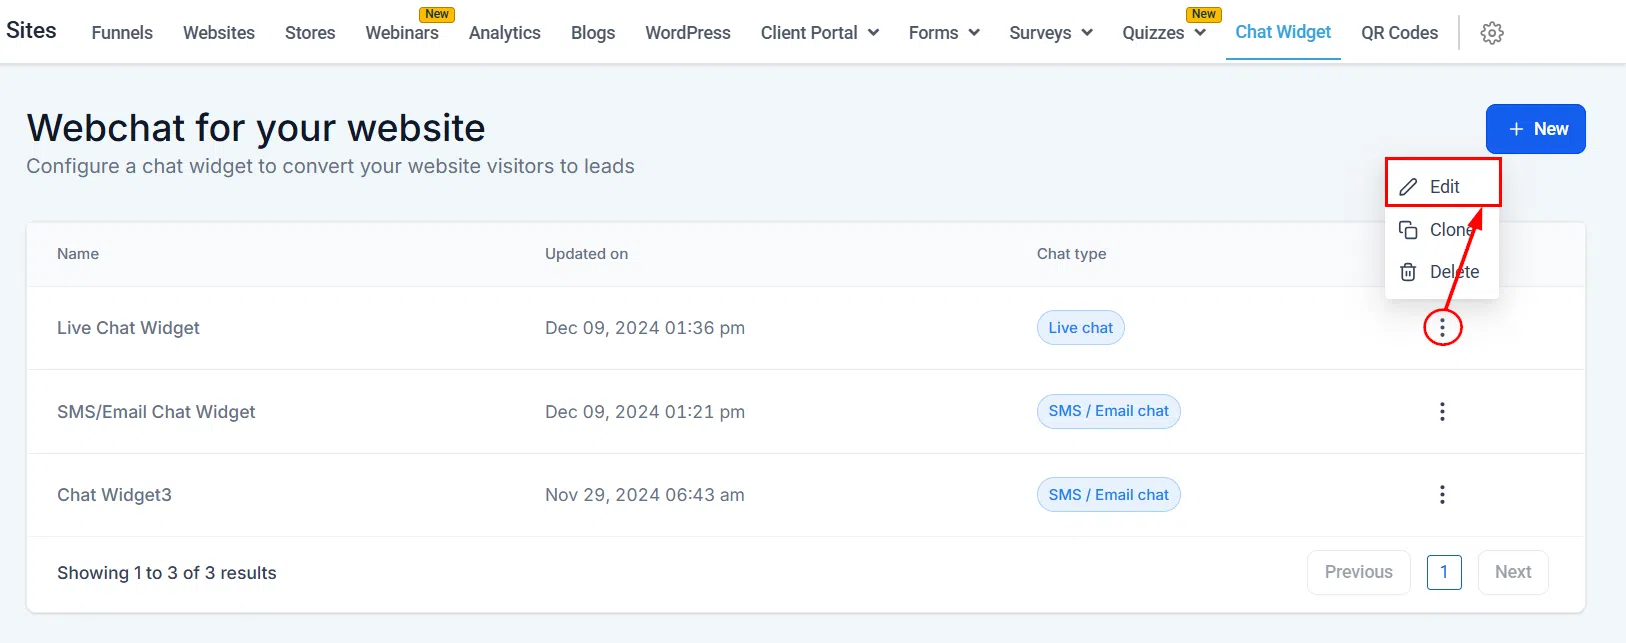
Navigate to Sites and open the Chat Widget section. Click the + New button to begin.
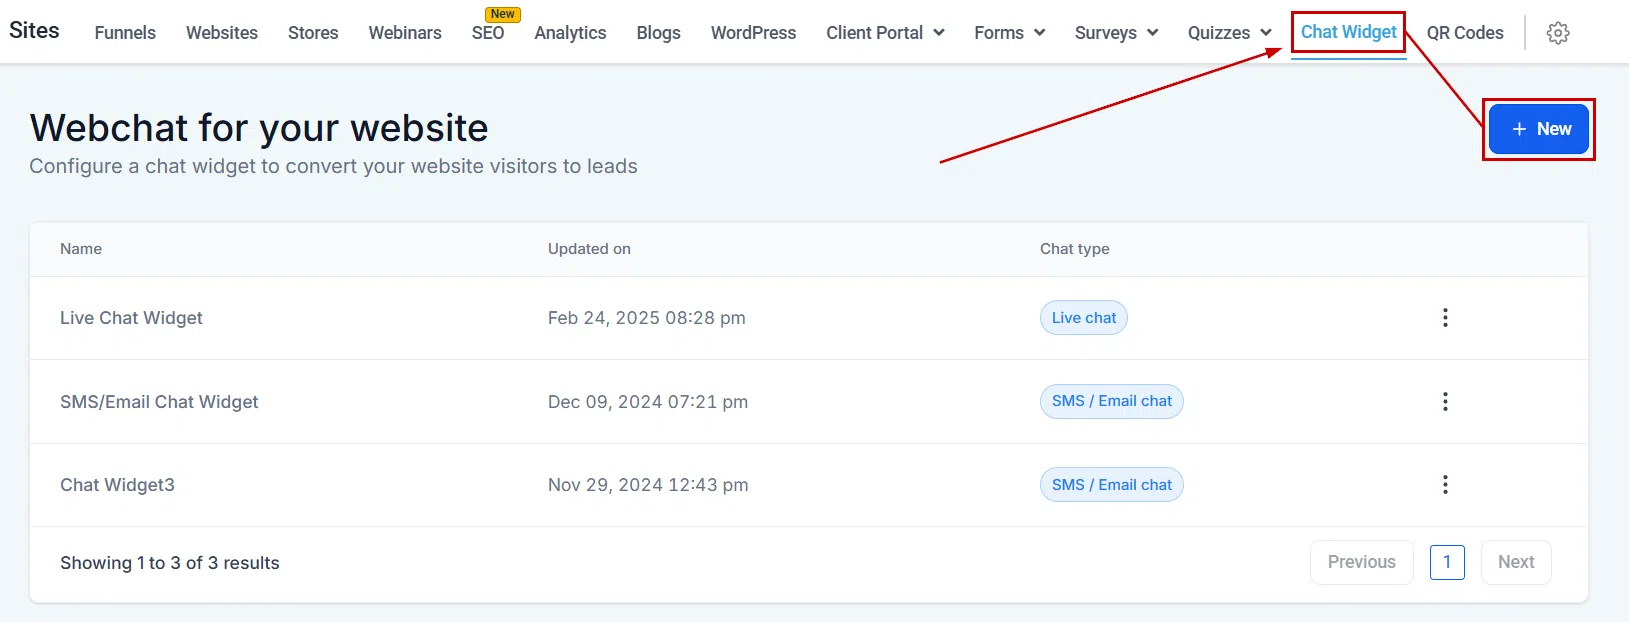
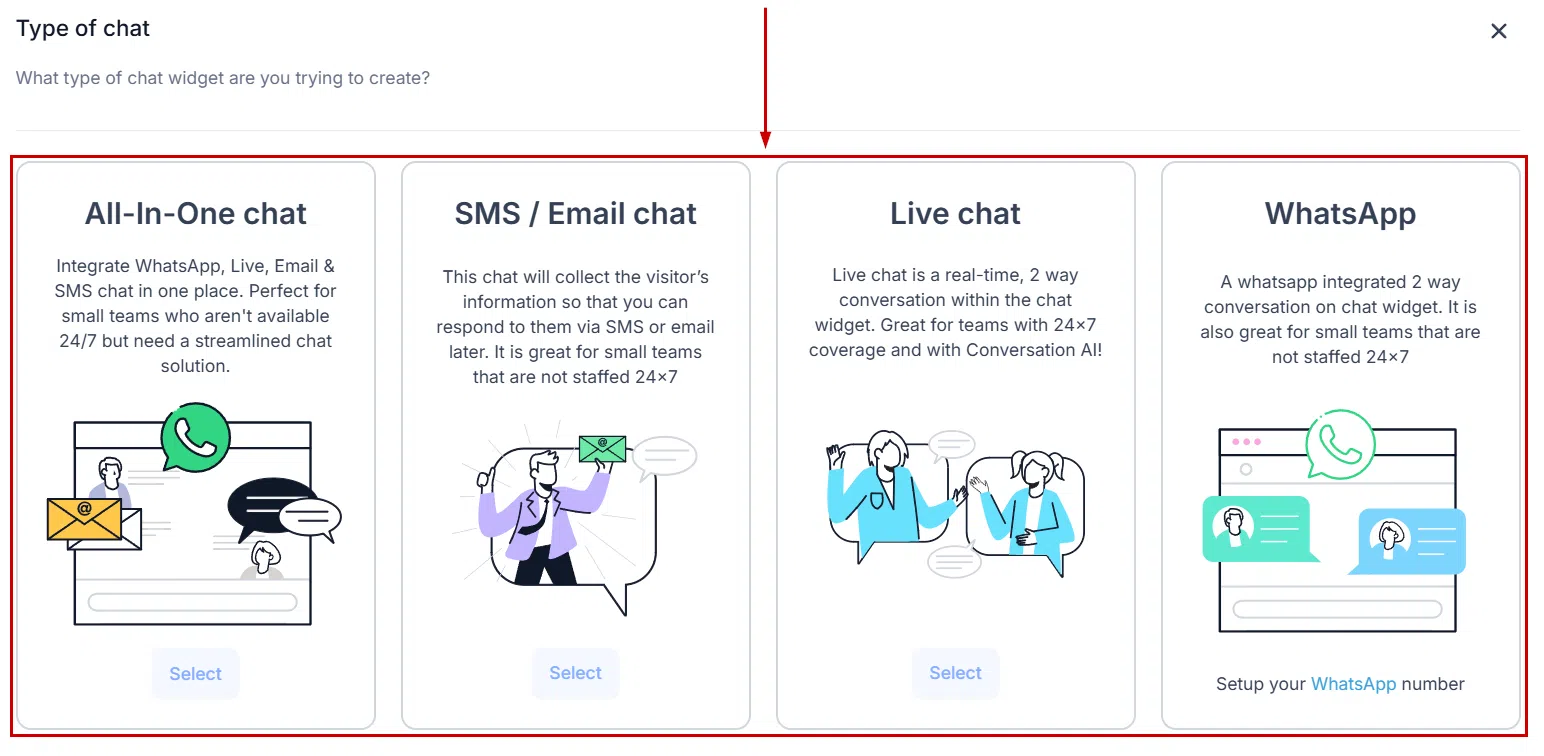
You will be prompted to choose a widget type. The available options are: All-In-One, SMS/Email Chats, Live Chat, and WhatsApp. By default, an SMS/Email chat widget is created, but you can add as many widgets of any type as you need.
Customising Your Chat Widget
Once you have selected the widget type, you will be taken to the customisation screen. Here you can personalise the widget to align with your brand and configure how it behaves for your visitors.
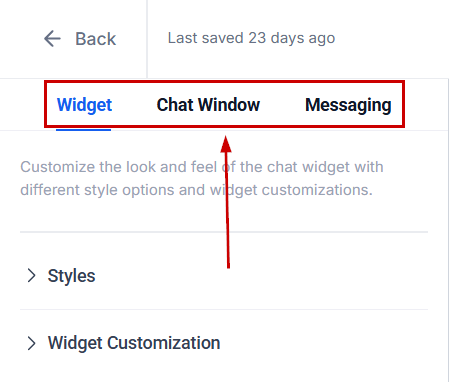
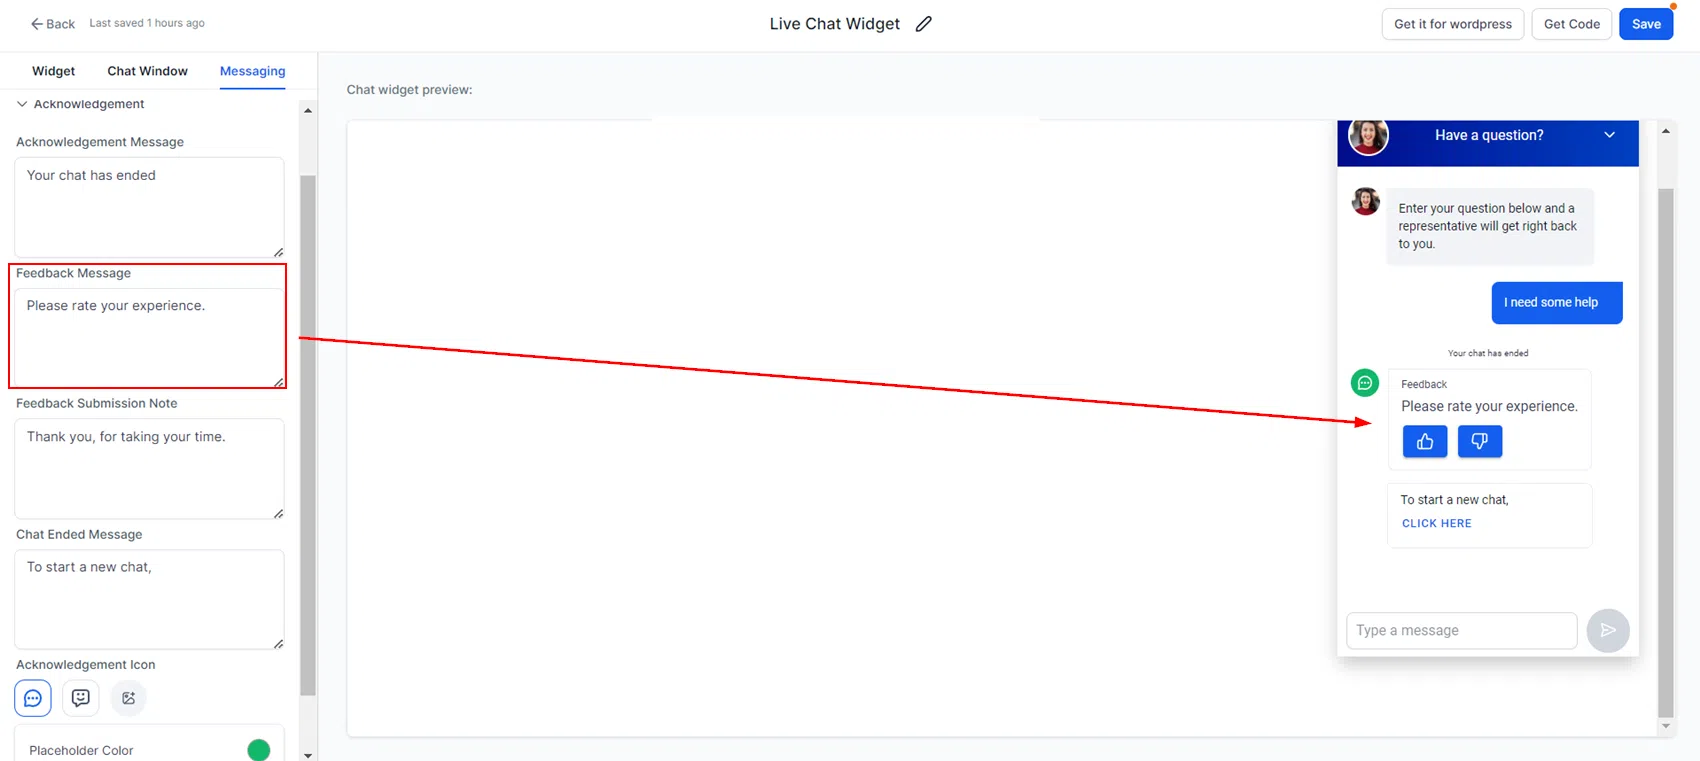
The customisation panels are organised across several tabs – Widget, Messaging, and Chat Window – each covering a different aspect of the widget’s appearance and behaviour. Use the left panel to navigate between tabs.
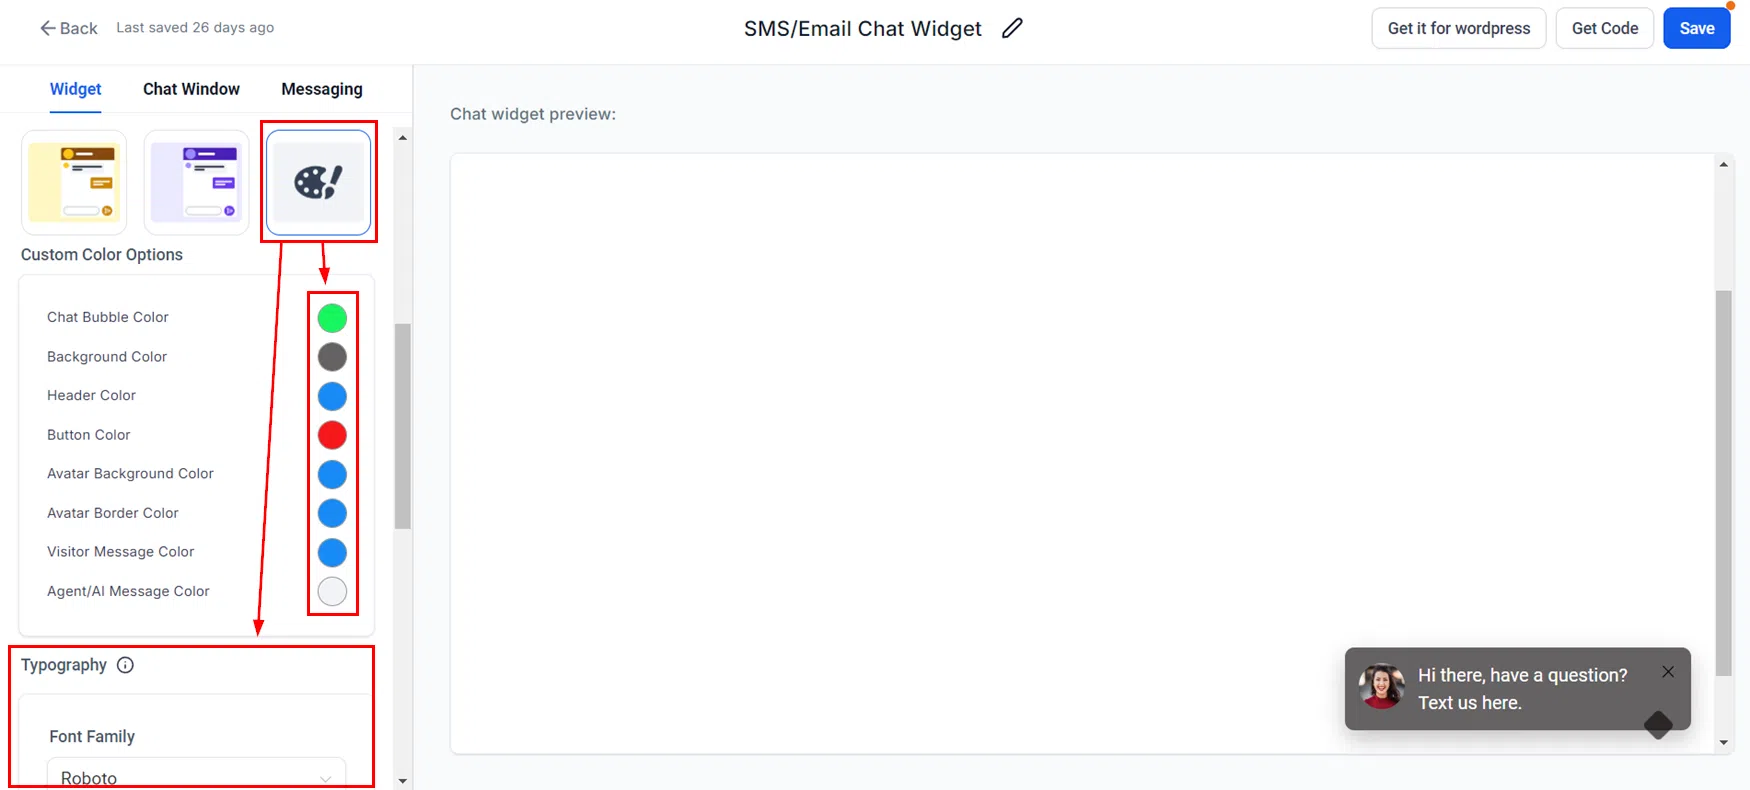
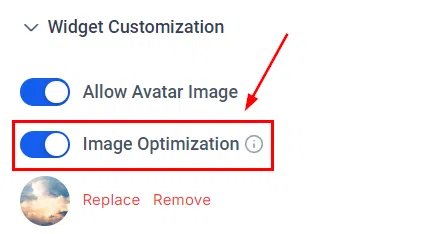
Widget Tab
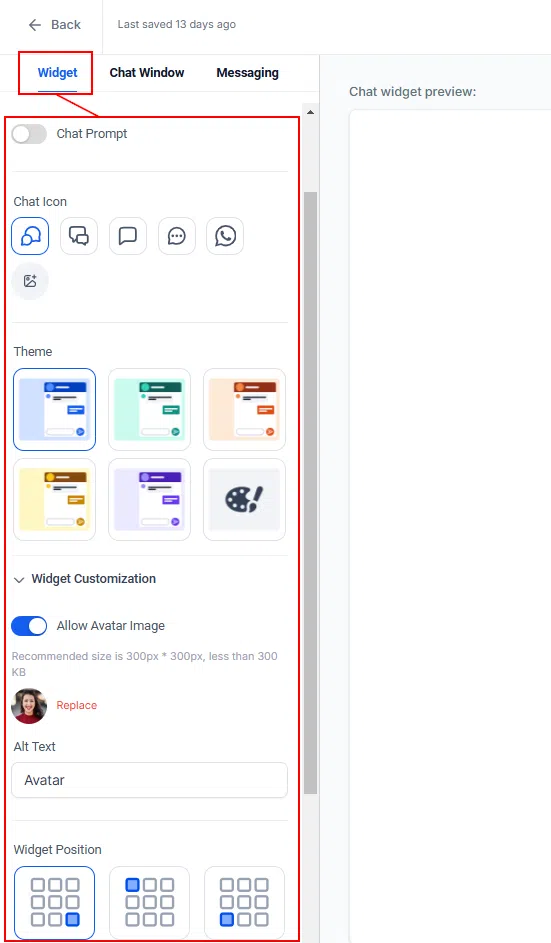
The Widget tab controls the visual appearance of your chat widget, including the icon, theme, welcome message, avatar, position, and dimensions. Refer to the Chat Widget Settings article for a full breakdown of each option.
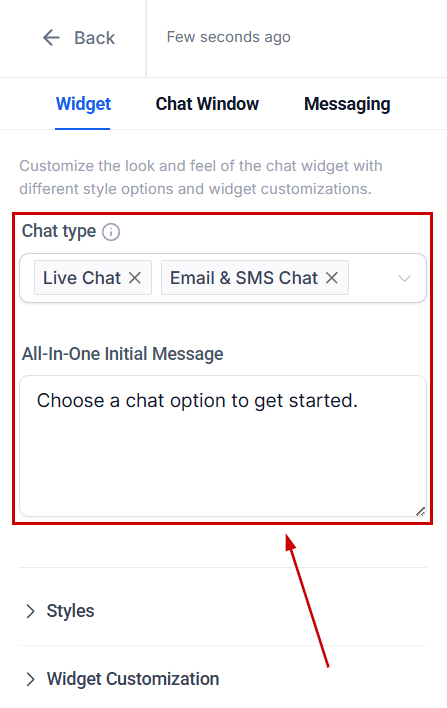
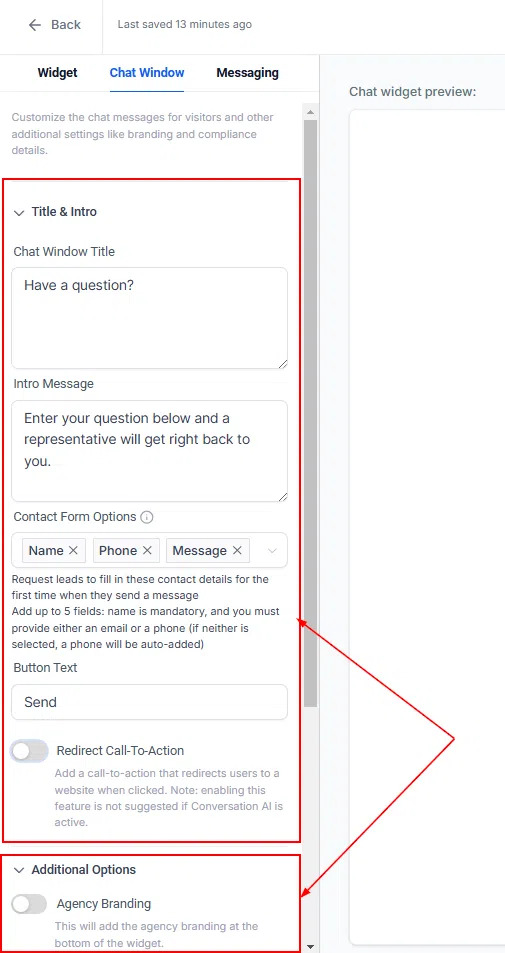
Messaging and Chat Window Tabs
The Messaging tab lets you configure the language and content of end-of-chat messages and acknowledgement settings. The Chat Window tab controls the chat window title, intro message, contact form, branding, and compliance options.
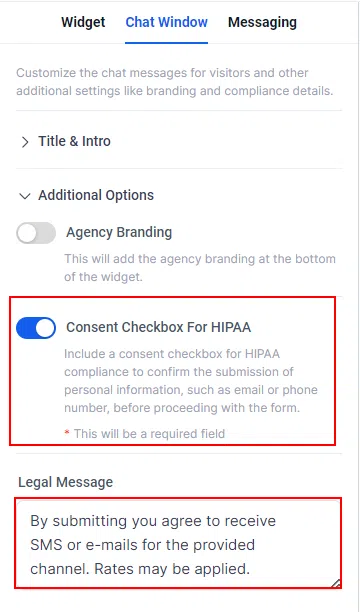
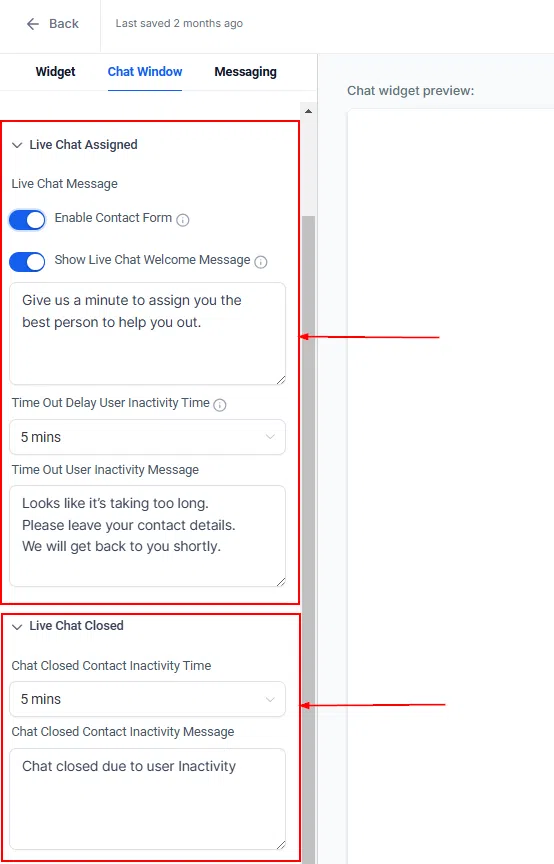
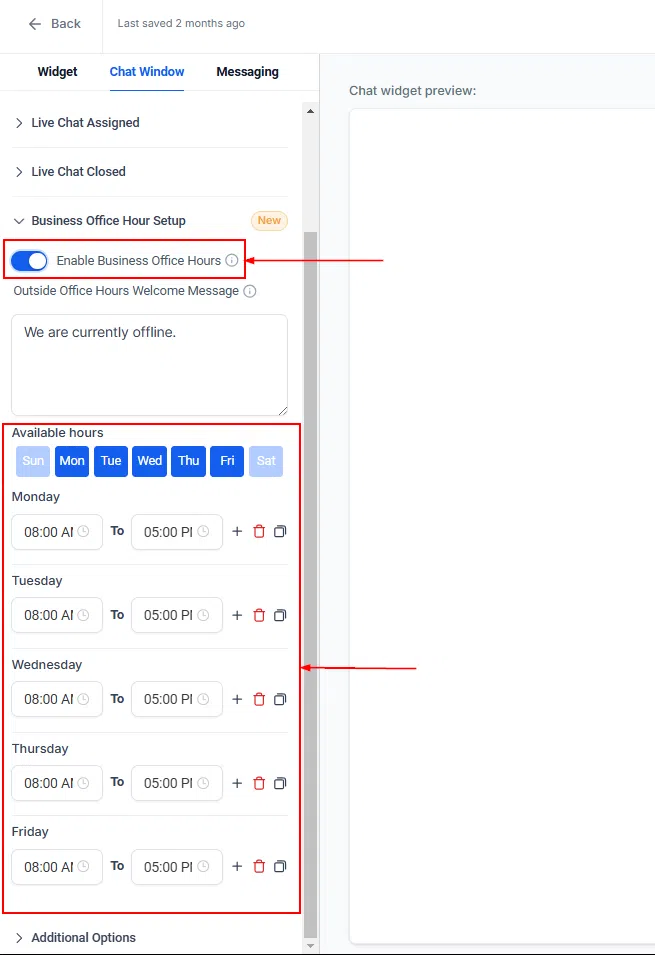
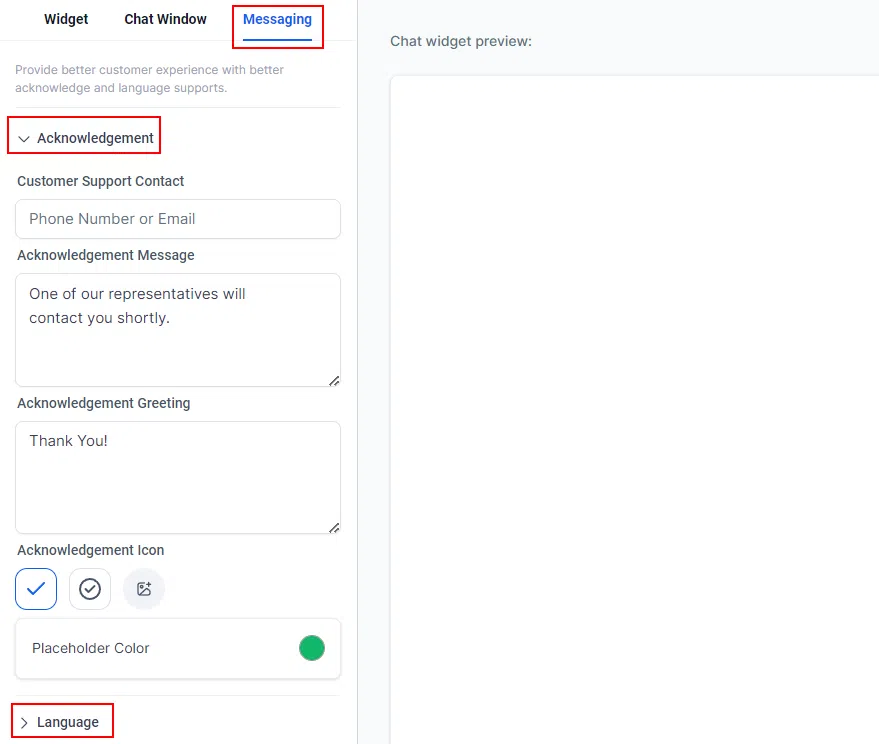
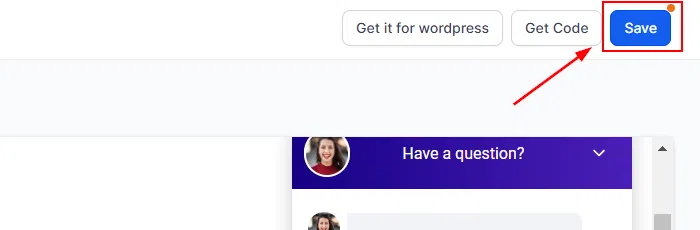
Once you are happy with your configuration, click Save to preserve your changes. If you have already installed the widget on a website, saving will push the updated settings to the live version immediately.
Installing Your Chat Widget
Your chat widget needs to be connected to a website before visitors can interact with it. The installation method depends on where your site is hosted.
Adding to a Growth360 Funnel or Website
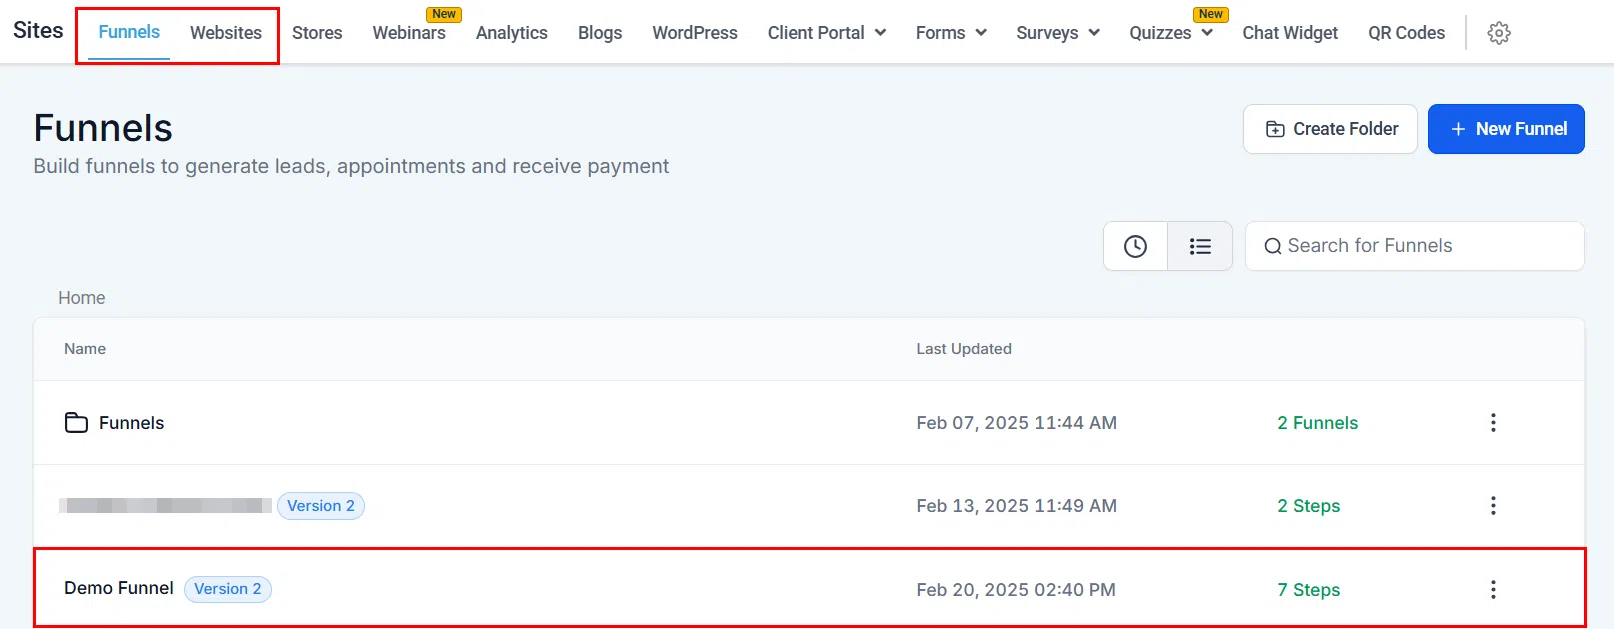
If your website or funnel was built inside Growth360, navigate to it within the Sites section.
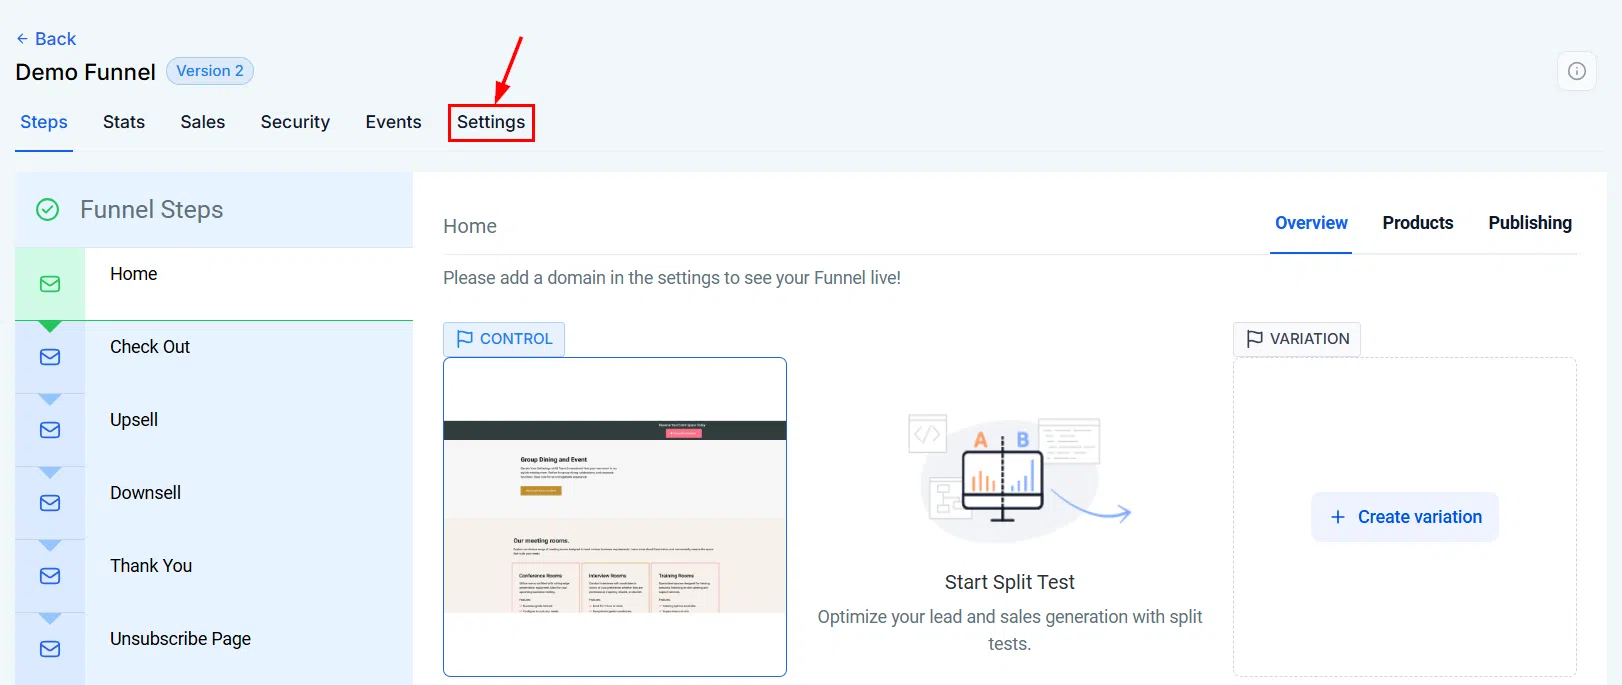
Open the funnel or website settings and locate the Chat Widget option.
Select the chat widget you want to display on the site.
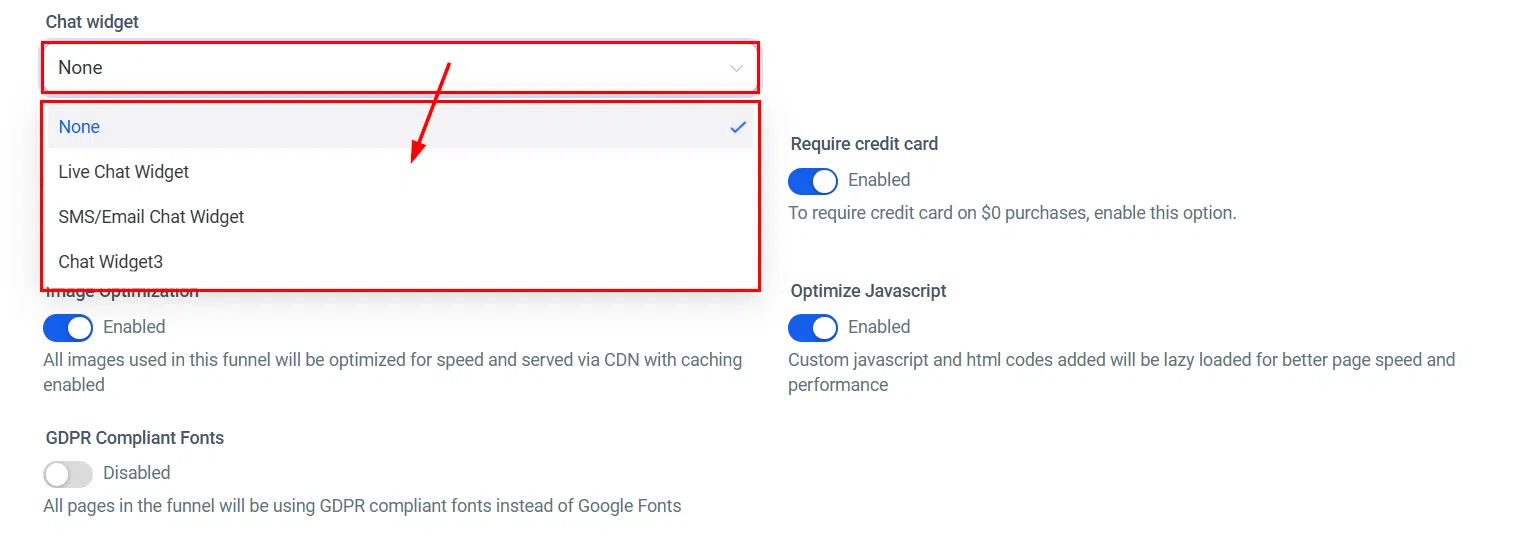
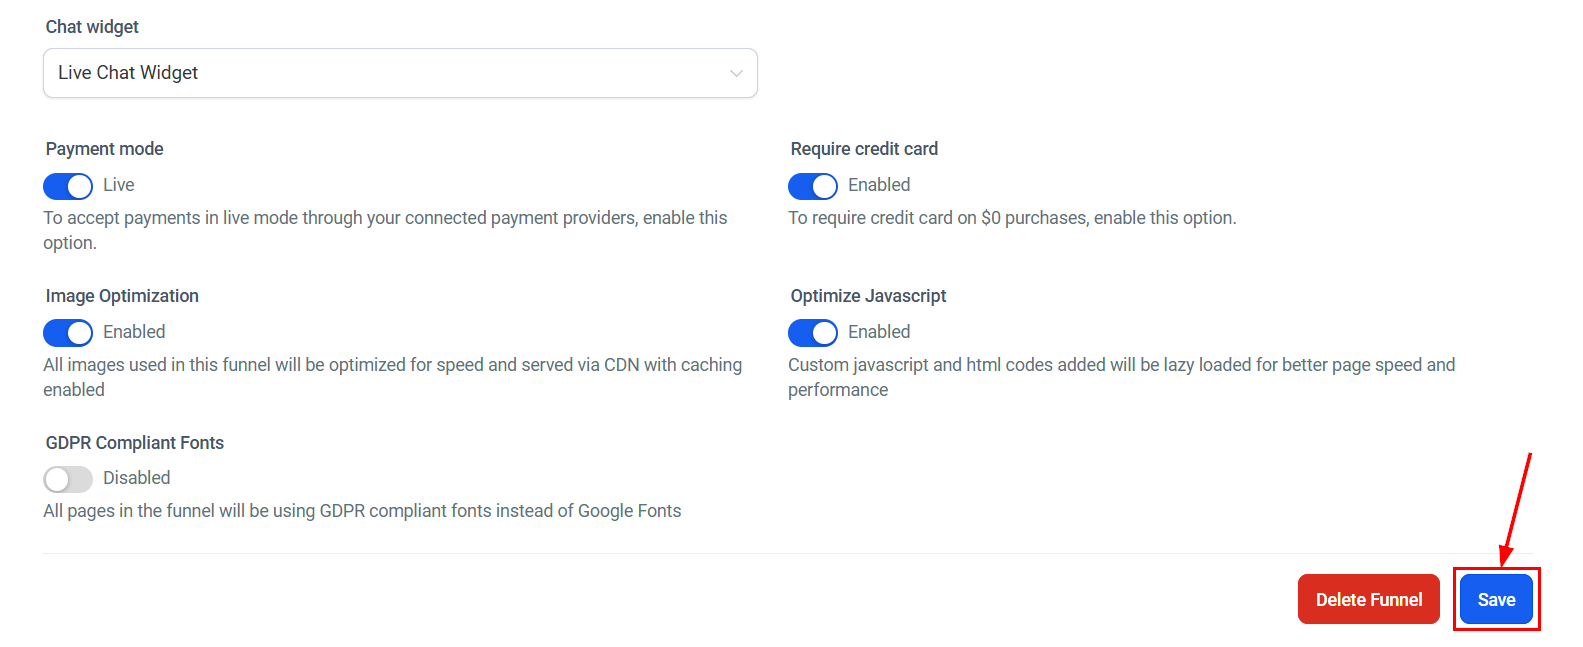
Click Save to apply the widget to all pages of the funnel or website.
To add the widget to individual pages rather than all pages, open the page in the funnel editor.

Adding to an External Website via Embed Code
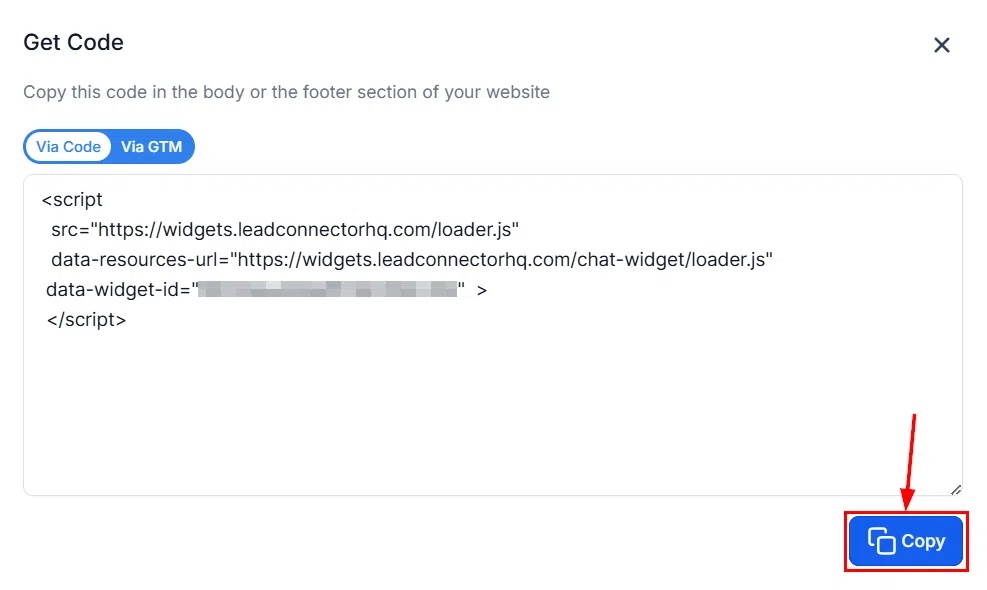
For websites hosted outside of Growth360, you can embed the chat widget using a code snippet. In the Chat Widget settings, locate the embed code for your widget.
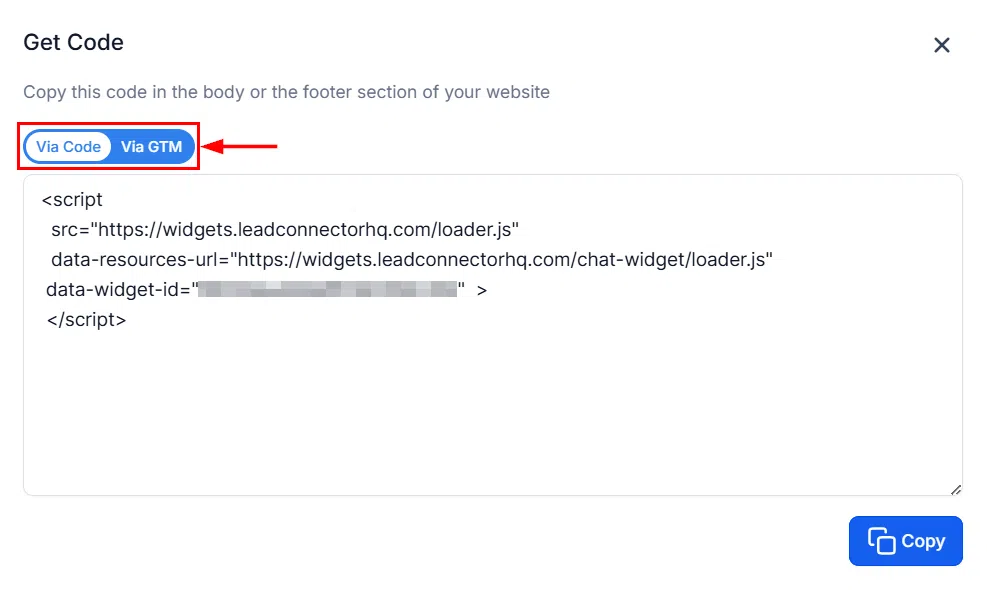
Click Copy to copy the embed code to your clipboard, then paste it into the HTML of your external website – typically just before the closing </body> tag.
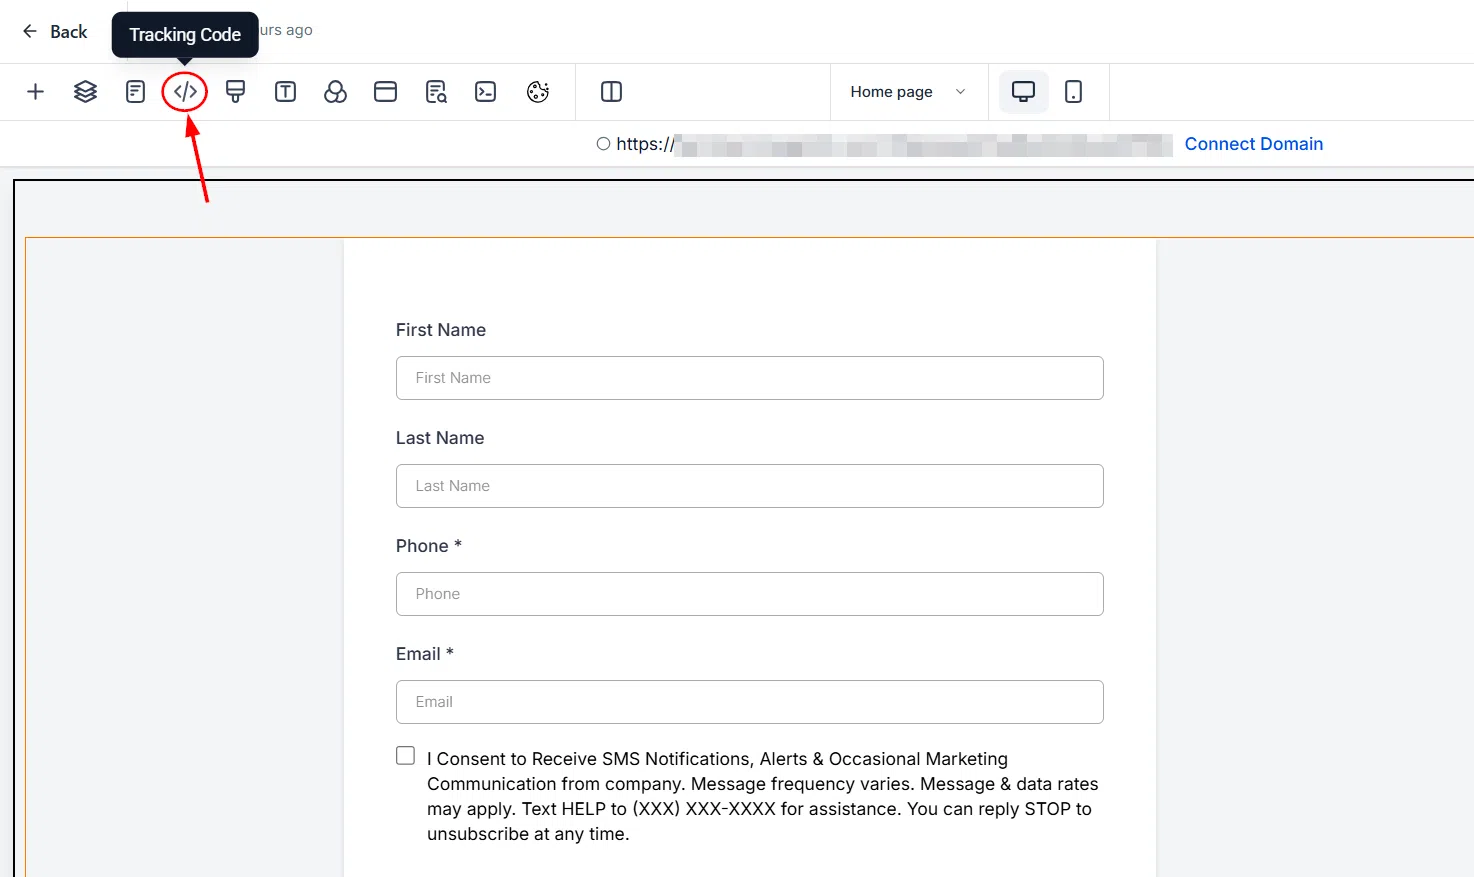
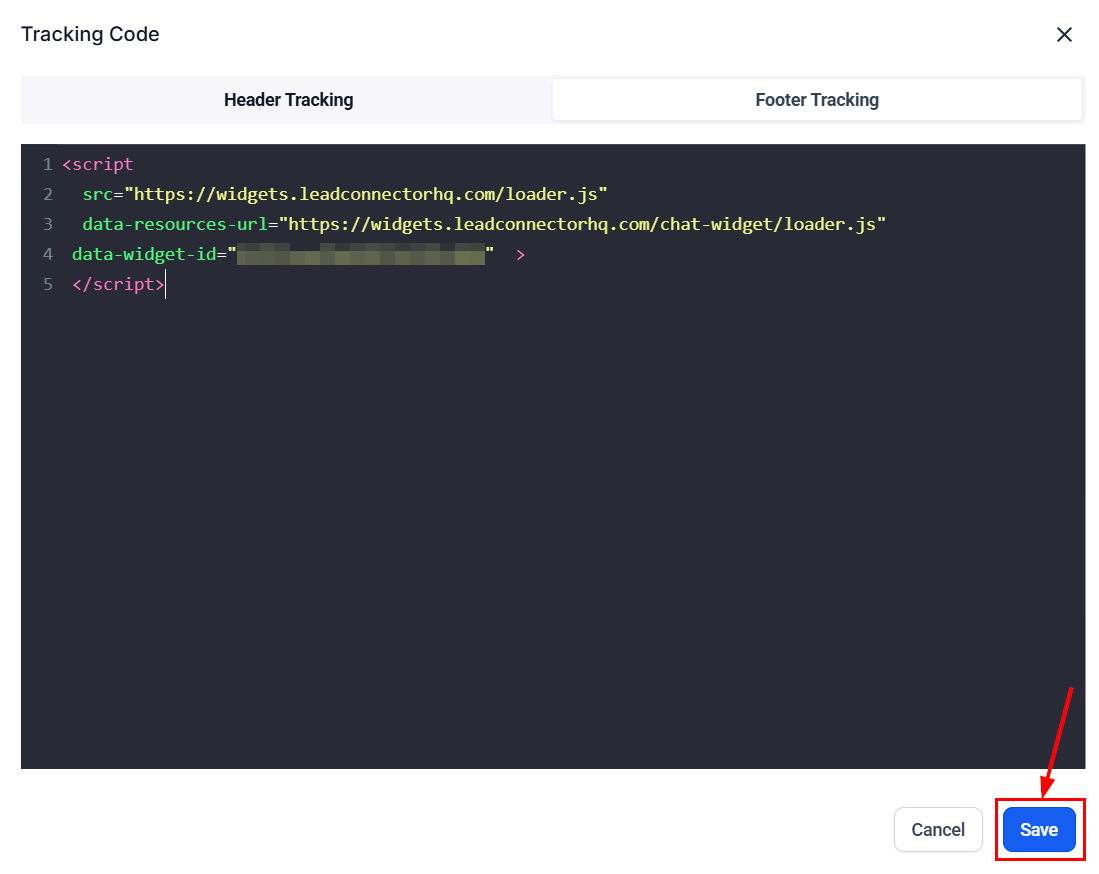
If you also want to track visitor activity on your external site, copy and add the tracking script separately.
Save your website changes to make the widget live.

Adding to WordPress via the LeadConnector Plugin
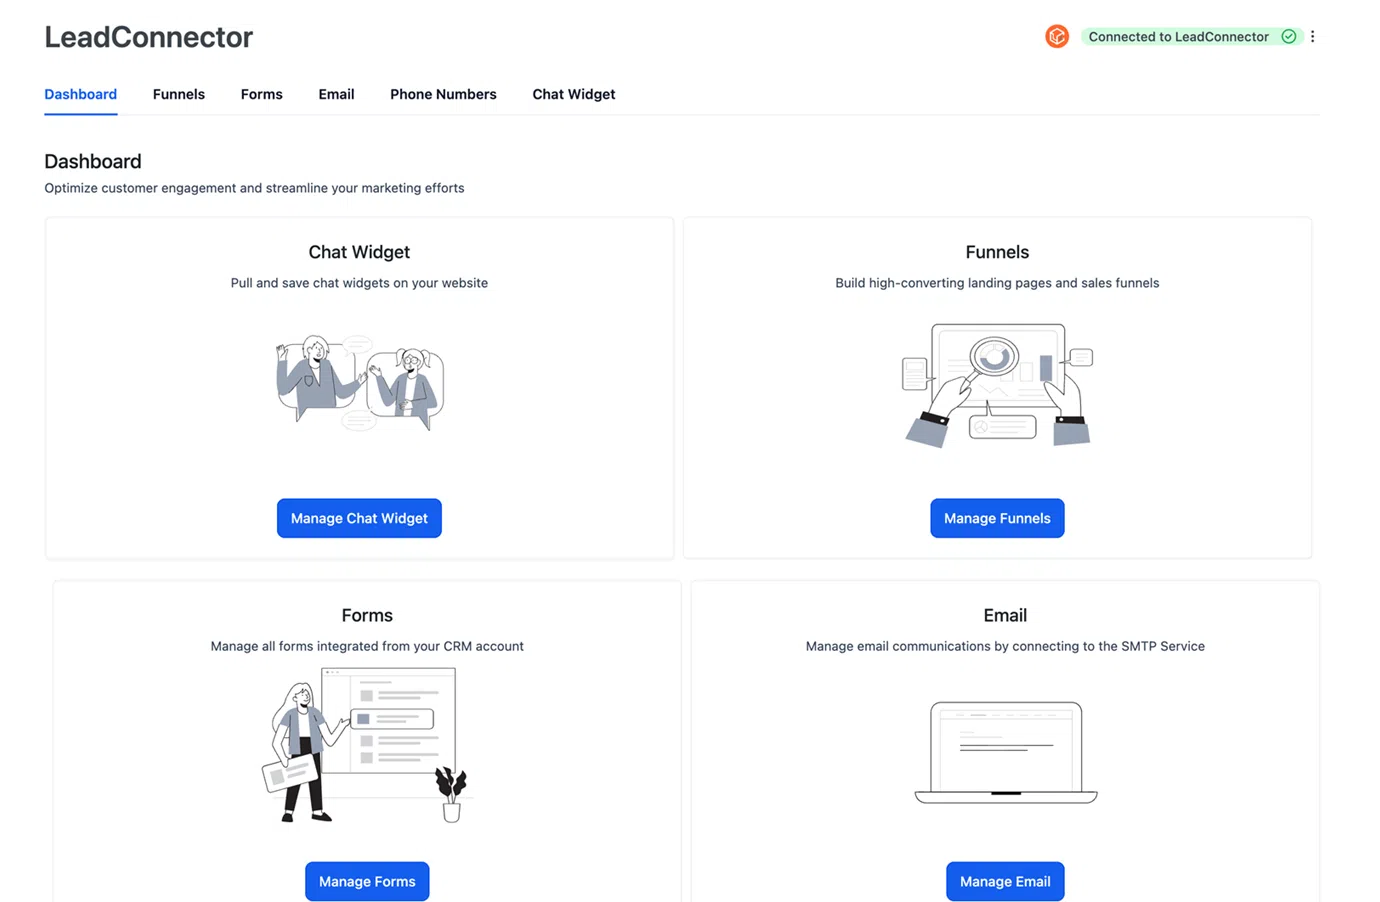
If your website runs on WordPress, you can use the LeadConnector plugin to connect your Growth360 chat widget without manually editing code.
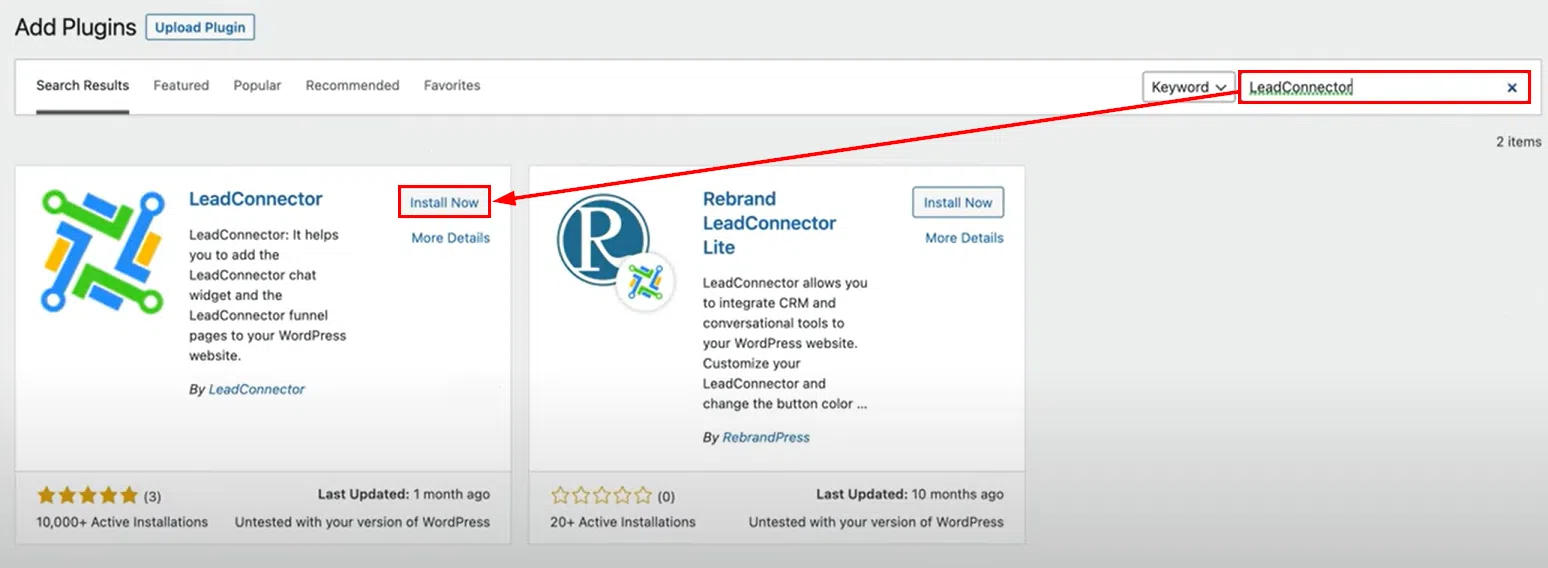
In your WordPress admin dashboard, go to Plugins > Add New.
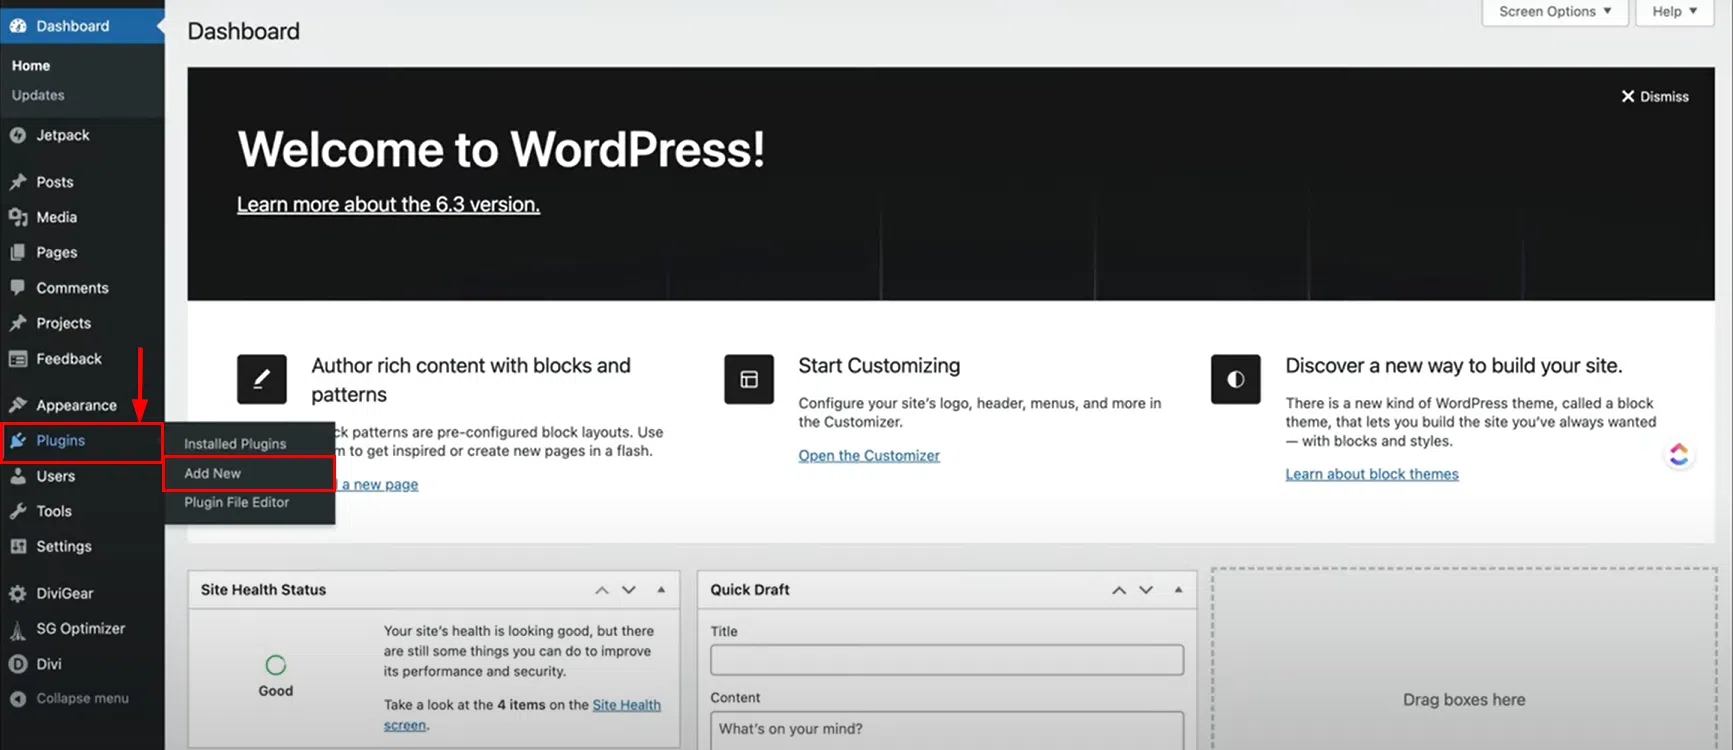
Search for “LeadConnector” and click Install Now, then Activate once the installation is complete.
Once activated, select LeadConnector from the left-hand menu in your WordPress dashboard and click Sign In.
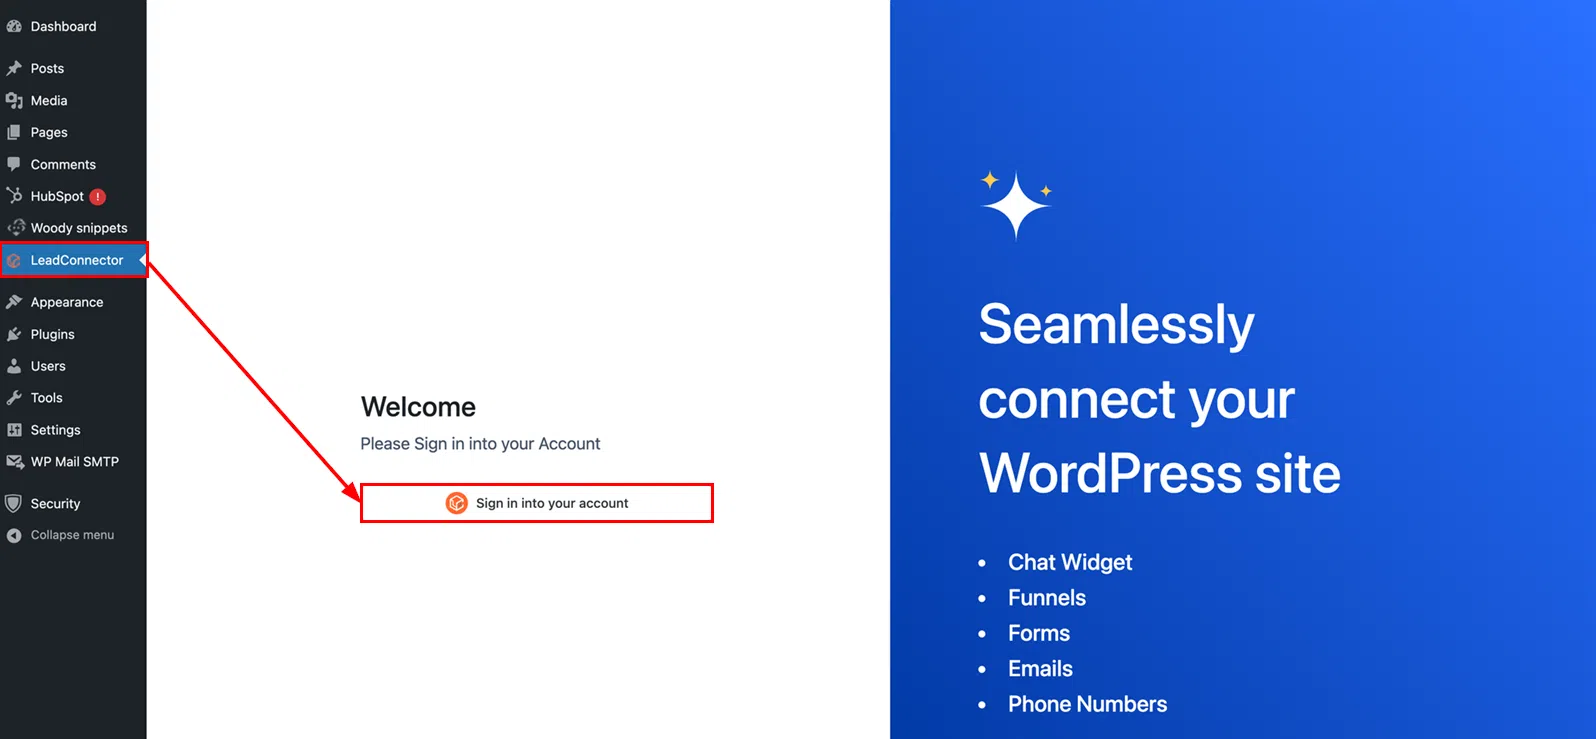
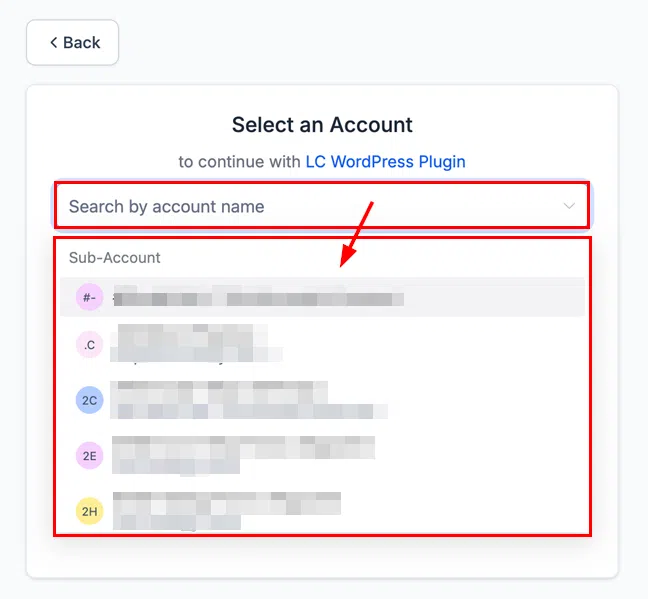
Sign in with your Growth360 account credentials. If you have multiple accounts, you will be prompted to choose which one to connect.
Once connected, your chat widgets will be available to manage directly from the LeadConnector dashboard inside WordPress.