Each contact card in Growth360 gives you a complete view of a contact’s information, communication history, and actions – all from a single screen.
Contact Card Overview
While managing contacts in Growth360, you have significant control and flexibility over their data. Within each contact card, you can add or remove tags, incorporate them into automations, initiate calls, send messages, compose emails, and much more. This personalised approach helps you build stronger relationships and communicate more effectively.
Contact Name
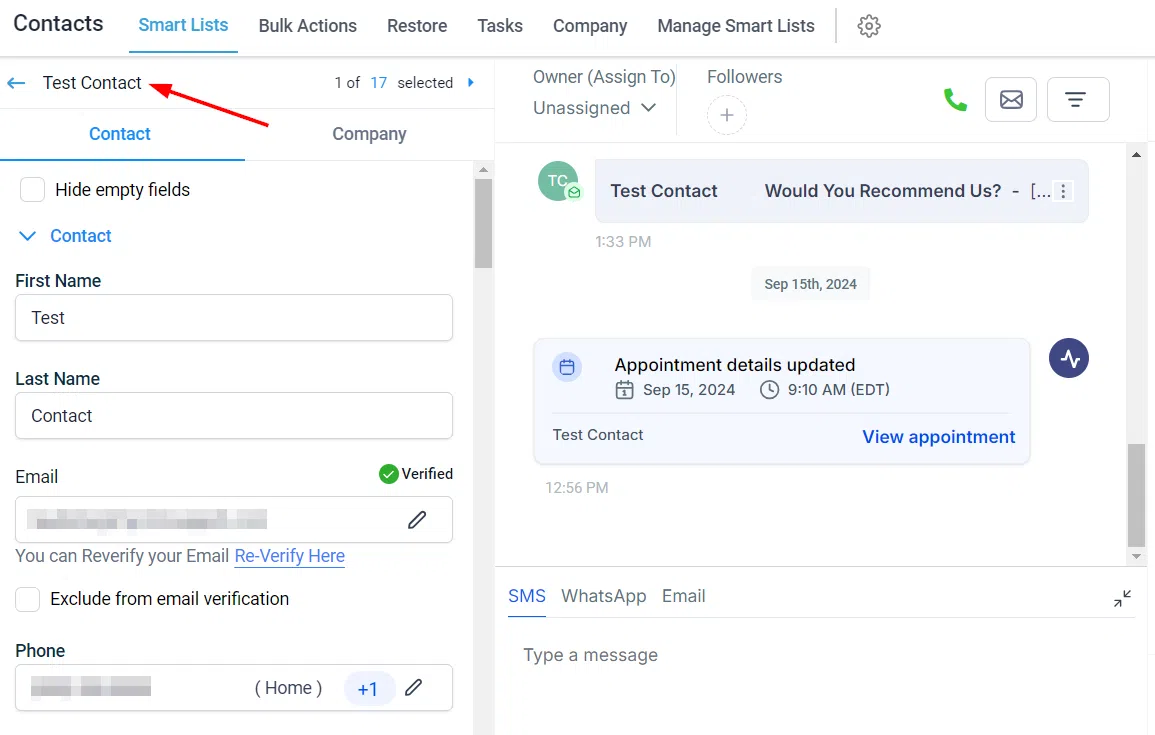
When you open a contact, the contact’s name appears in the upper left corner. This makes it easy to confirm whose record you’re working in before making any changes.
Navigate Between Contacts
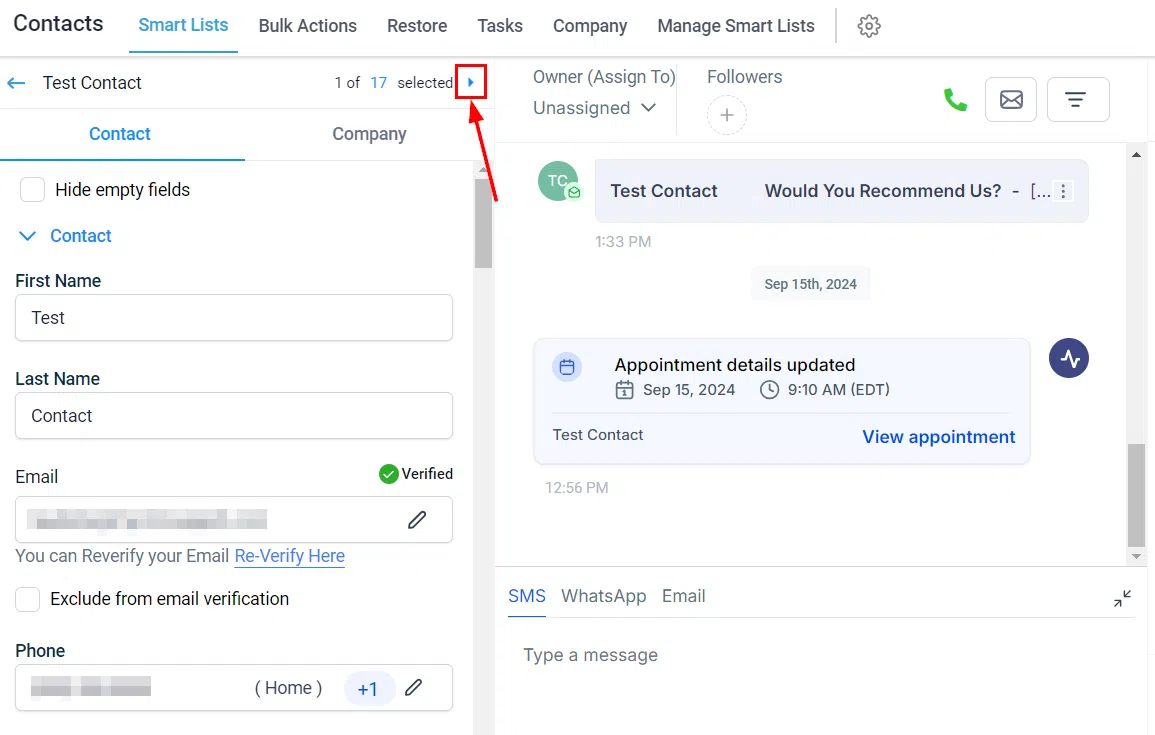
To move between contacts while staying in the contact view, click the blue arrow. This lets you step through your list efficiently without returning to the contacts table each time.
Contact Details Card
The left panel displays a comprehensive set of contact information. The specific details shown will vary based on the tab you have selected.
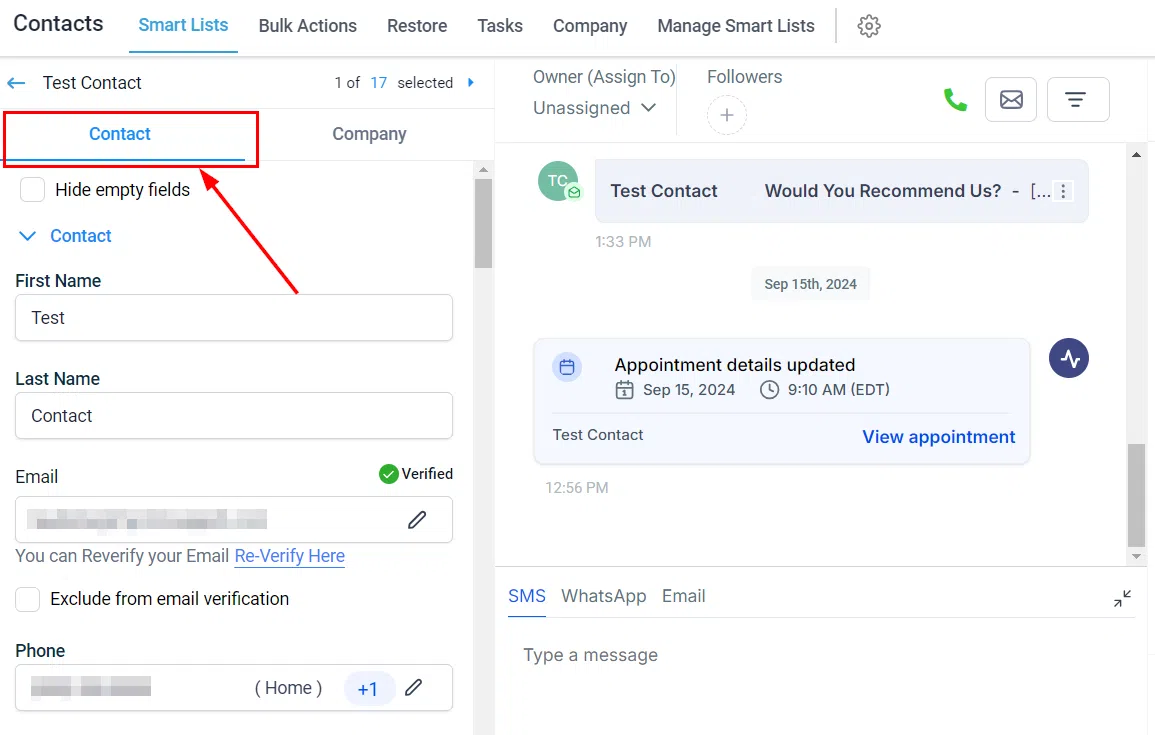
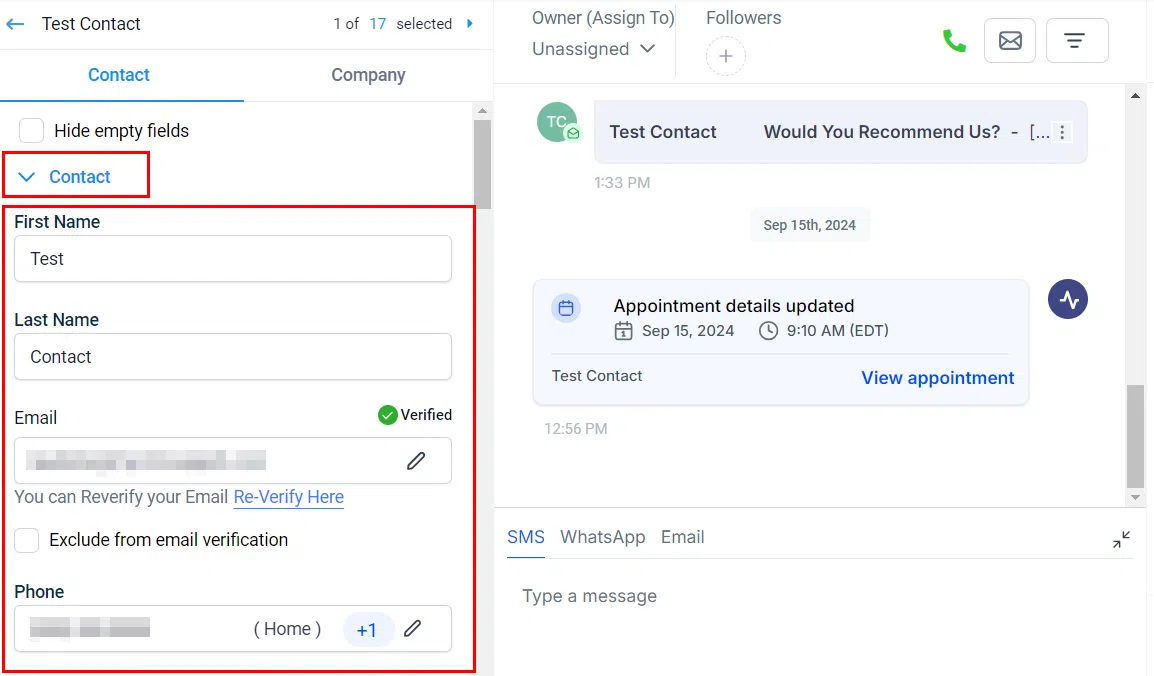
Contact Info Tab
The Contact tab is selected by default and shows essential details such as the contact’s name, email, and phone number. It also includes tags, linked opportunities, and any active workflows.
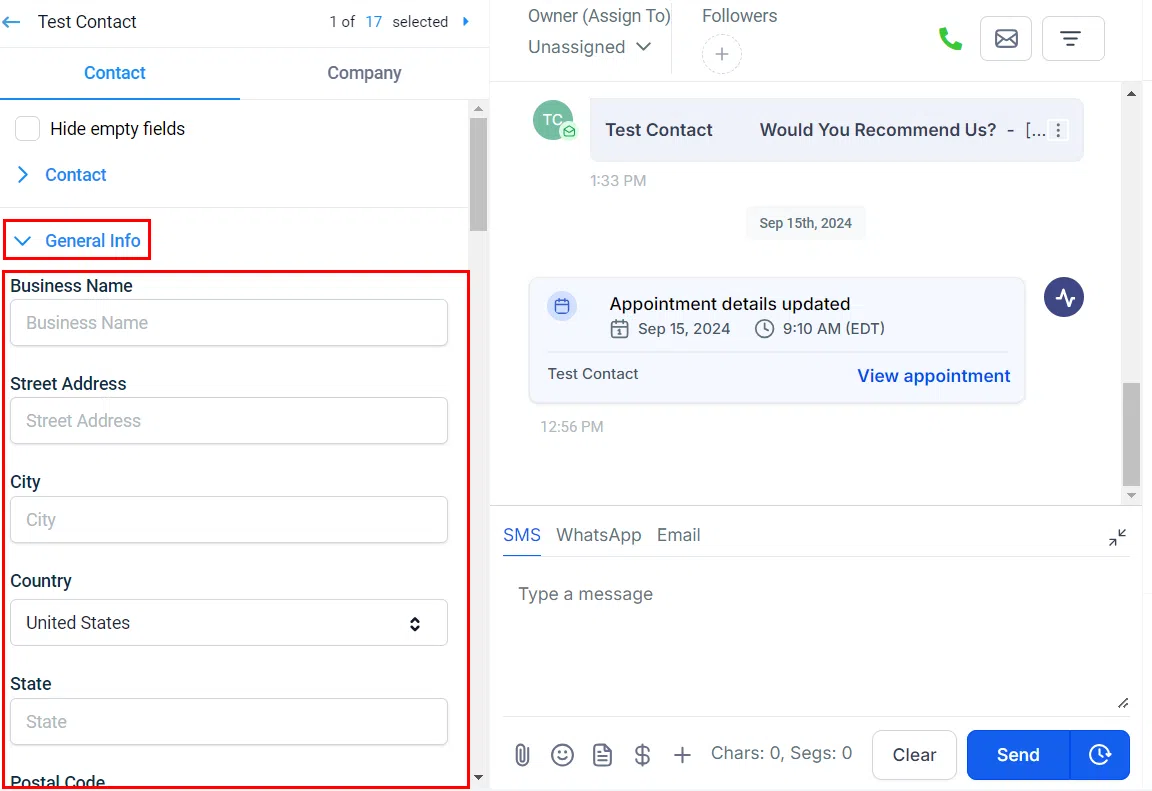
General Info Tab
The General Info tab lets you record additional details such as business name, address, and website. This keeps a comprehensive and easily accessible profile for each contact.
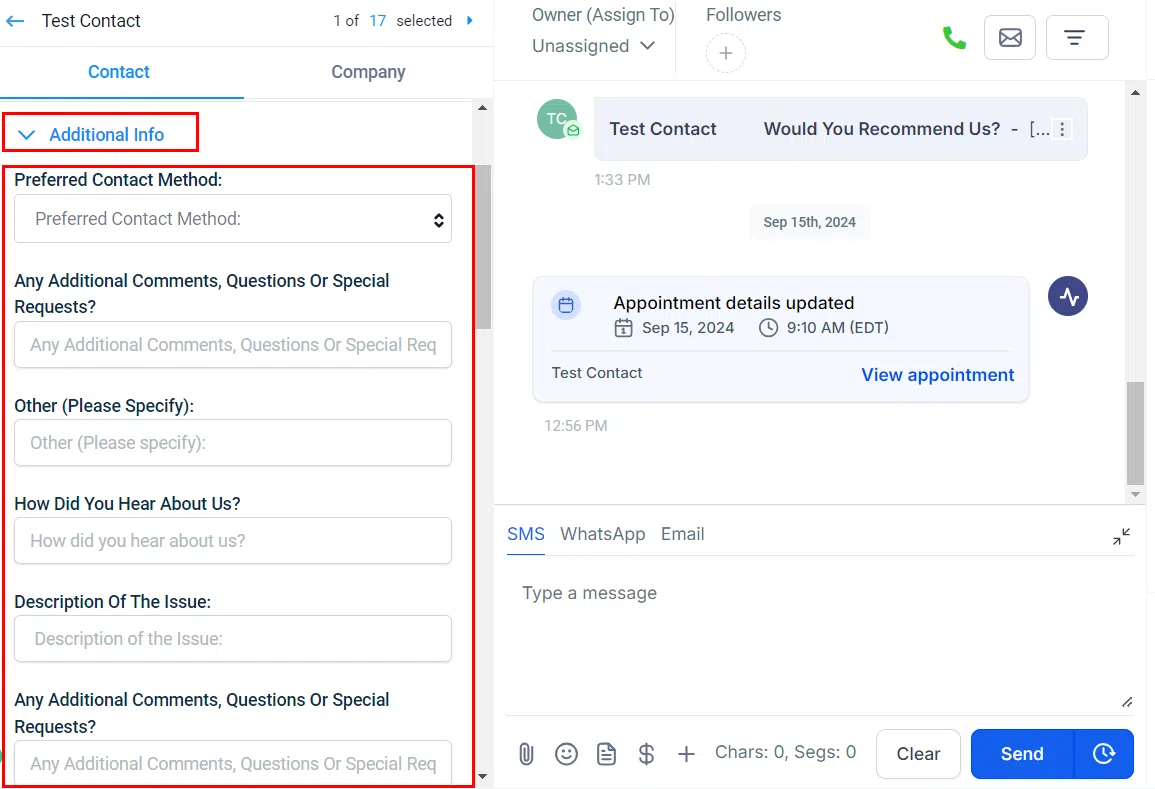
Additional Info Tab
The Additional Info tab contains all custom fields related to a contact. Custom fields are user-defined data points created in Settings and can be added to forms and surveys to capture information specific to your business.
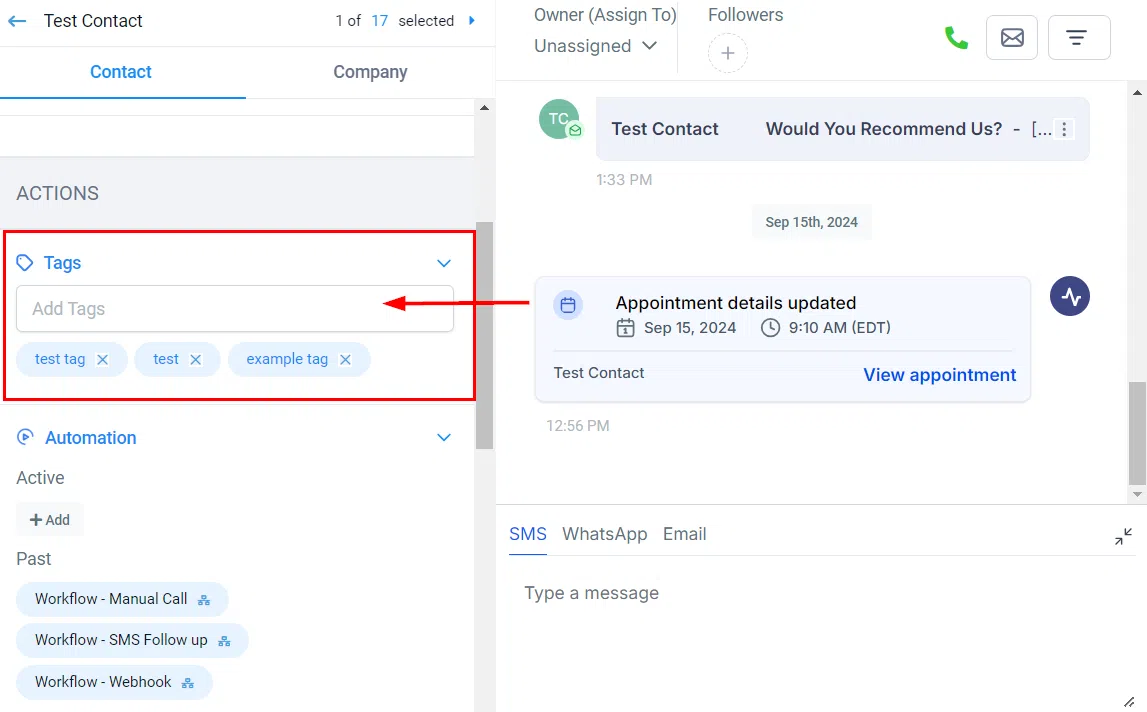
Tags
Add or remove tags directly from the contact card to categorise and segment your contacts.
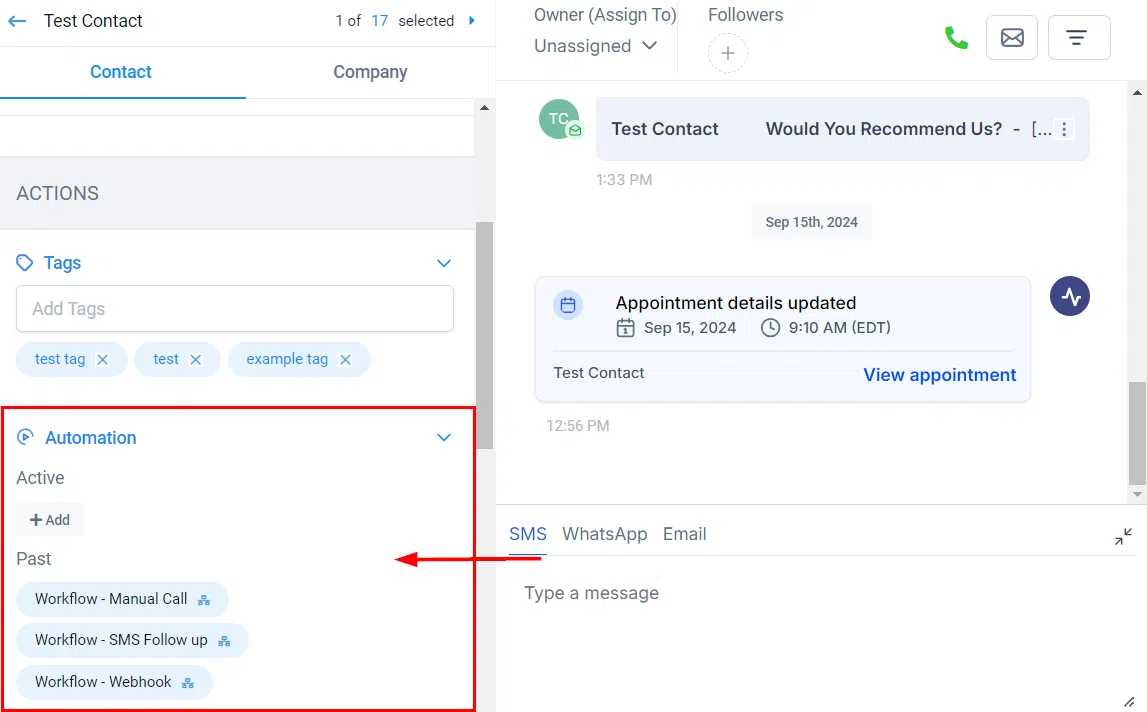
Automation
Active: Shows all ongoing campaigns and workflows the contact is currently enrolled in. You can also add the contact to a new automation directly from here.
Past: Displays a history of all campaigns and workflows the contact was previously involved in, giving you context on their journey with your business.
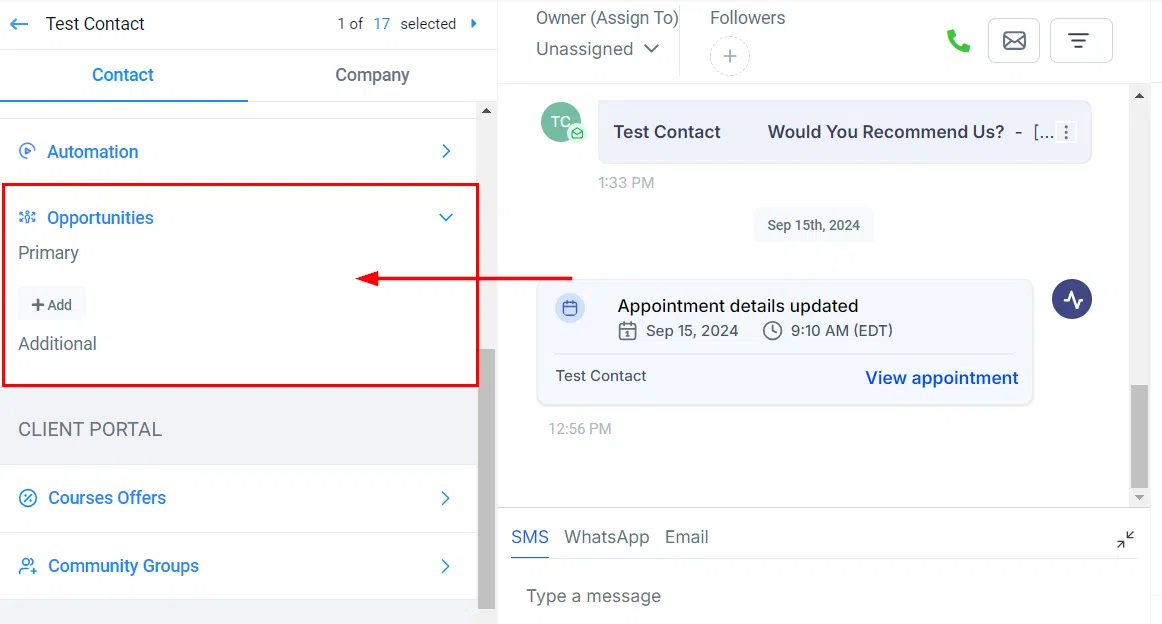
Opportunities
View all existing opportunities linked to this contact and their current status. You can also add the contact to new or ongoing opportunities from here.
Client Portal
Course Offers: View the offers the contact has subscribed to. Grant or revoke access as needed.
Community Groups: Assign the contact to available community groups or course offerings.

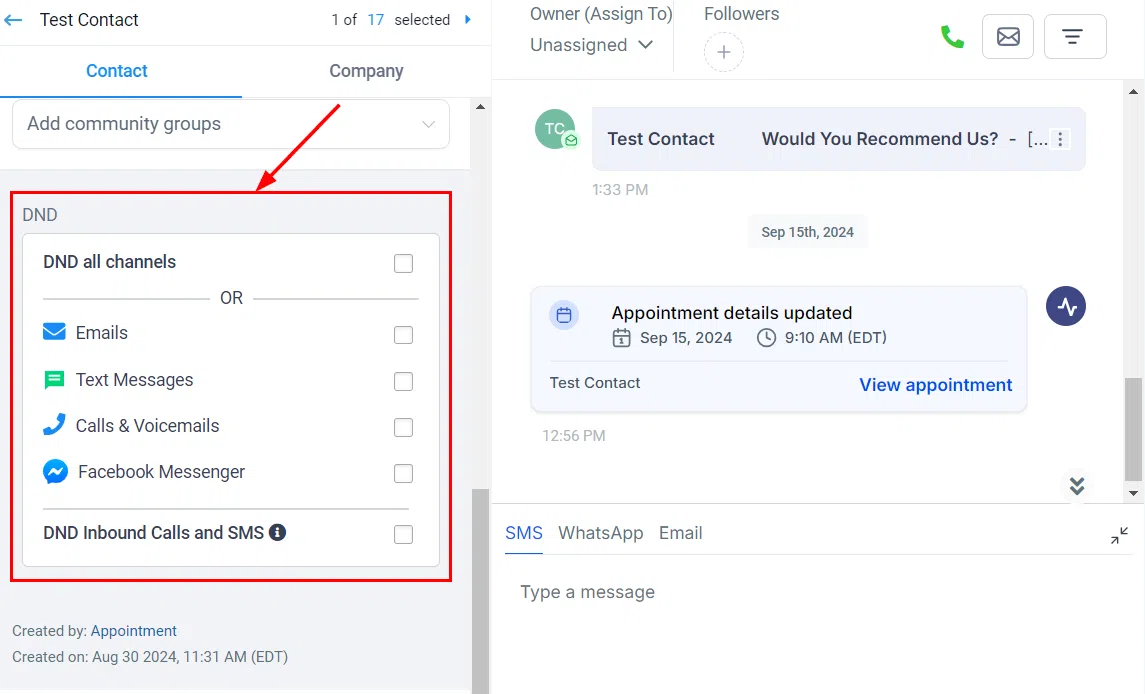
Do Not Disturb (DND)
Enable Do Not Disturb to remove a contact from one or all communication channels.
DND can be set for individual channels including Facebook, SMS, Calls, Emails, Google My Business, and WhatsApp.
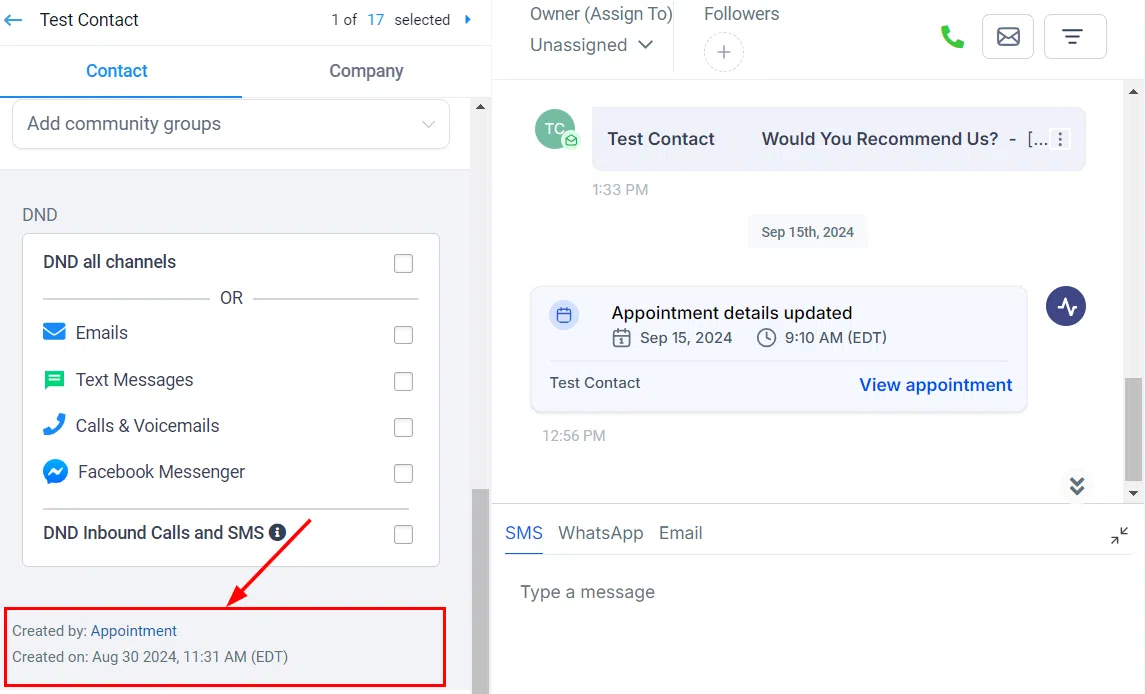
Contact Creation Details
This section shows how and when the contact was created, including their source and the date they were added to the system.
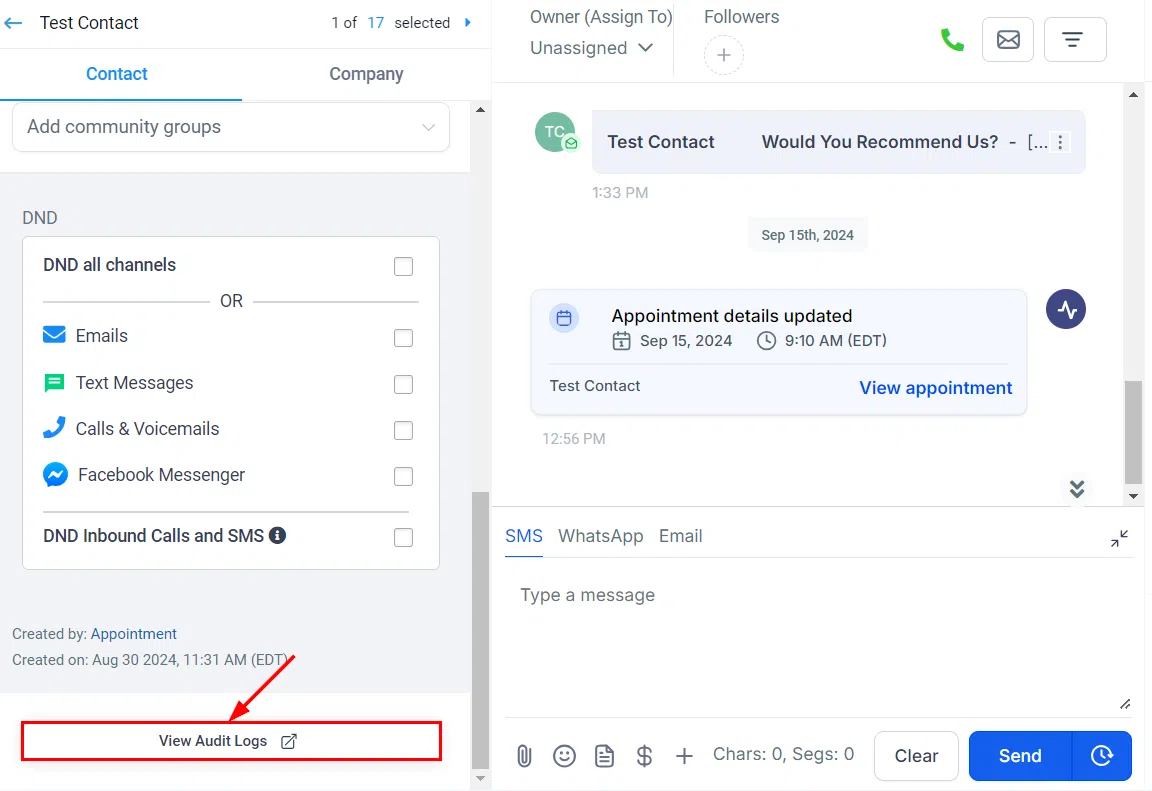
Audit Logs
Click the Audit Logs button to see a detailed activity log for this contact.
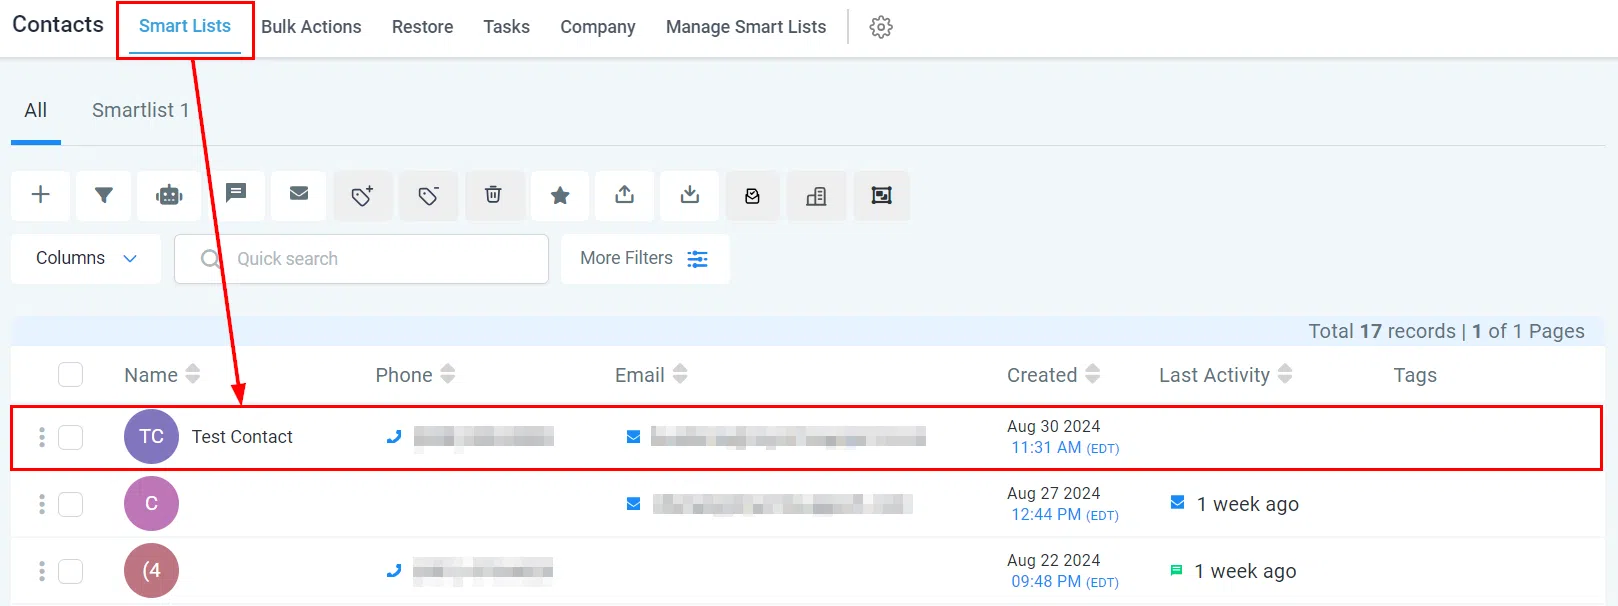
Messages Panel
The Messages panel shows the complete message and conversation history with a specific contact, including all messages and calls across every channel. Open it by selecting a contact from Contacts > Smart Lists.
Messaging Header
The message header contains a range of options and buttons to customise how you communicate with each contact.
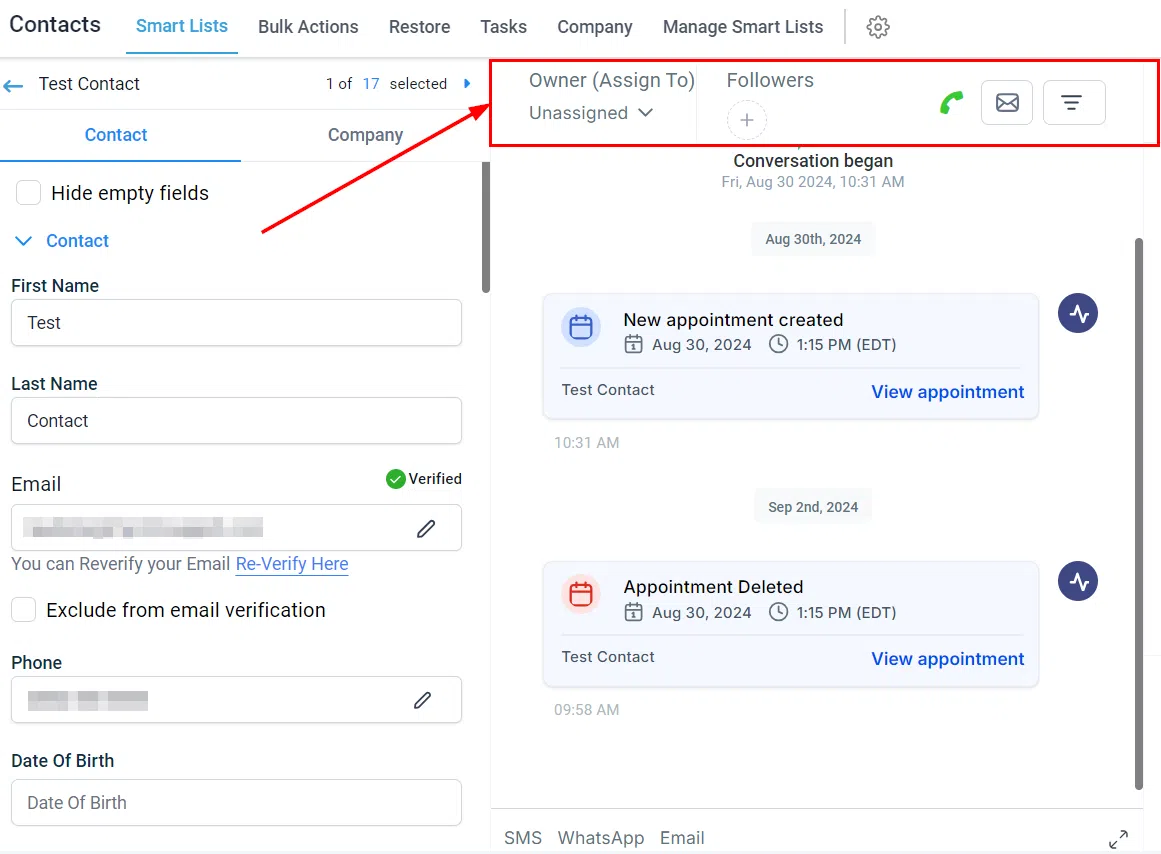
Assign Contact
Use the Assign Contact button to allocate this contact to a specific team member, helping manage workload and keep communication organised.

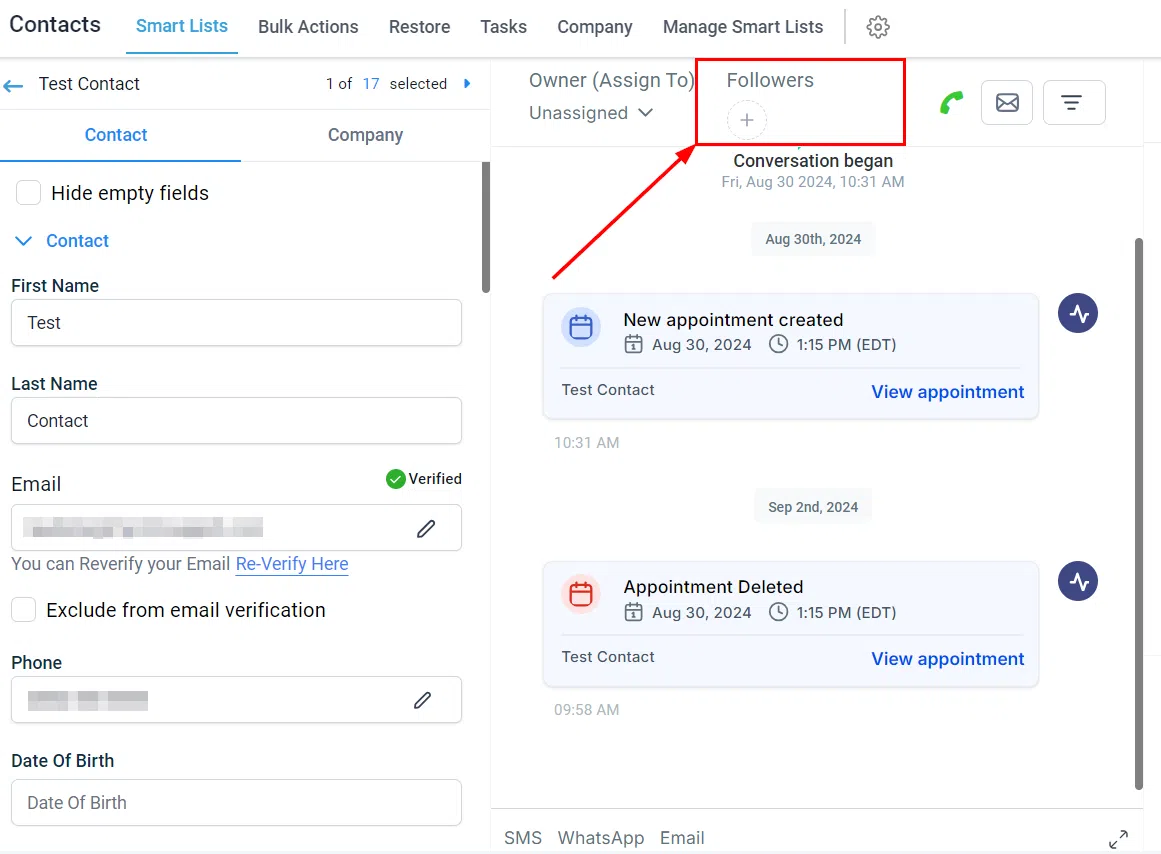
Assign Followers
Add up to 10 users as followers on a contact.
Followers can view and edit the contact record when the “Only Assigned Data” user permission is enabled.
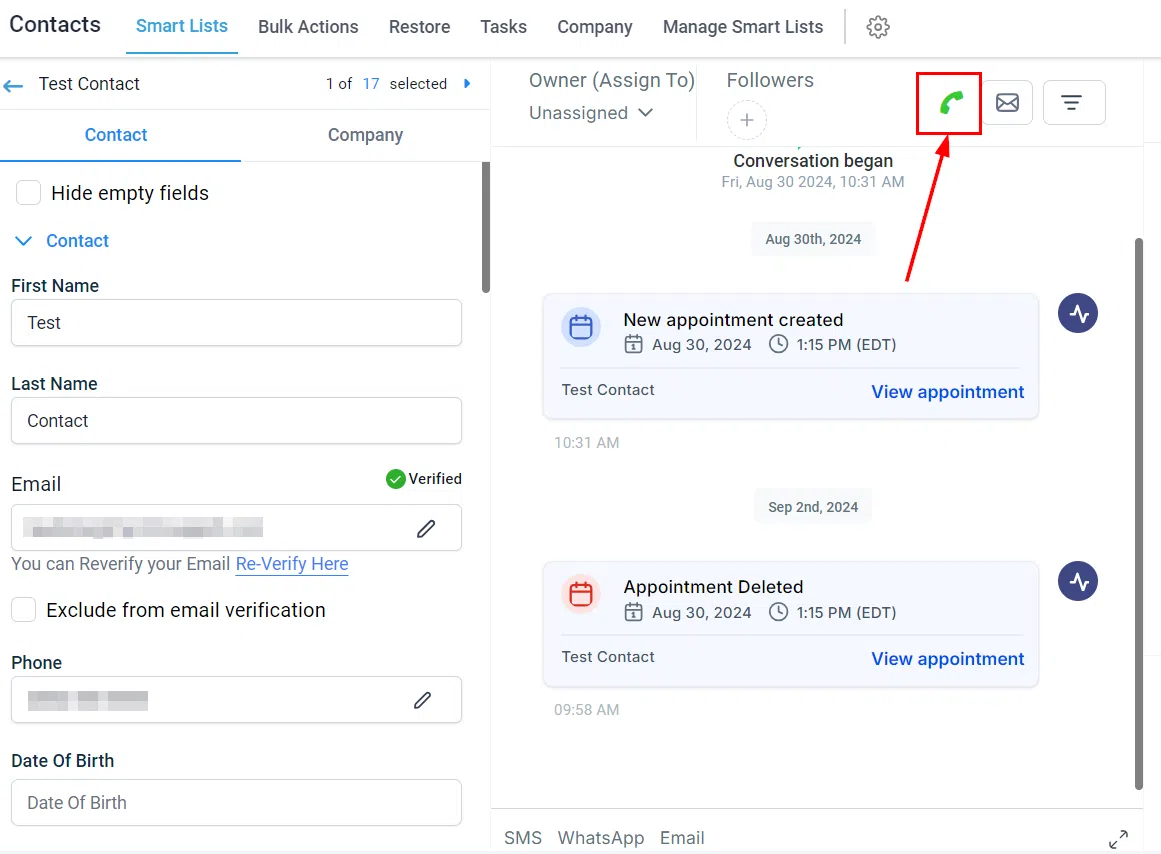
Call Contact
Click the phone icon to automatically call the contact you are currently viewing, removing the need to manually dial their number.
Mark Messages as Read/Unread
Toggle messages between read and unread using the button in the message header.
This helps keep your inbox organised and ensures nothing gets missed.

Filter Messages
Apply filters to view messages sent through a specific channel, or to group contact activity by type.
This makes it easy to review communication history and follow up efficiently.

Send a Message
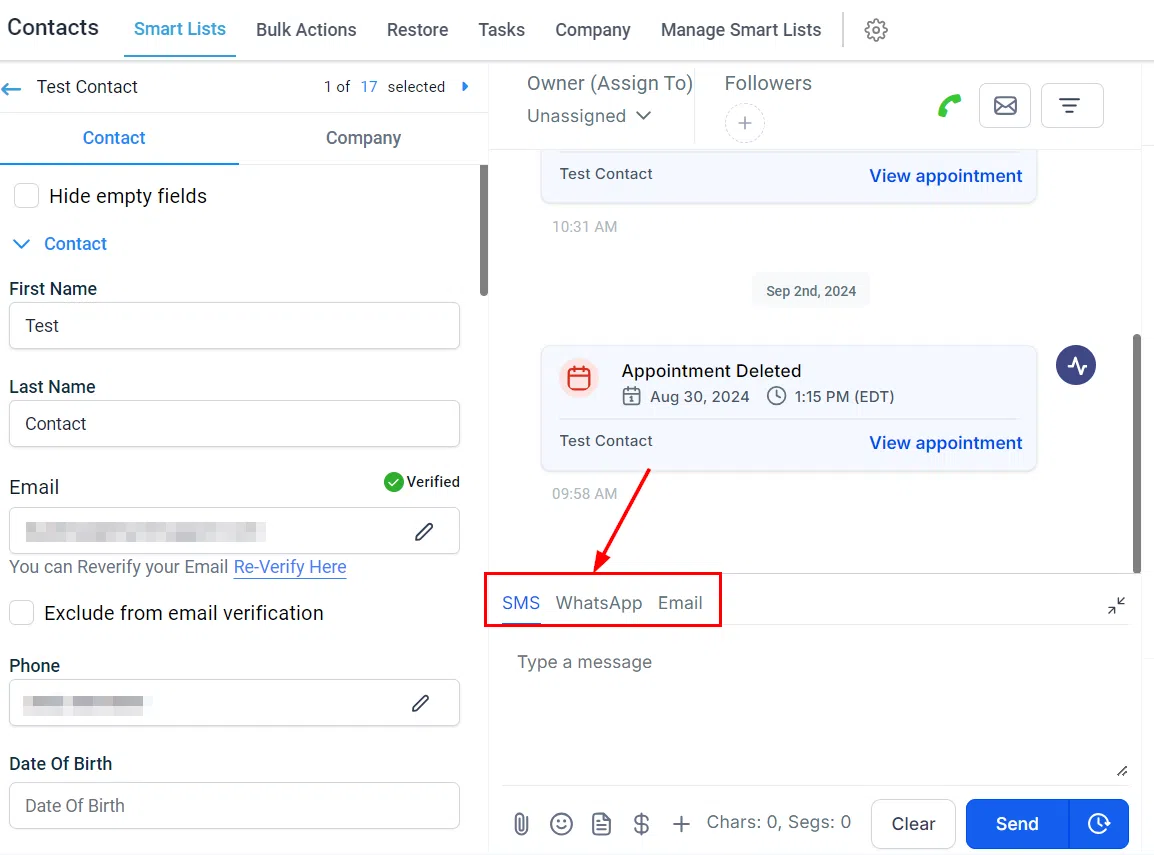
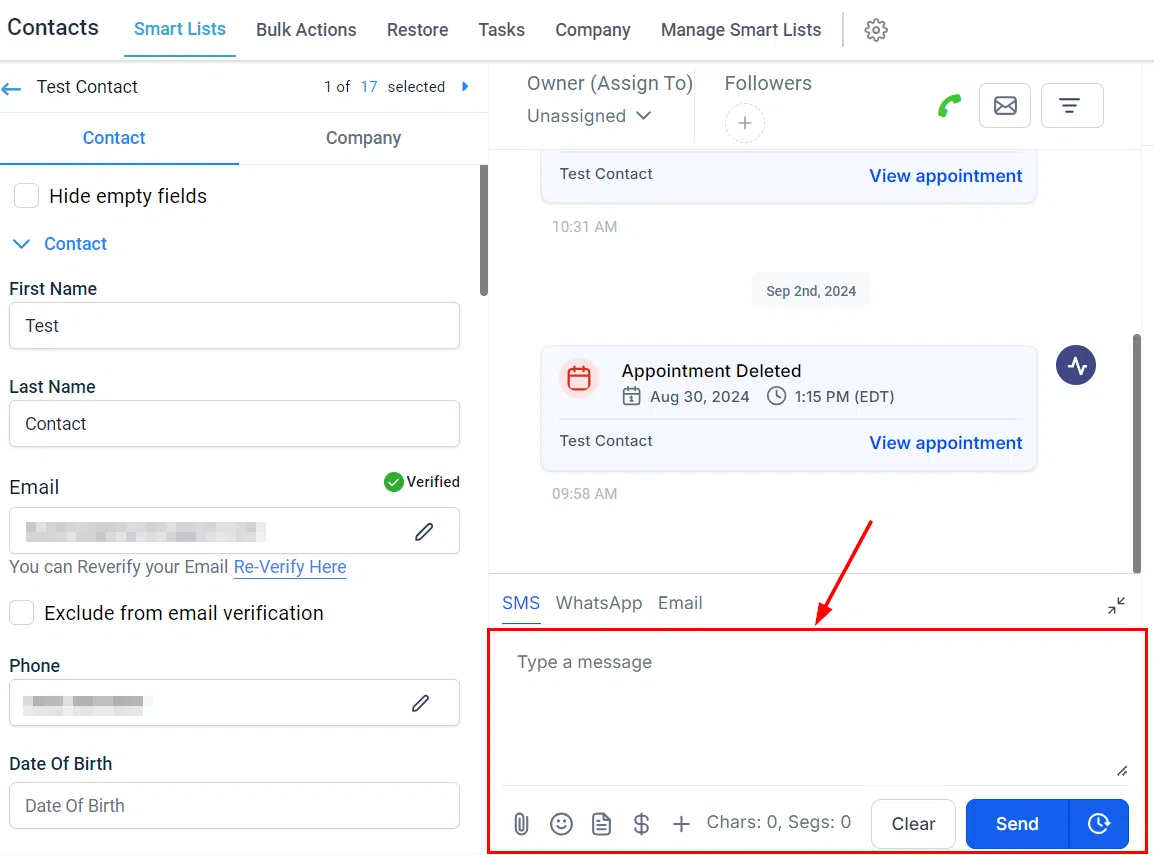
Select the message channel you want to use, then compose your text in the designated field.
You can personalise your message using templates, emojis, file attachments, or custom values.