An automation or workflow in Growth360 is a sequence of automated actions triggered by a specific event.
For example, when a lead shows interest in your business, a workflow can automatically send them follow-up information, add them to a pipeline, or kick off a series of messages – without you having to do any of it manually. Workflows save time, keep your processes consistent, and let you focus on the work that actually needs a human touch.
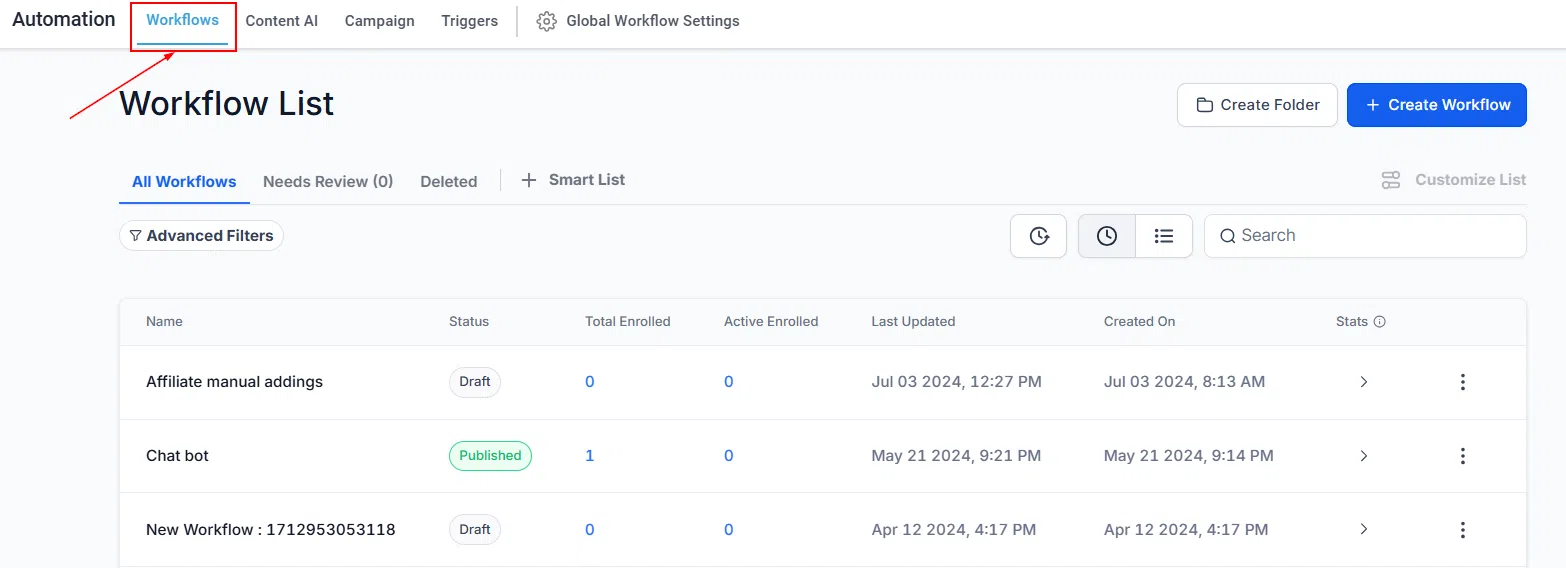
To get started, go to Automation in the left sidebar and click the Workflows tab.
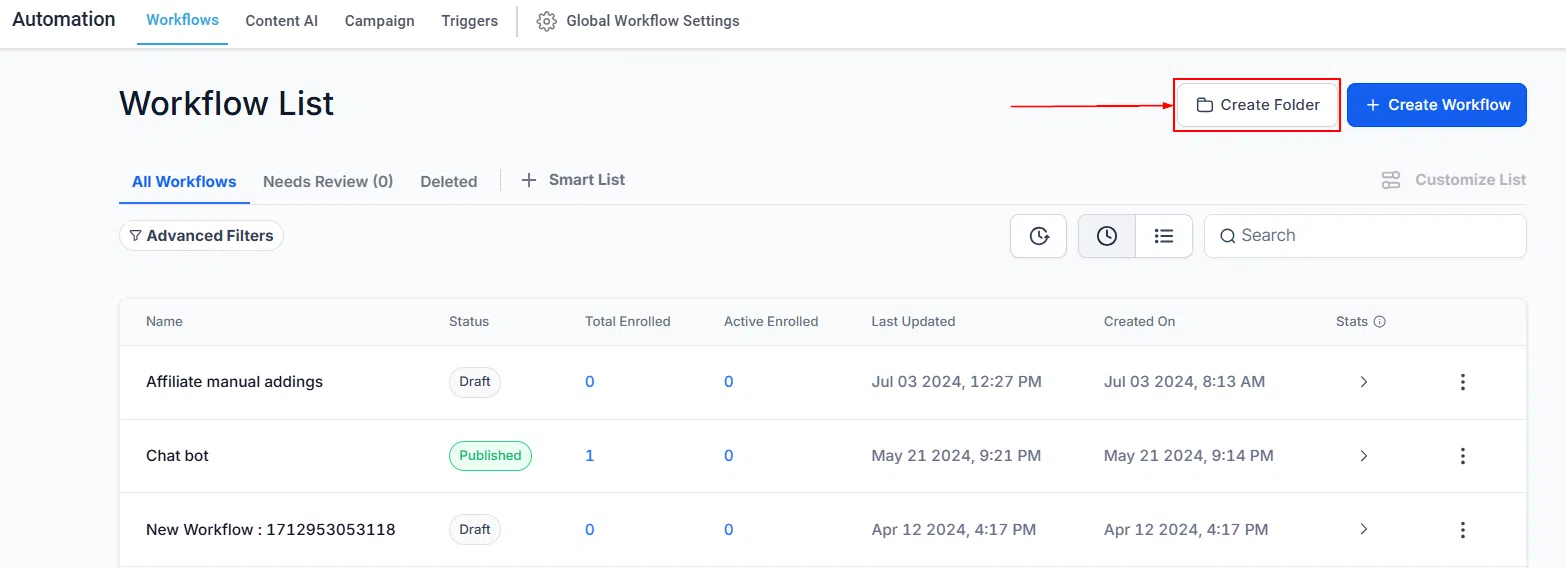
Create Folder
Keep your workflows organised by grouping them into folders. Click Create Folder, give it a name, and hit Create. The folder appears in your workflow list immediately.
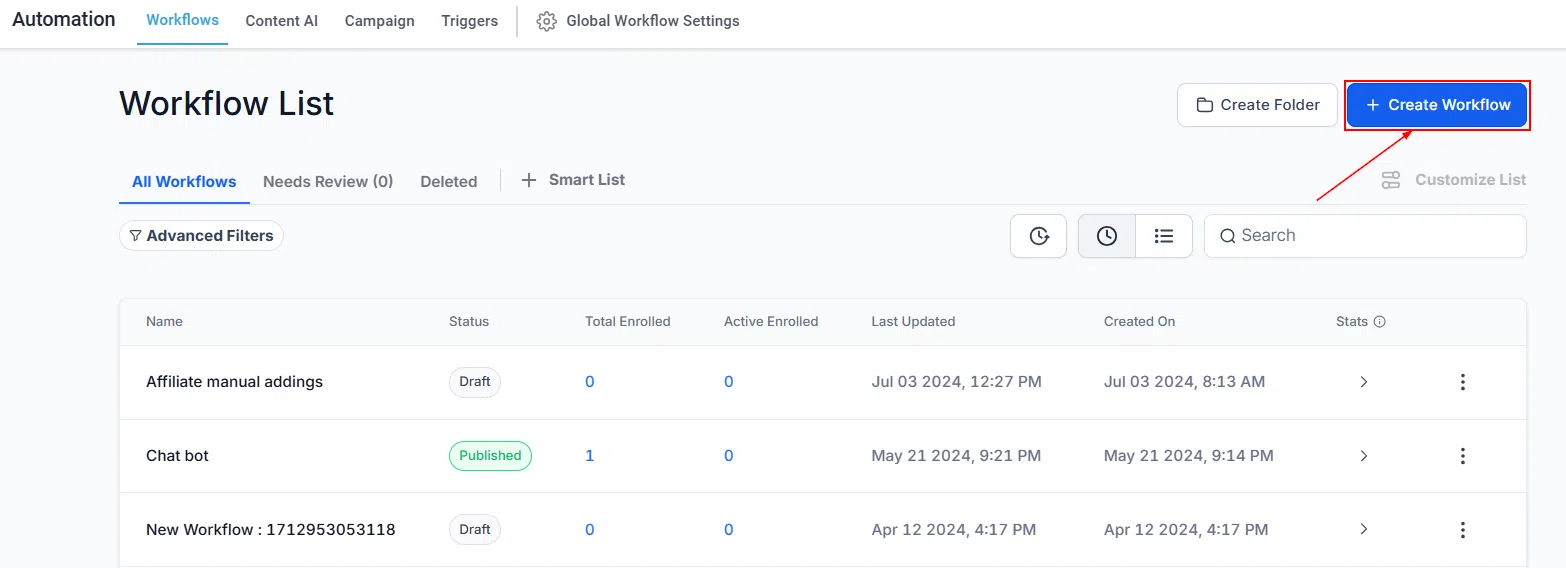
Create Workflow
Click + Create Workflow to start building a new automation. This opens the workflow builder where you can set your trigger and add actions.
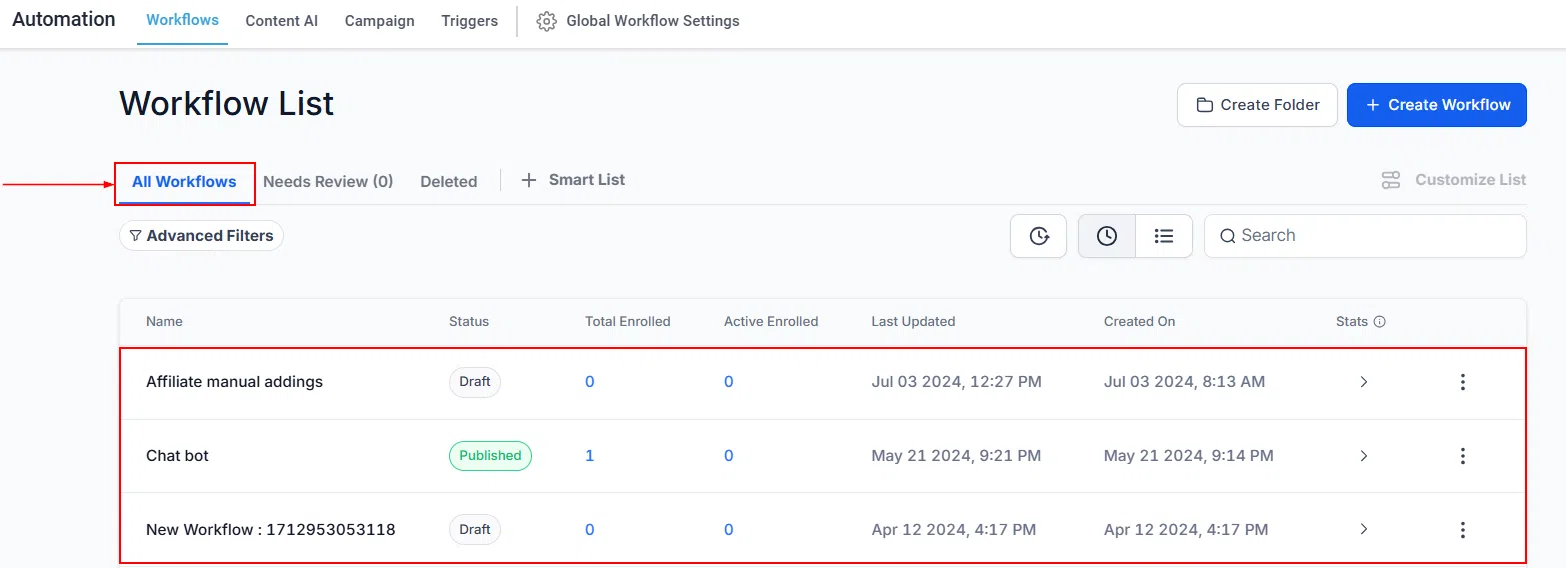
All Workflows
The All Workflows tab is your main workspace – it shows every workflow created by you and your team. From here you can view, edit, or create workflows.
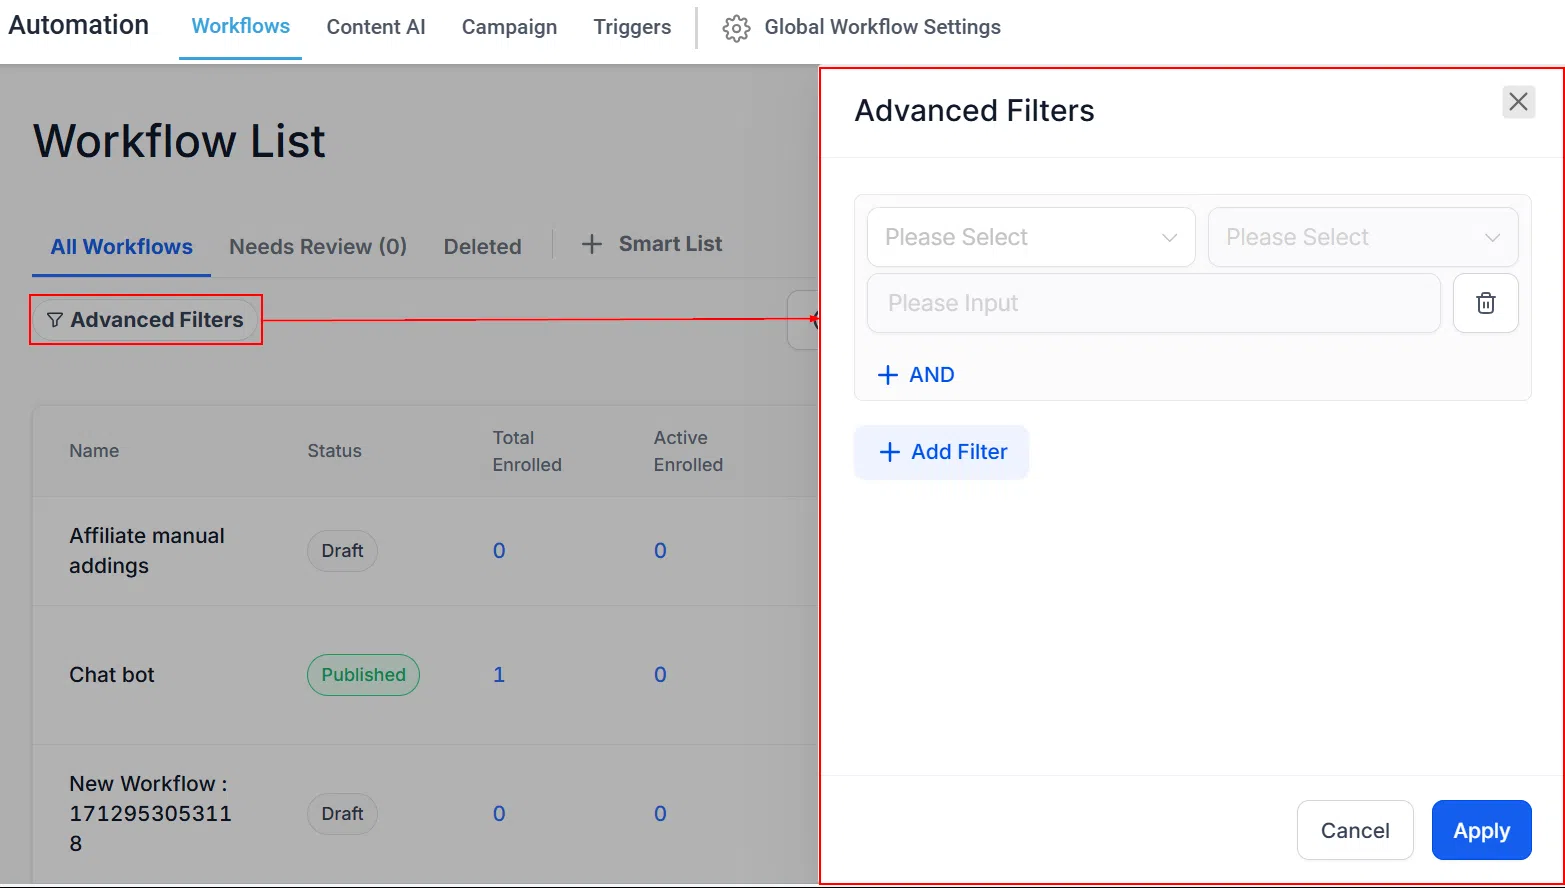
Advanced Filters
Use advanced filters to narrow the list by specific criteria – useful when you have a large number of workflows and need to locate one quickly.
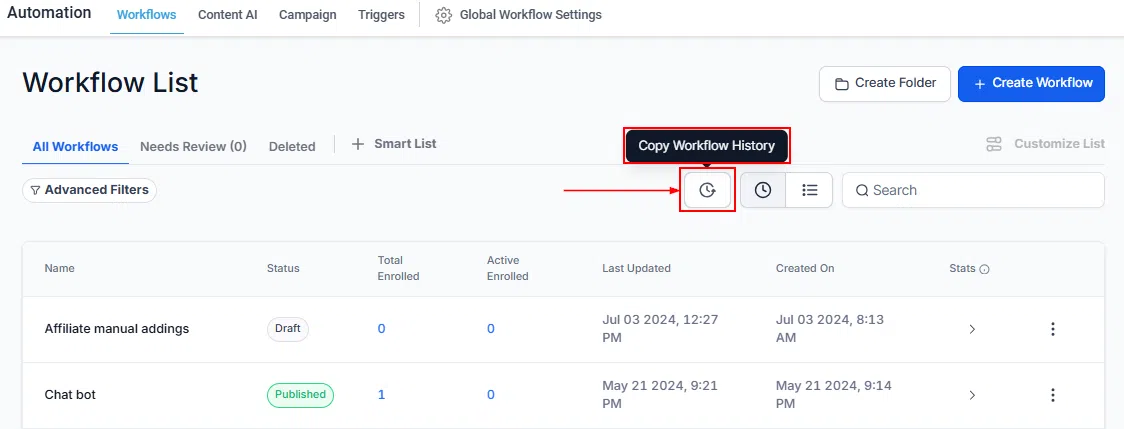
Copy Workflow History
Access and copy past workflow histories for reference or reuse, so you can build on approaches that have worked well before.
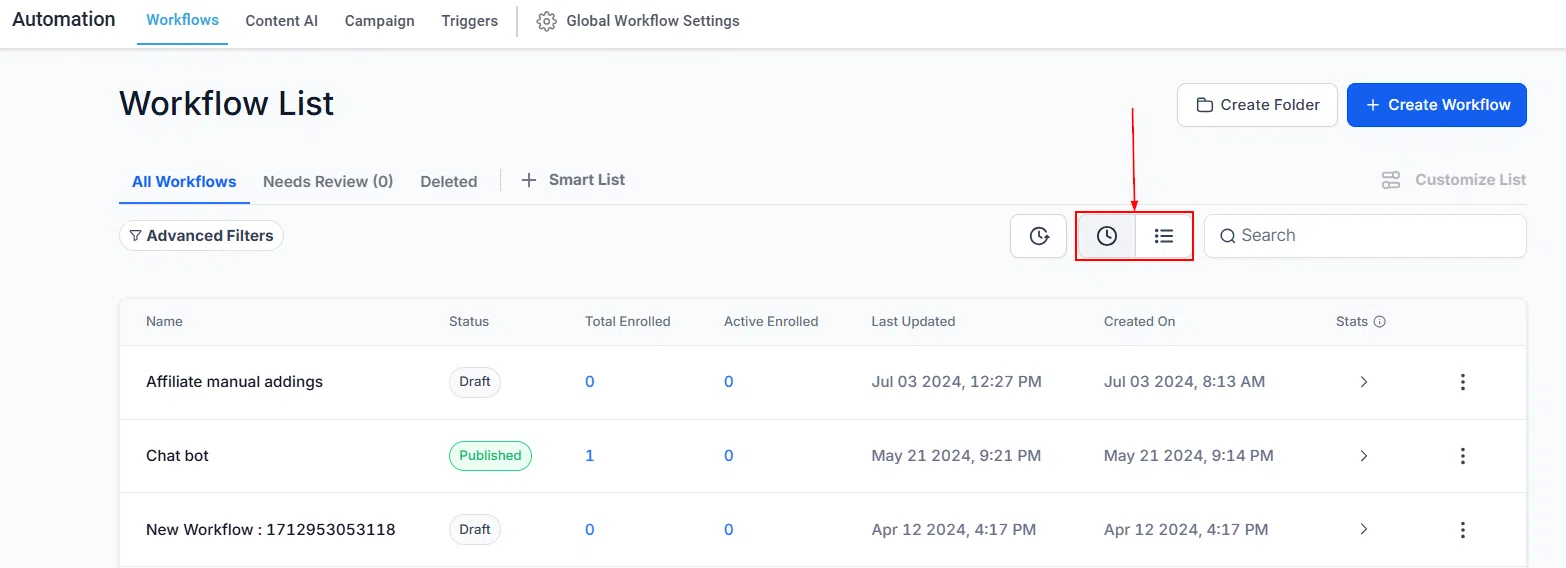
Sort By Recent or List
Toggle between two sort views: the clock icon (Recent) shows the most recently updated workflows at the top, while List view organises by folder then alphabetically.
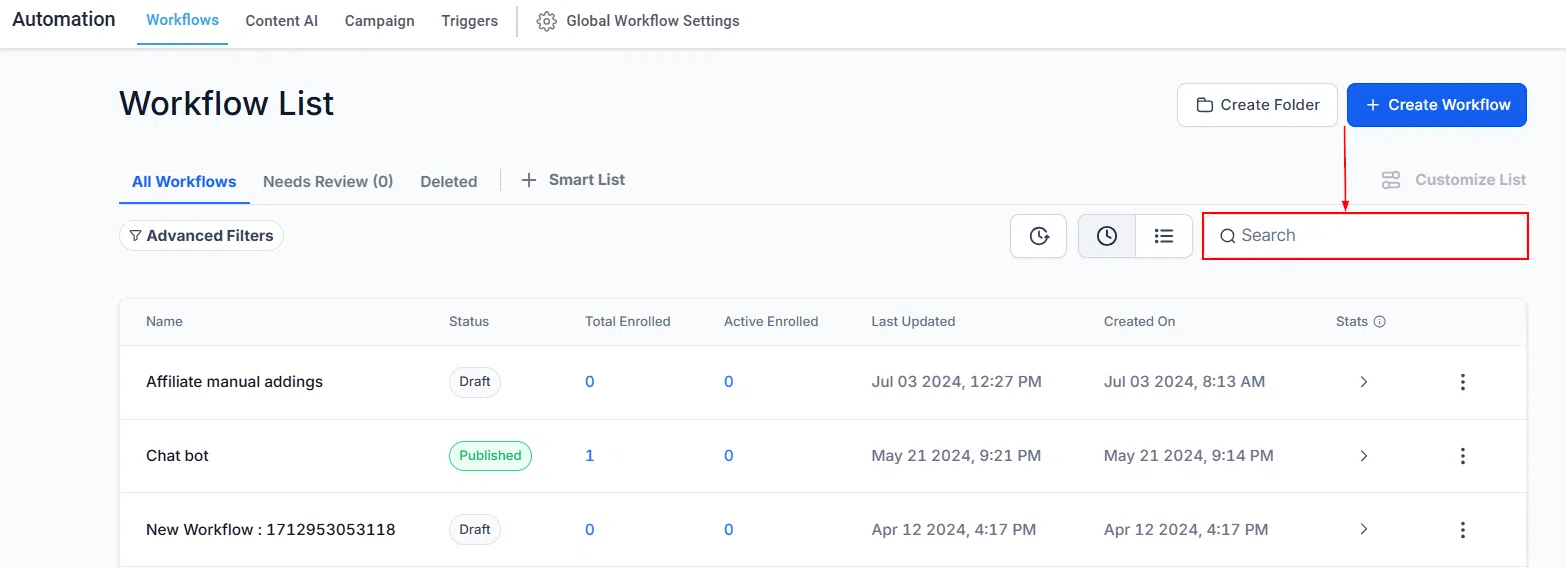
Search Bar
Type keywords into the search bar to find a specific workflow or folder without scrolling through the full list.
All Workflows List
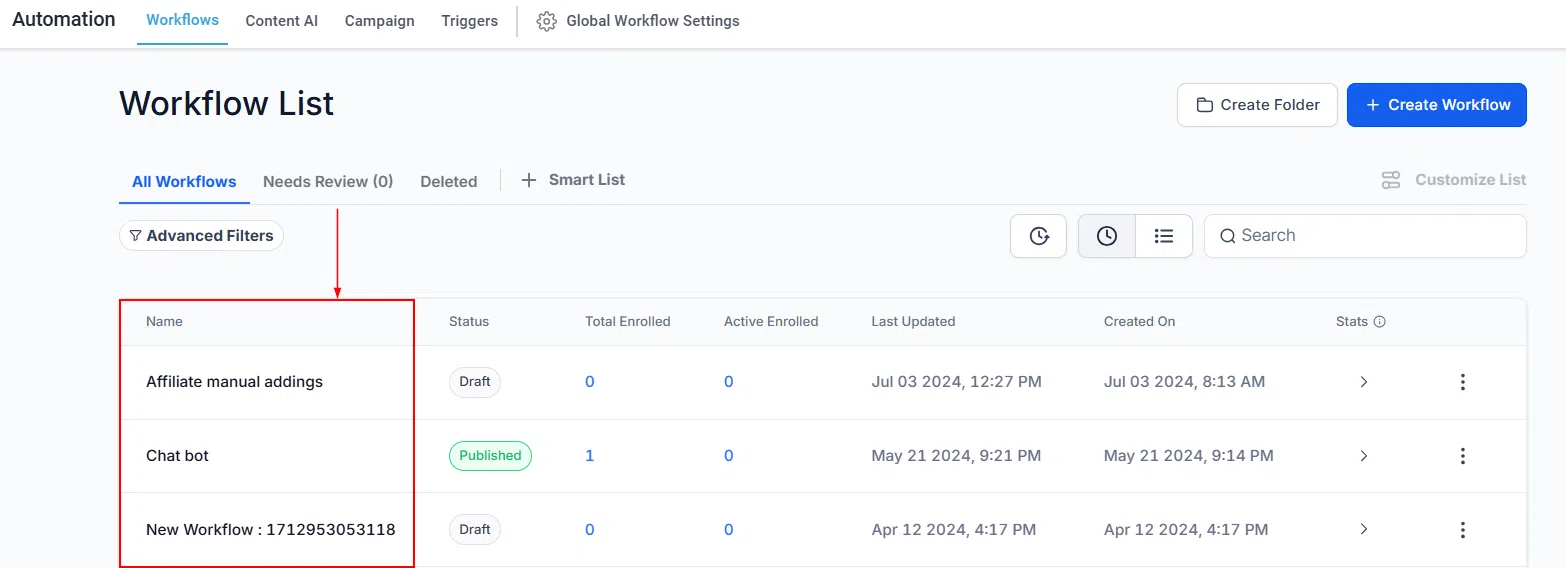
Each workflow in the list shows the following information at a glance:
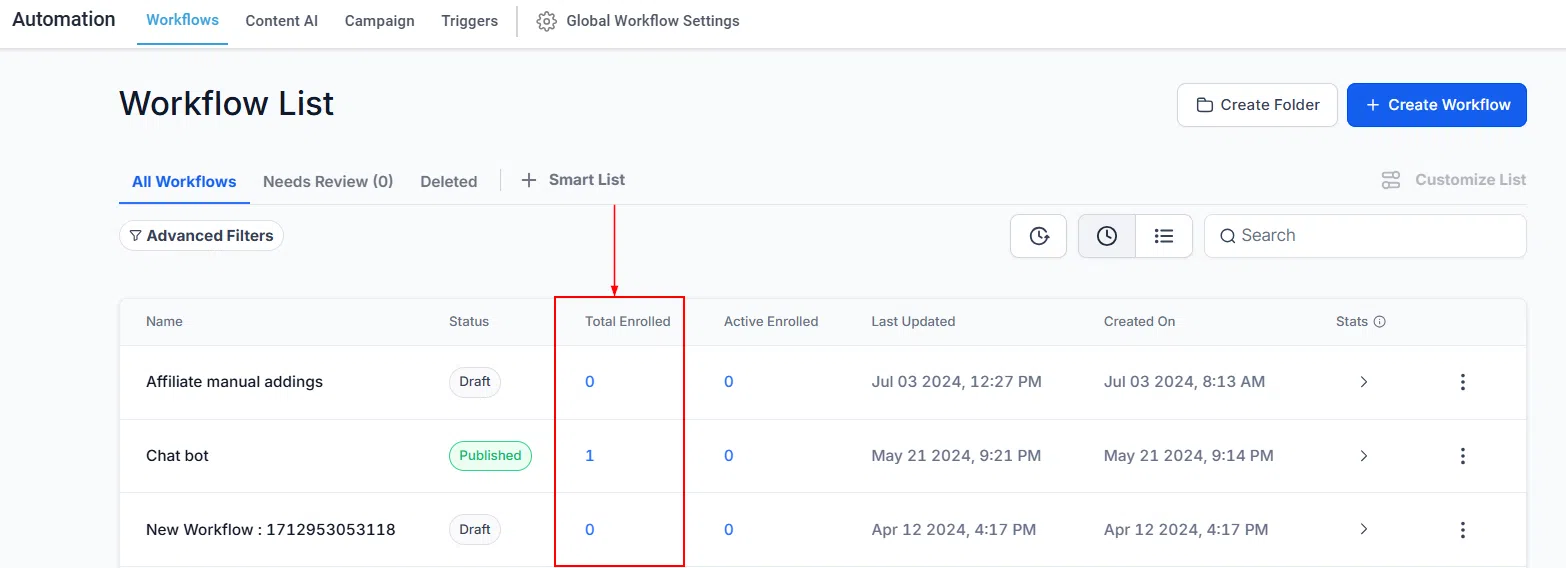
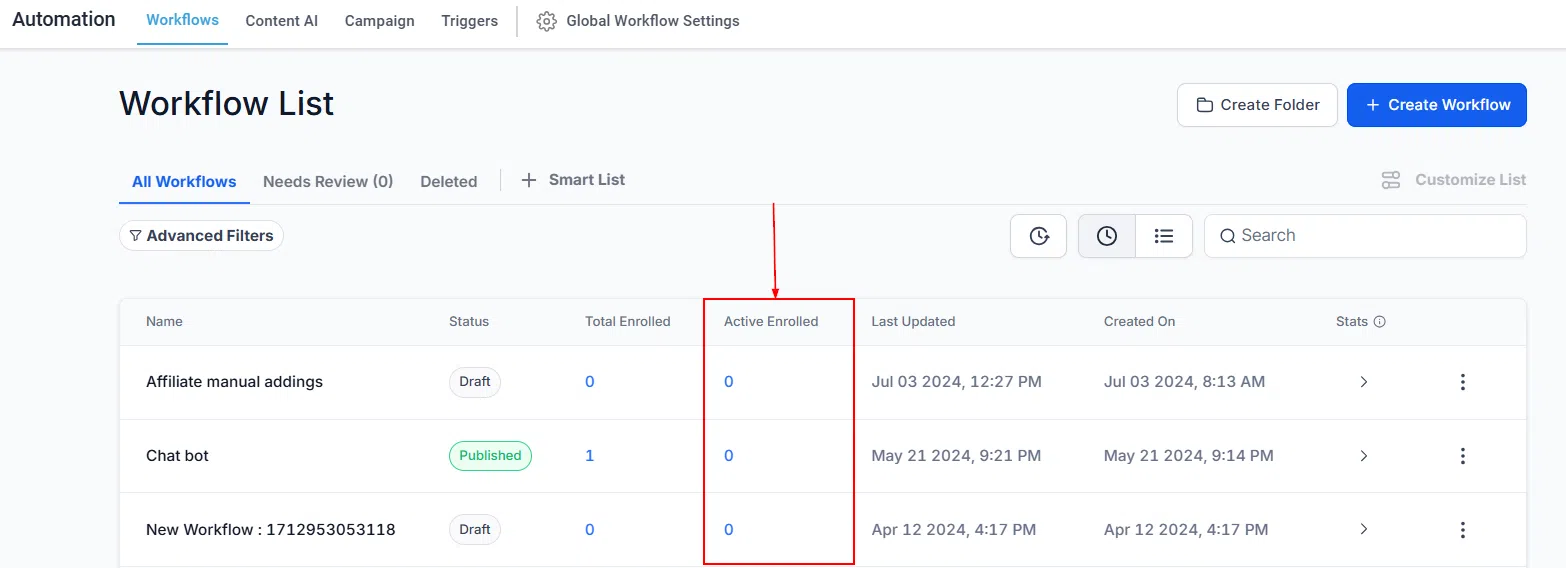
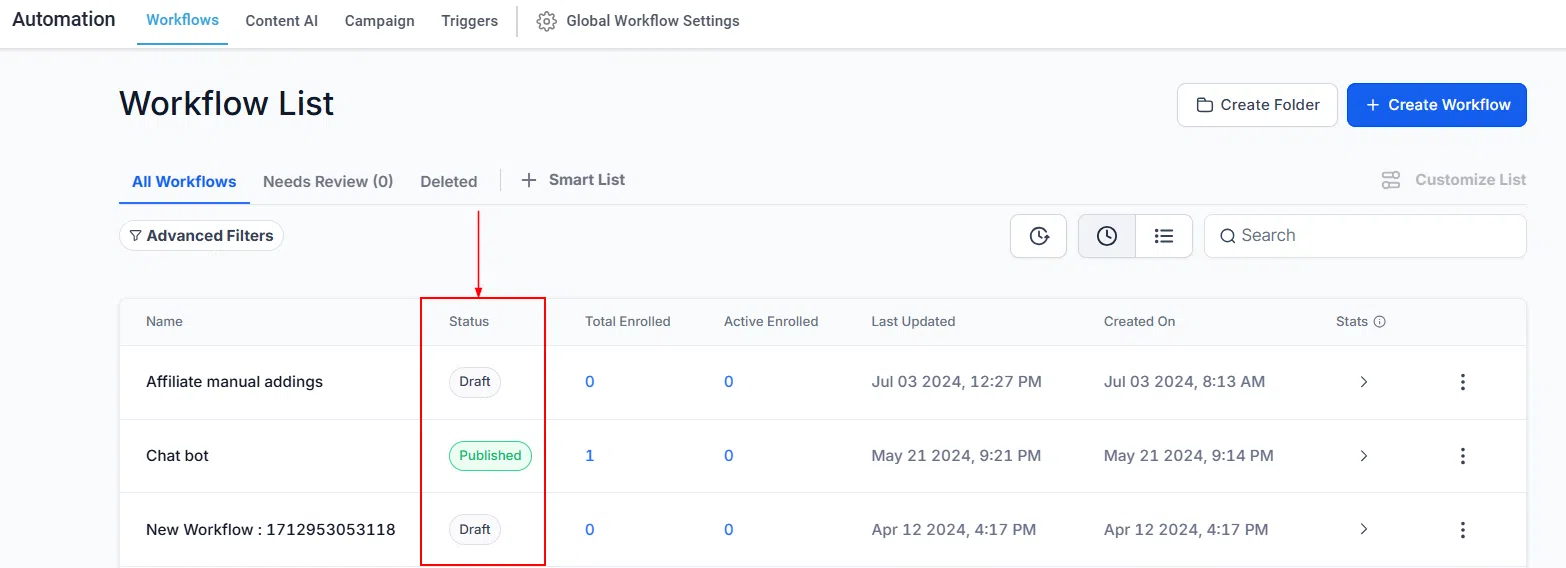 Status shows whether the workflow is Published (running) or in Draft. The enrolment columns show how many contacts have been added in total, and how many are actively progressing through the workflow right now.
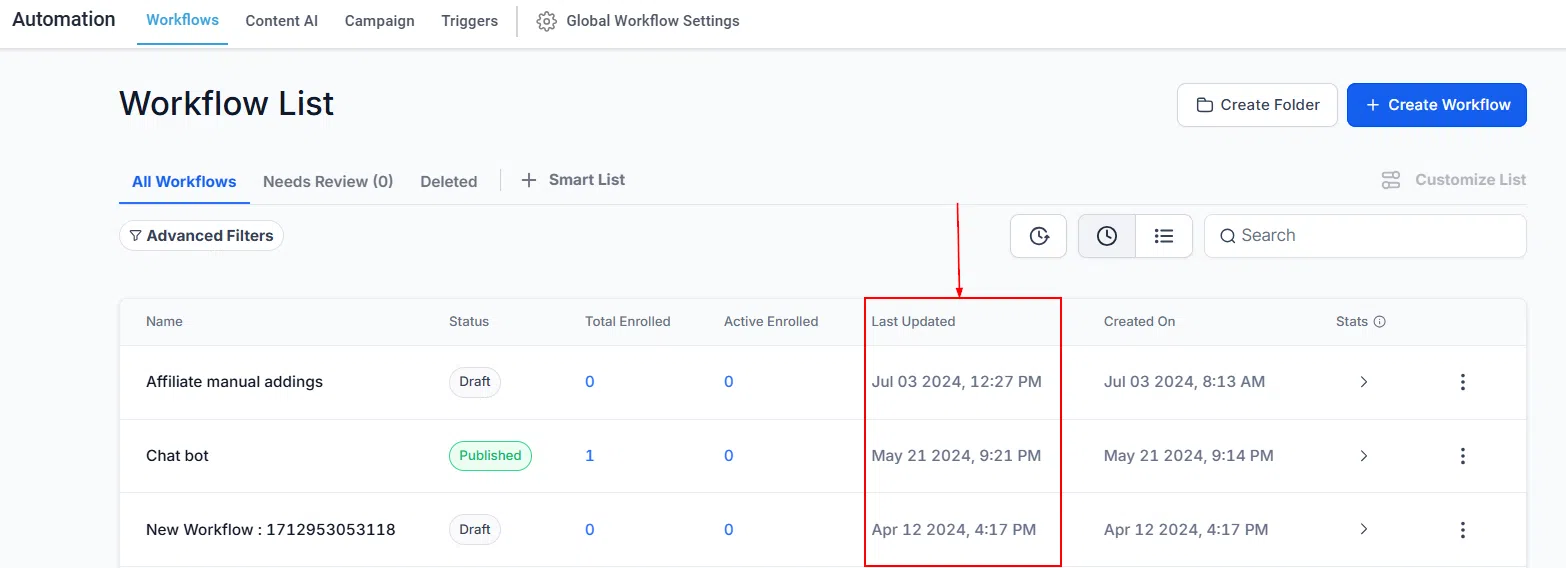
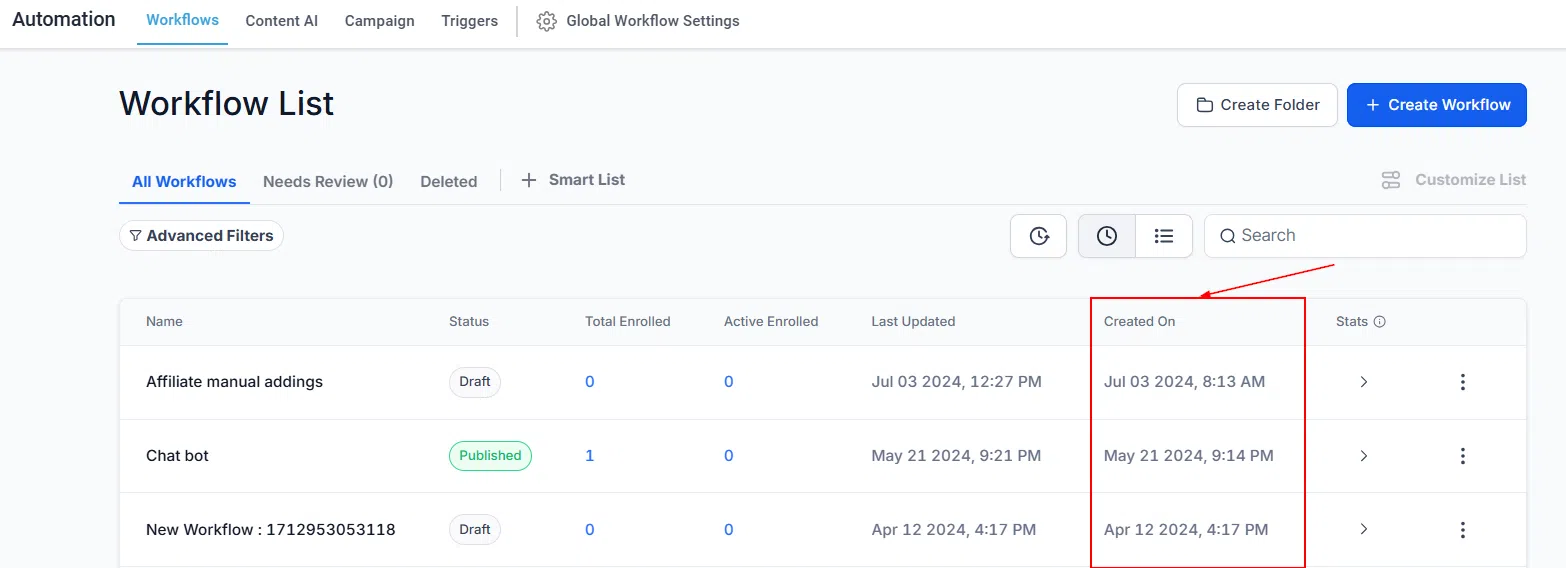
 Last Updated shows when the workflow was most recently edited. Created On shows the original creation date – useful for tracking how long a workflow has been live.
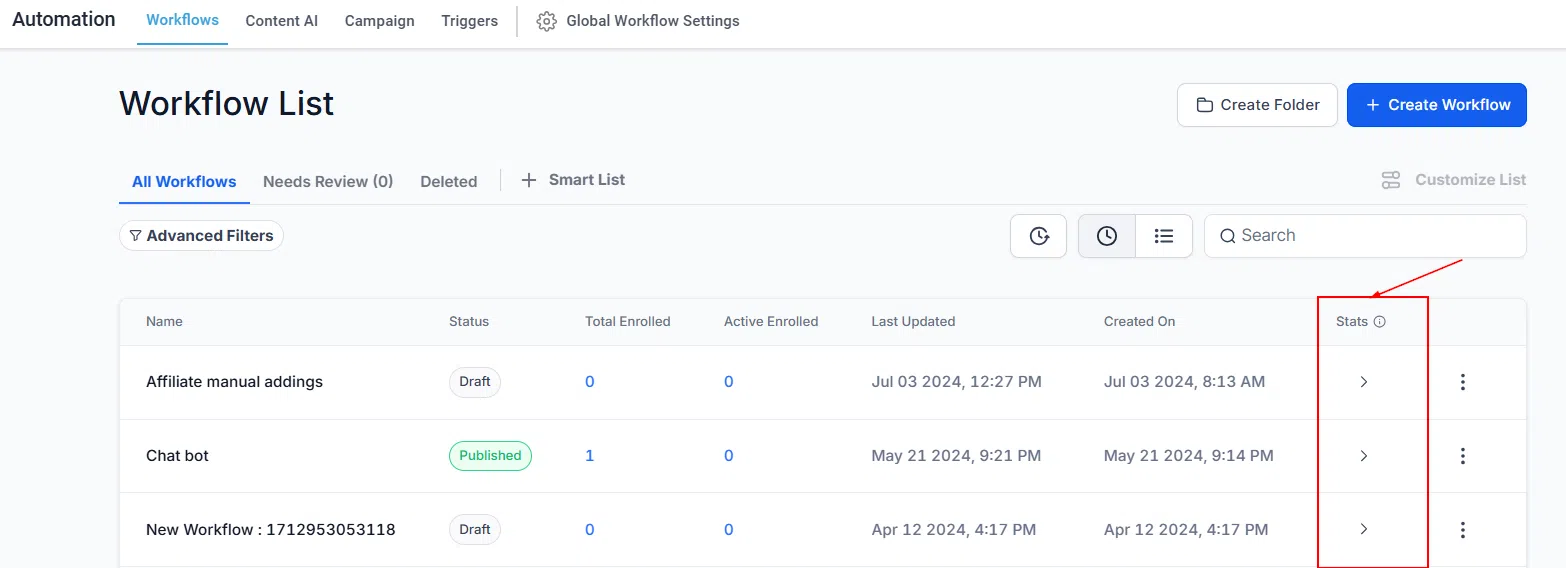
 Stats – Click the Stats dropdown to see delivery metrics for the workflow’s messages.
- Name: The workflow’s name for easy identification.
- Status: Whether the workflow is in Draft or Published state.
- Total Enrolled: The total number of contacts ever enrolled in this workflow.
- Active Enrolled: Contacts currently progressing through the workflow.
- Last Updated: When the workflow was last modified.
- Created On: The original creation date.
- Stats: A drop-down showing Delivered, Opened, Clicked, Replied, and Bounced metrics.
Workflow Actions
Click the three-dot menu on any workflow to access its actions:
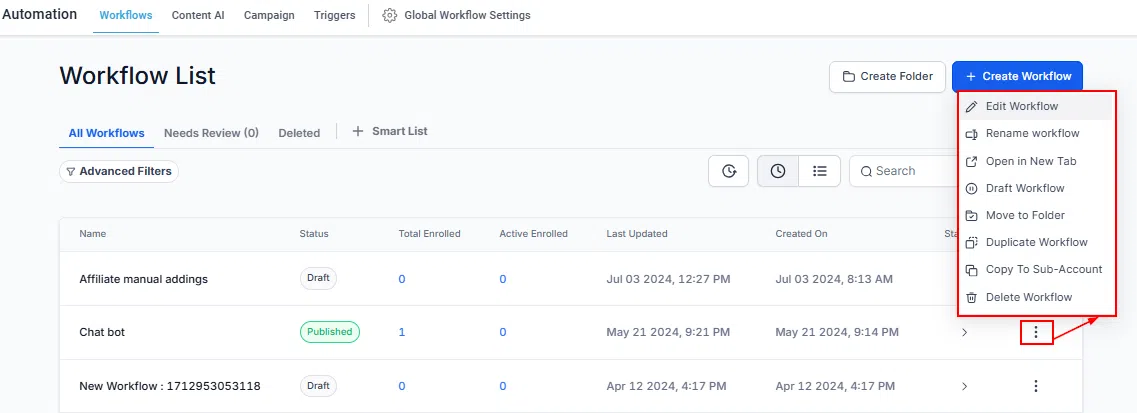
- Edit Workflow: Open the workflow in the builder.
- Rename Workflow: Update the workflow’s name.
- Open in New Tab: Open the workflow editor in a new browser tab.
- Draft / Publish: Switch the workflow between Draft and Published status.
- Move to Folder: Relocate the workflow into a folder.
- Duplicate Workflow: Clone the workflow with all its settings intact.
- Delete Workflow: Permanently remove the workflow.
Folder Actions
Click the three-dot menu next to any folder for these options:
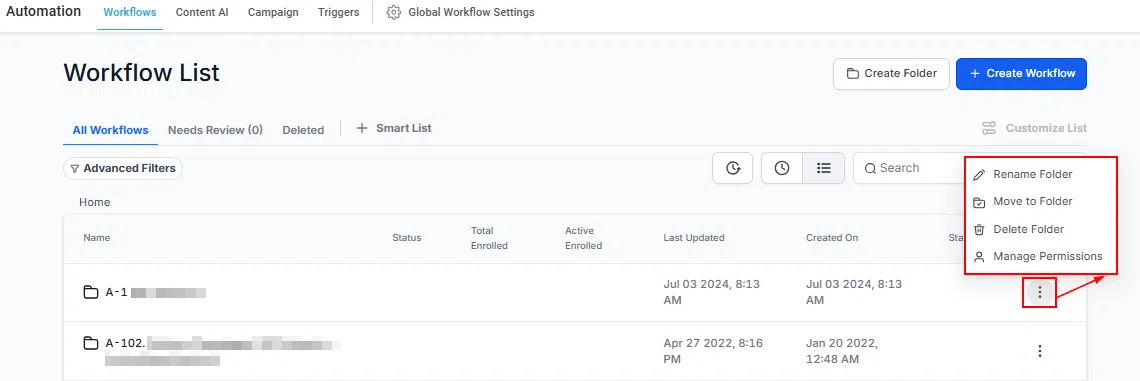
- Rename Folder: Change the folder name.
- Move to Folder: Nest the folder inside another folder.
- Delete Folder: Permanently remove the folder.
- Manage Permissions: Control which users can access workflows inside this folder.
Needs Review
This tab shows workflows with unresolved errors from the past 30 days, so you can quickly identify and fix anything that’s not running as expected.
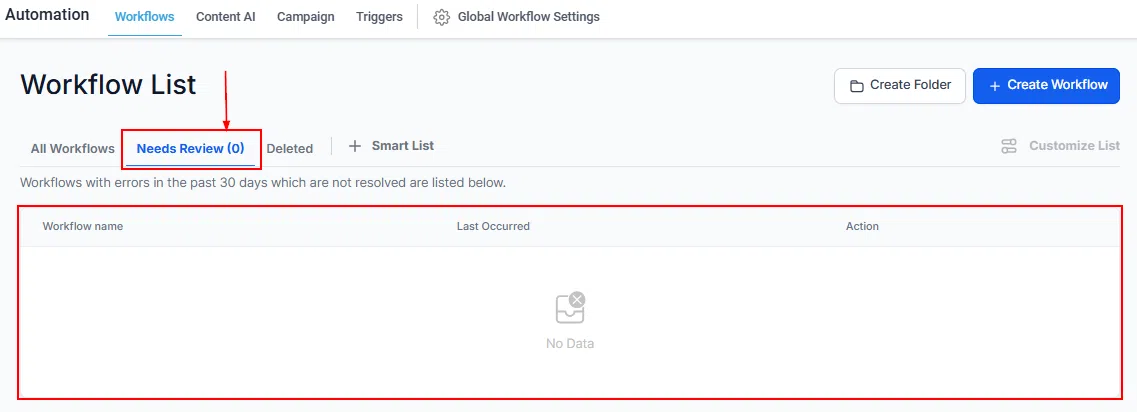
Needs Review List
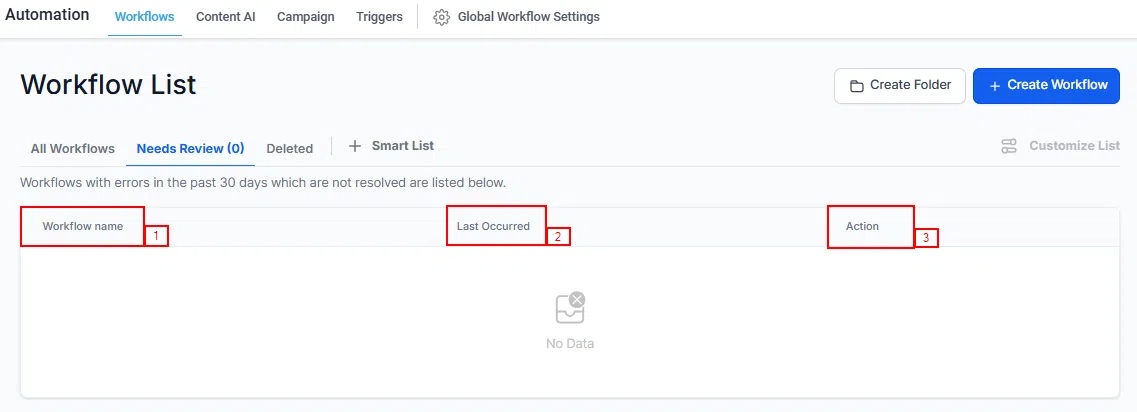
- Workflow Name: The workflow with errors.
- Last Occurred: When the error last happened.
- Action: Mark errors as read once you’ve reviewed them.
Deleted
Recently deleted workflows (within the last 30 days) appear here and can be restored if needed.
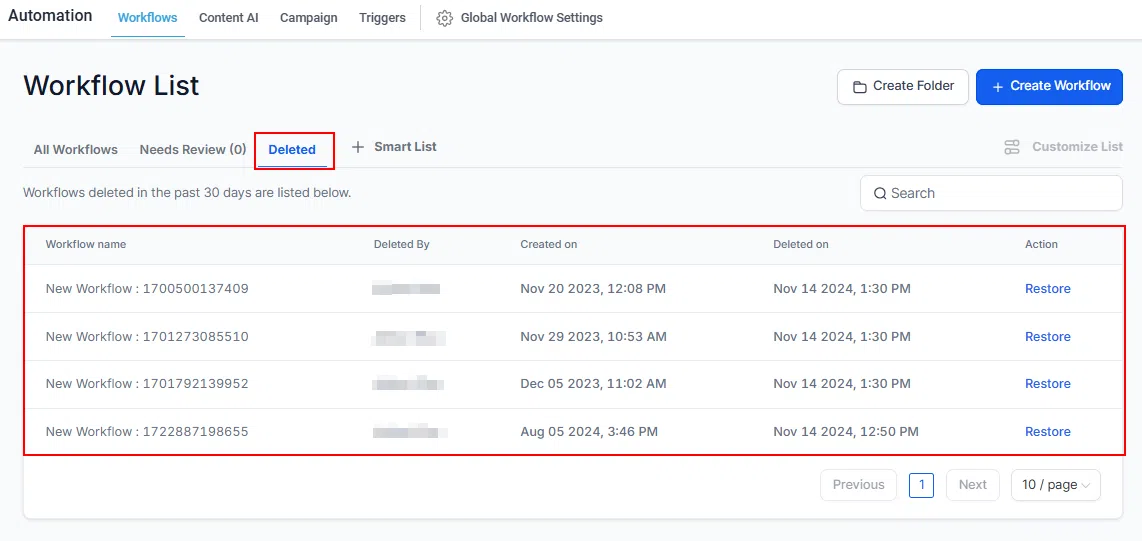
Deleted Workflows List
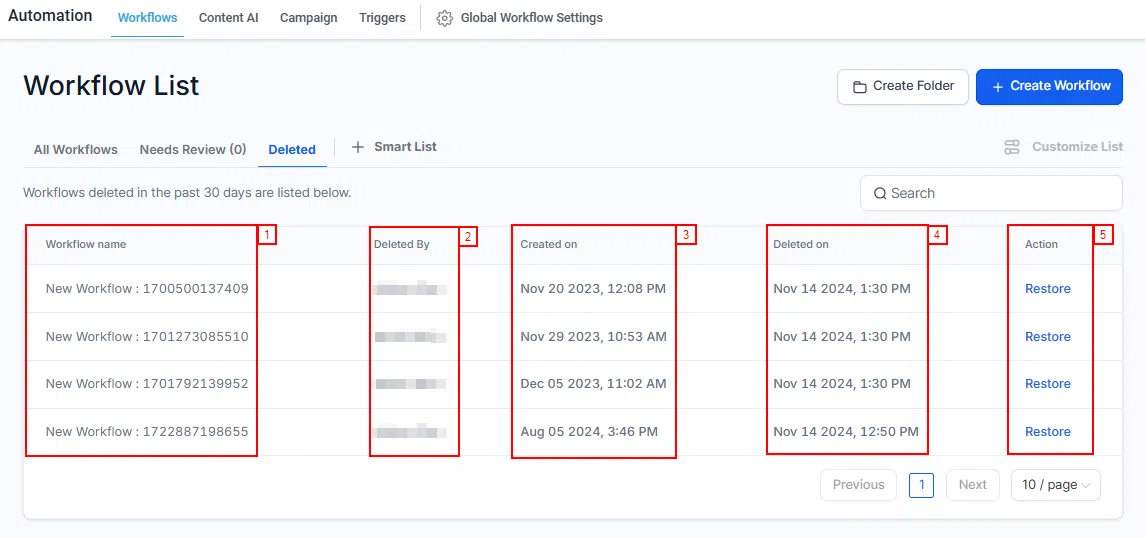
- Workflow Name: The name of the deleted workflow.
- Deleted By: Who deleted it.
- Created On: Original creation date.
- Deleted On: When it was removed.
- Action: View details or restore the workflow.
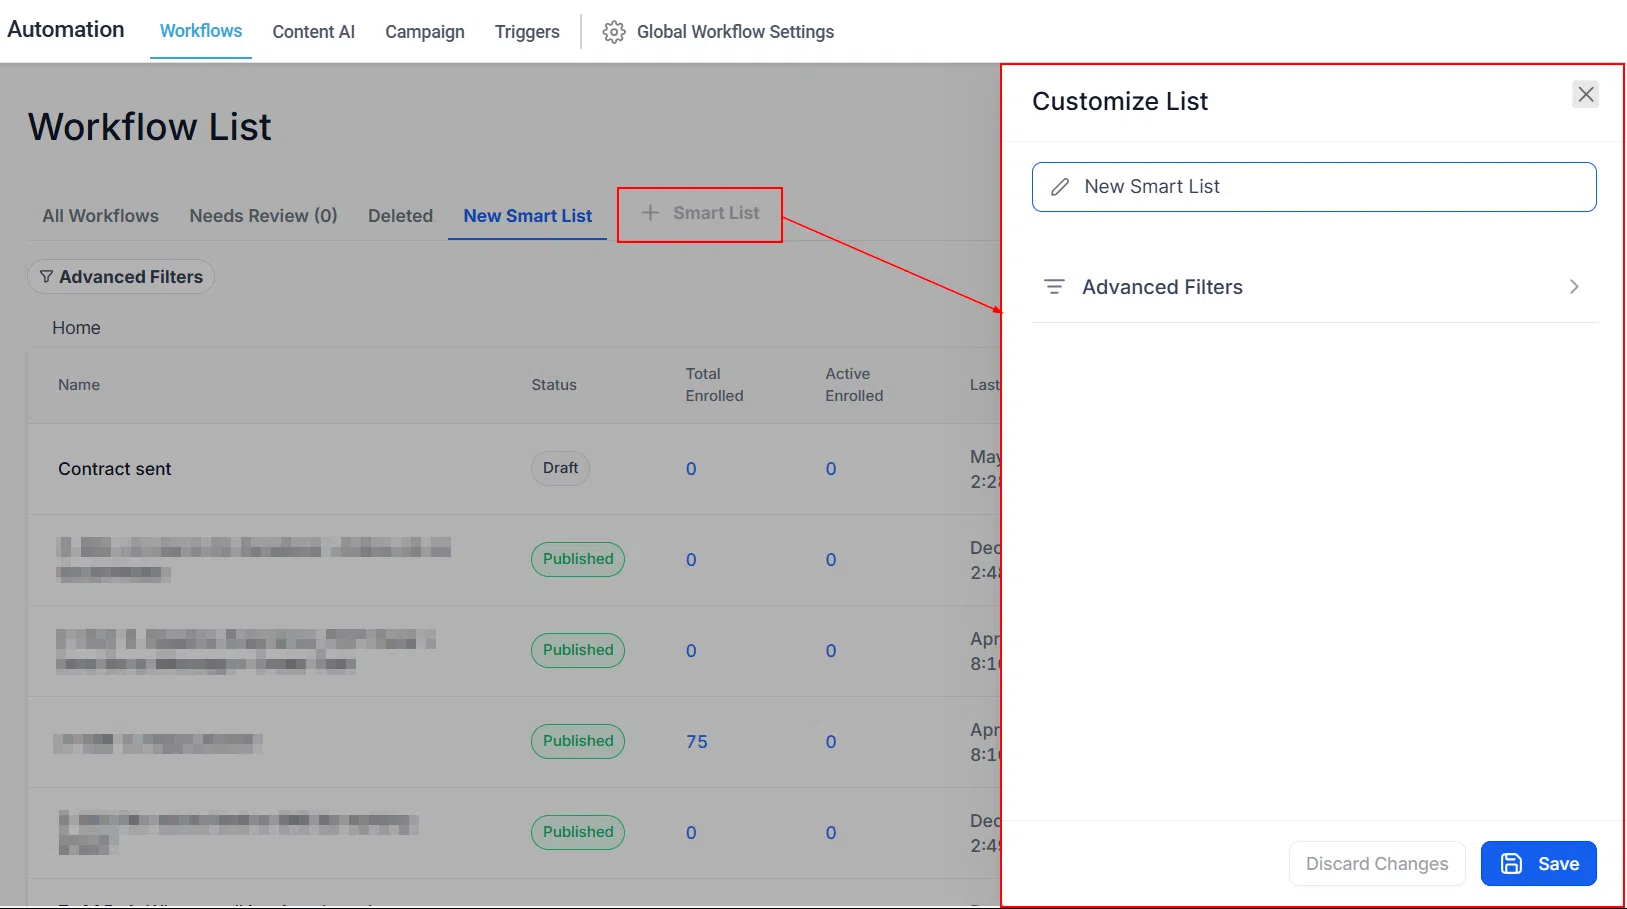
Smart List
Use Smart Lists to group and manage workflows that meet specific criteria – a useful way to stay organised as your automation library grows.