Growth360’s Voice AI Agents handle inbound (and outbound) phone calls automatically – collecting caller information, answering questions, and triggering follow-up workflows so your team can focus on warm leads and closed deals.
Voice AI Agents Overview
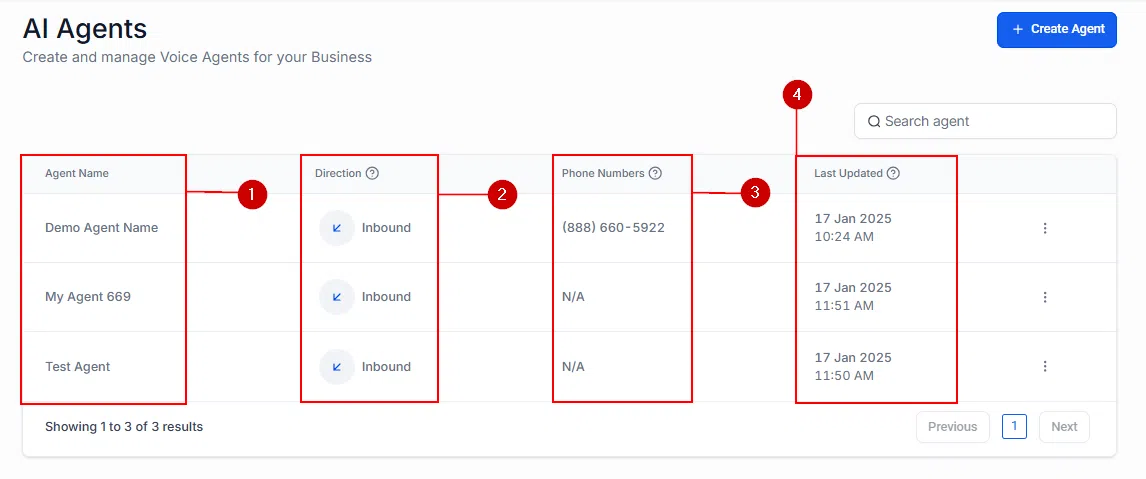
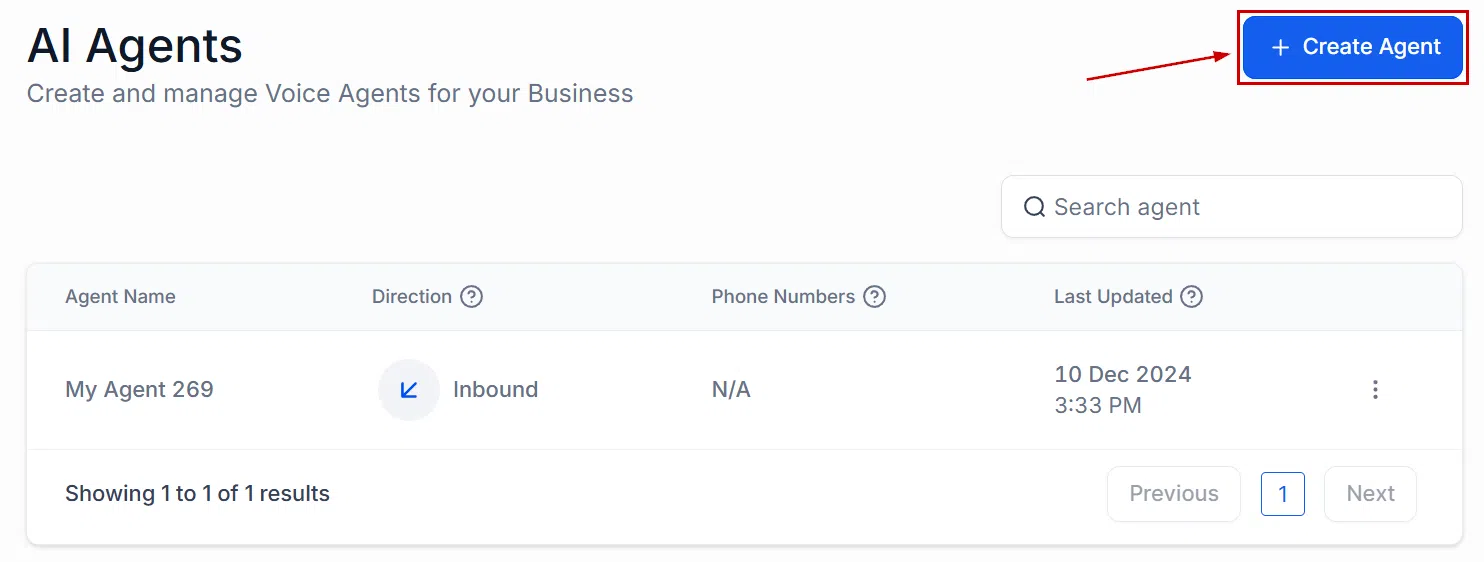
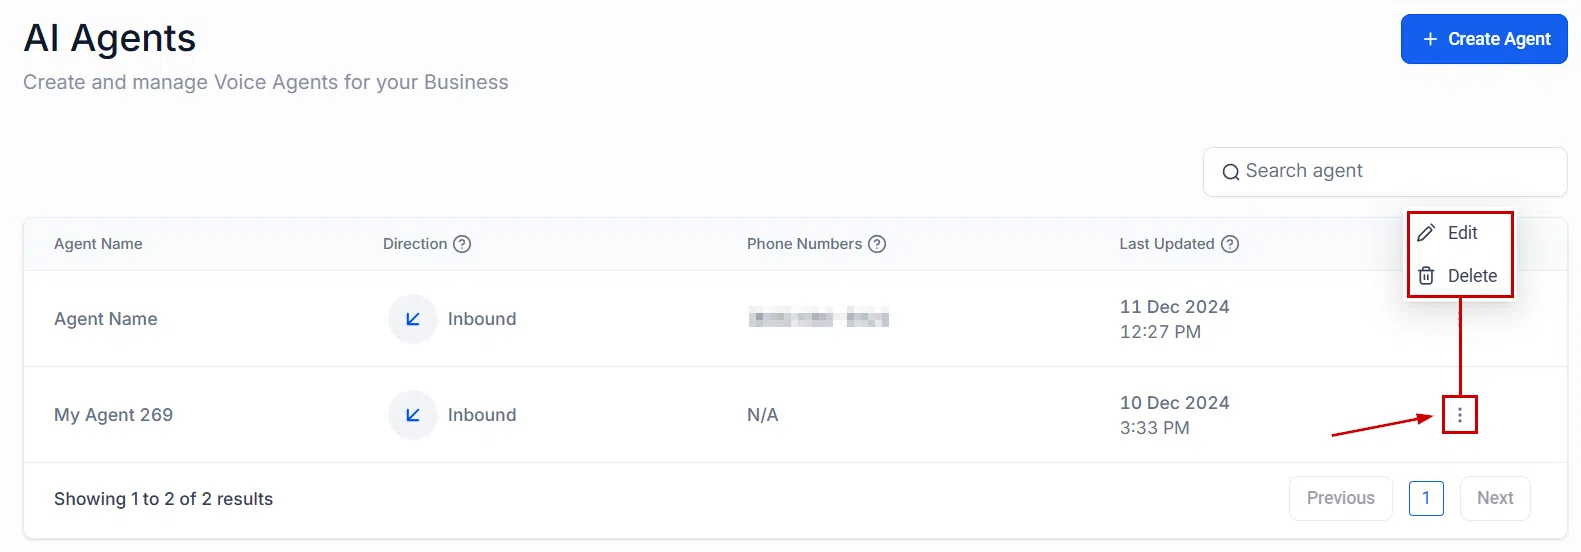
Navigate to Settings, then Voice AI Agents to see all your configured agents. Each agent appears as a card showing its name, call direction (inbound or outbound), and the phone numbers assigned to it.
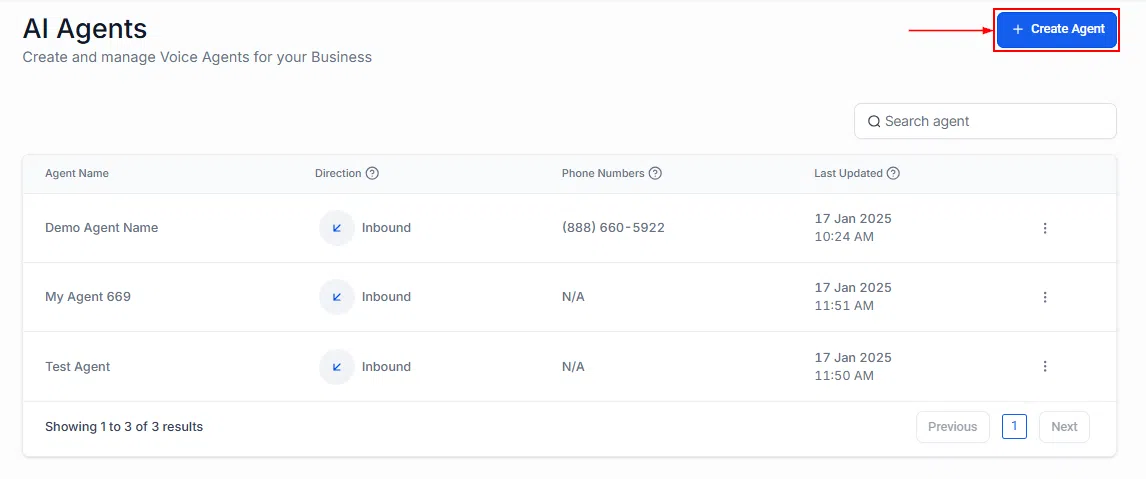
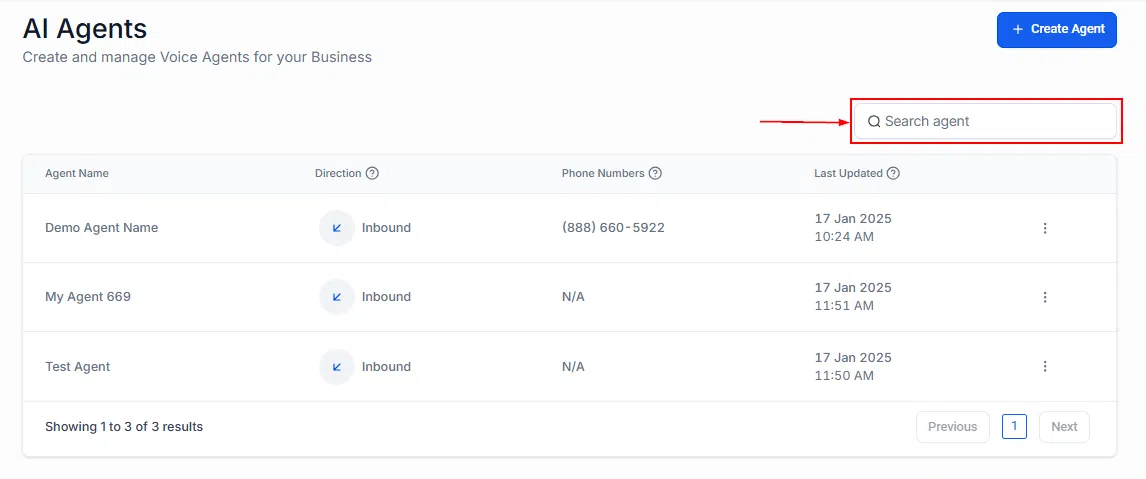
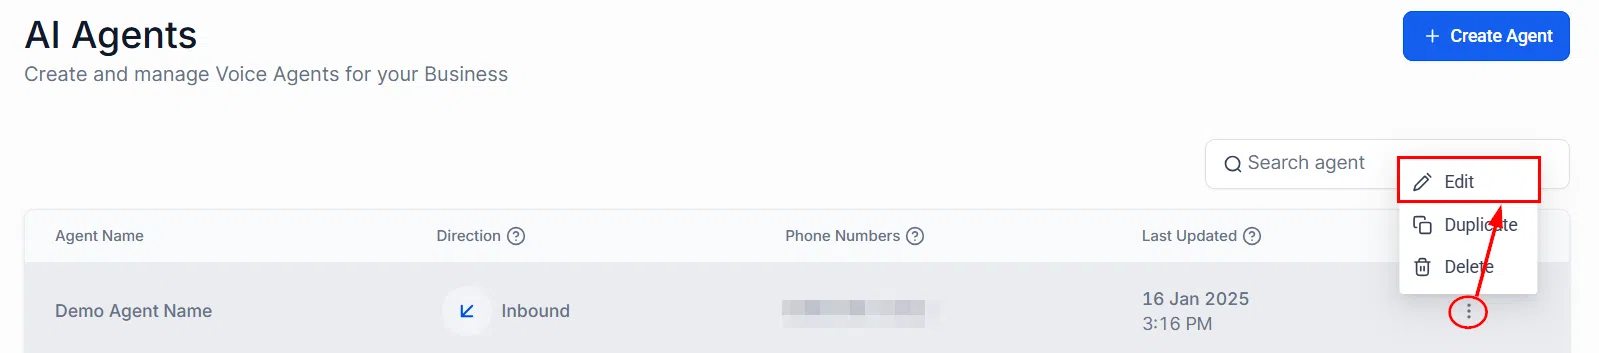
Use the search bar to find a specific agent by name. Click the + Create Agent button to set up a new one, or use the three-dot menu on an existing card to edit or delete it.
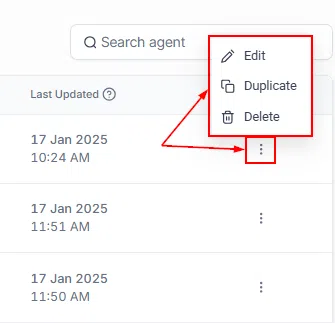
Note: Deleting an agent is permanent. If you want to disable one temporarily without losing its configuration, remove the phone number assigned to it – the agent will stop participating in calls but remain available to reconfigure later.
Setting Up a Voice AI Agent
Click + Create Agent to begin. You’ll work through a short setup wizard to configure your agent’s identity, voice, and behaviour.
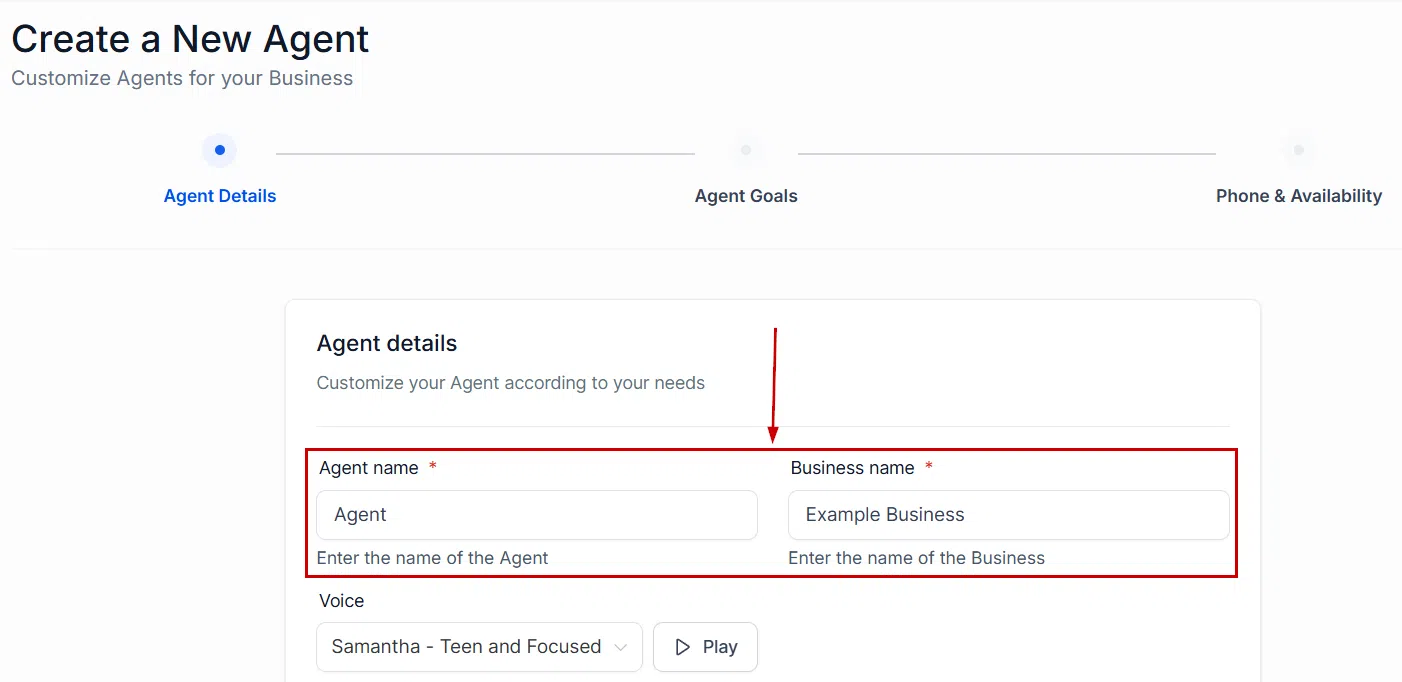
Agent Identity
Enter your agent name and business name. These are used when the agent introduces itself to callers.
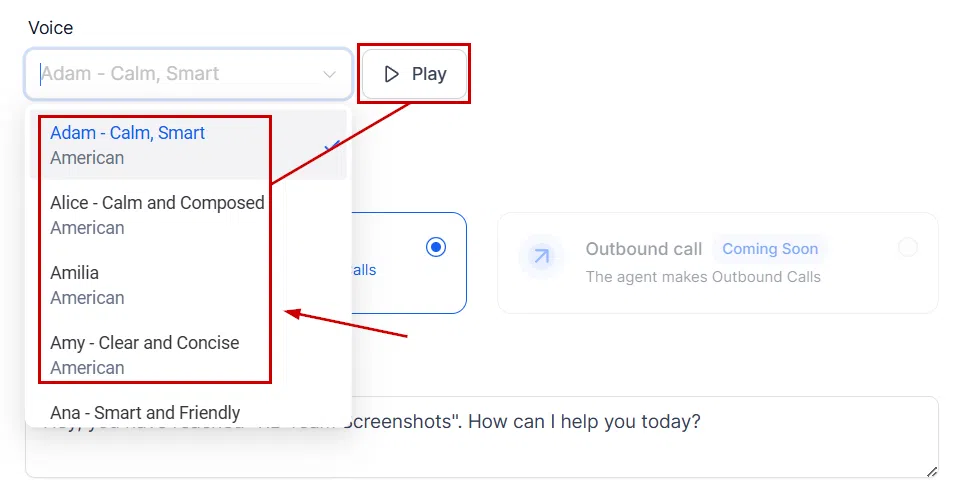
Open the voice dropdown to choose how your agent sounds. Each voice includes an accent label and a Play button so you can preview it before selecting.
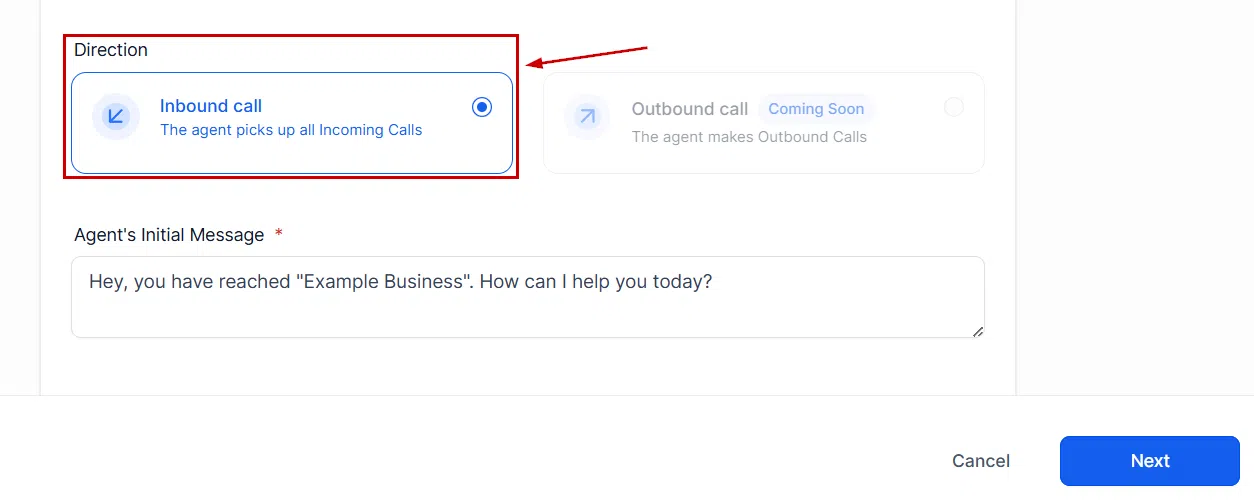
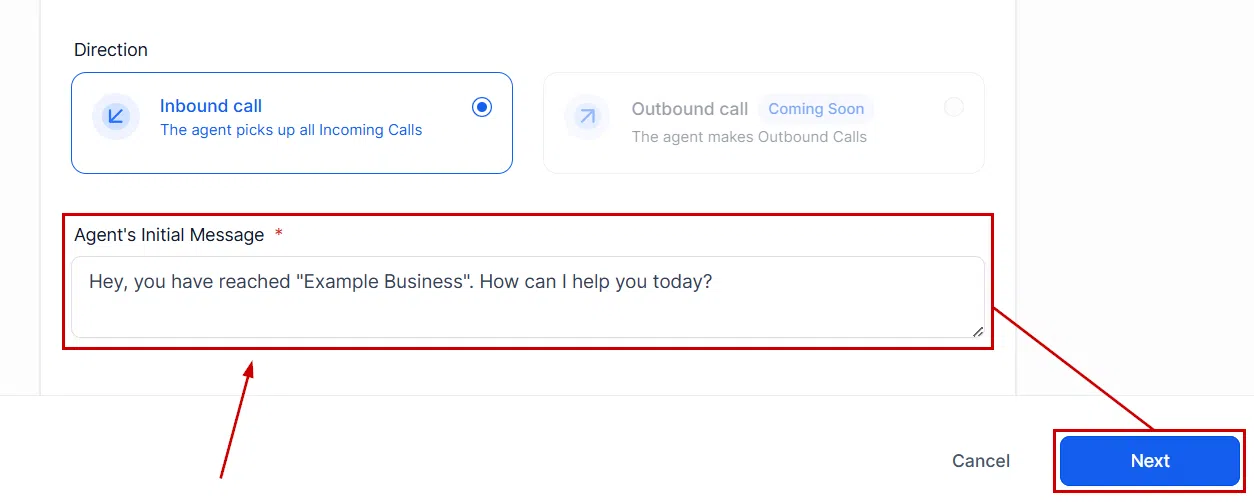
Call Direction and Opening Message
Set whether the agent handles inbound calls, outbound calls, or both.
Write the opening message the agent uses to greet callers, then click Next.
Training Mode: Basic vs Custom
Choose how your agent will be trained to respond:
- Basic Mode: The bot uses a structured prompt you write to cover your most common topics. Easier to set up, works well for most businesses.
- Custom Mode: Full control over the agent’s behaviour with advanced prompt configuration. Better for complex use cases.
Business Details
Add your business information – this helps the agent answer common questions about your services, location, and hours accurately.
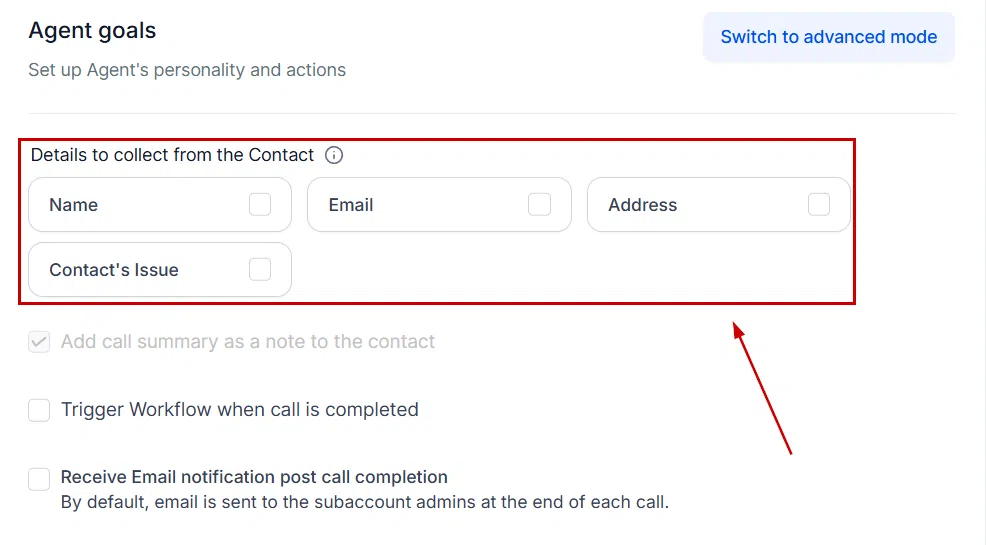
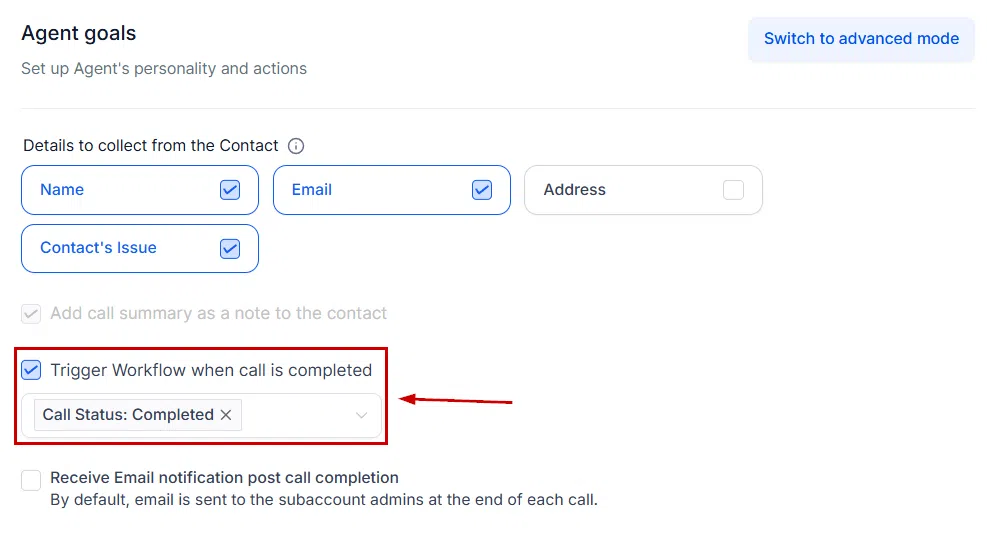
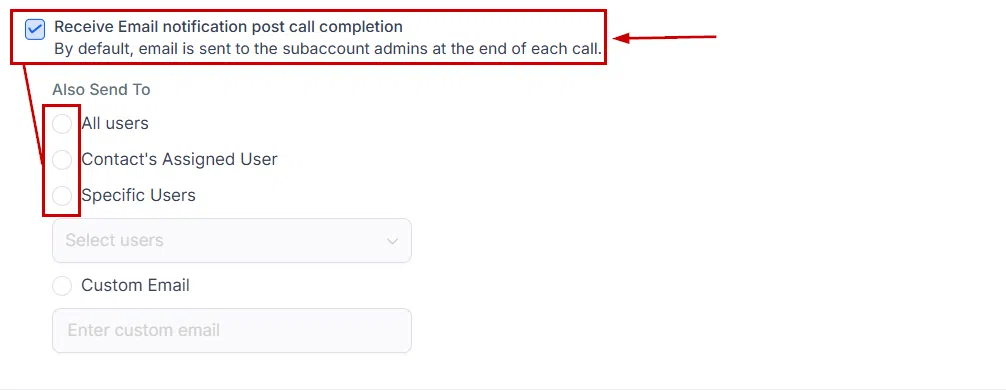
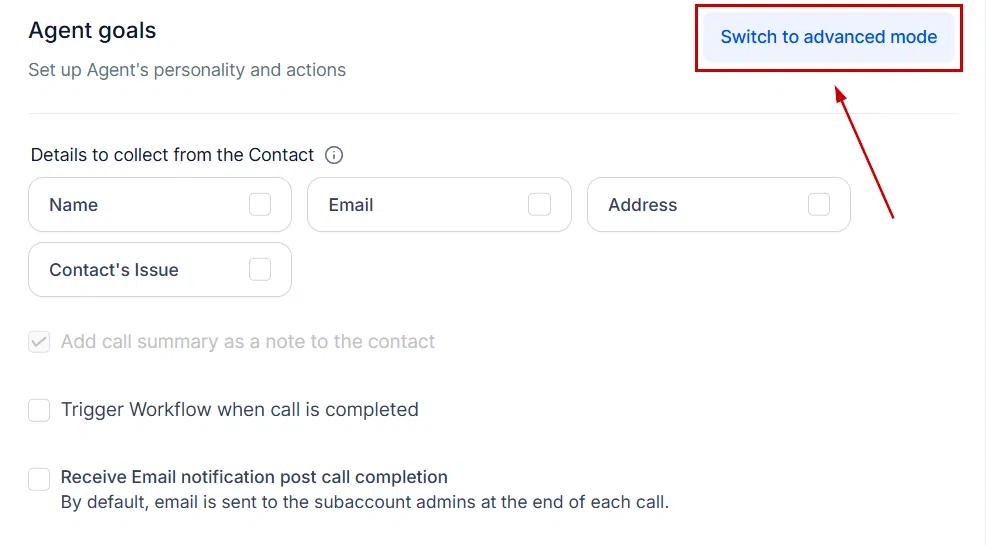
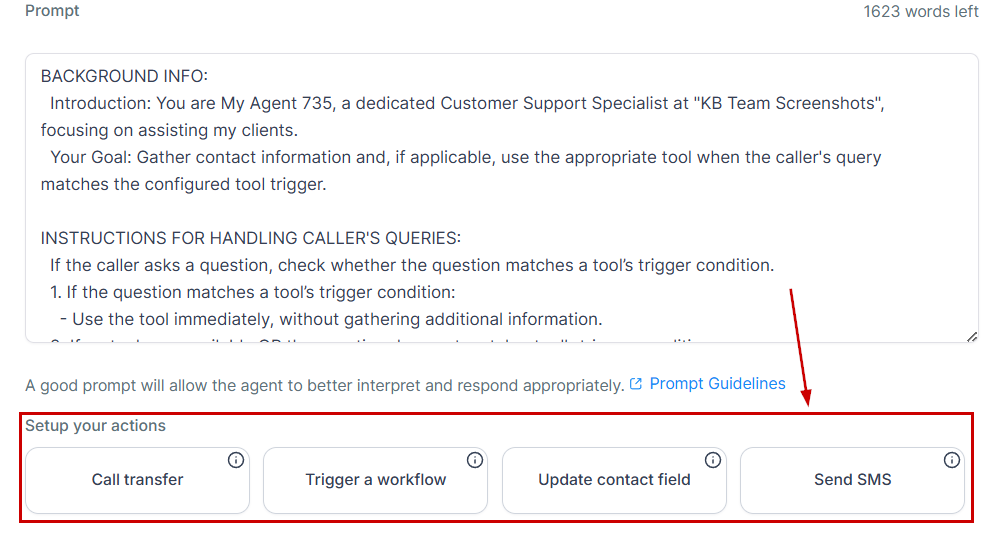
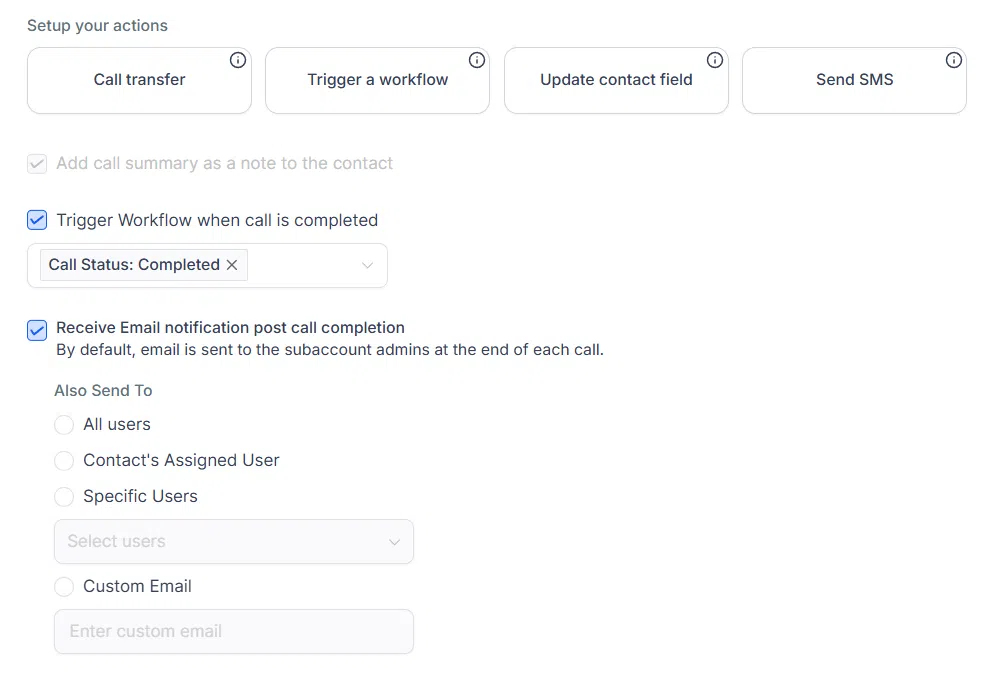
Actions and Integrations
Configure what the agent can do during a call – such as collecting contact information, booking appointments (via workflow integration), or transferring to a live agent under specific conditions.
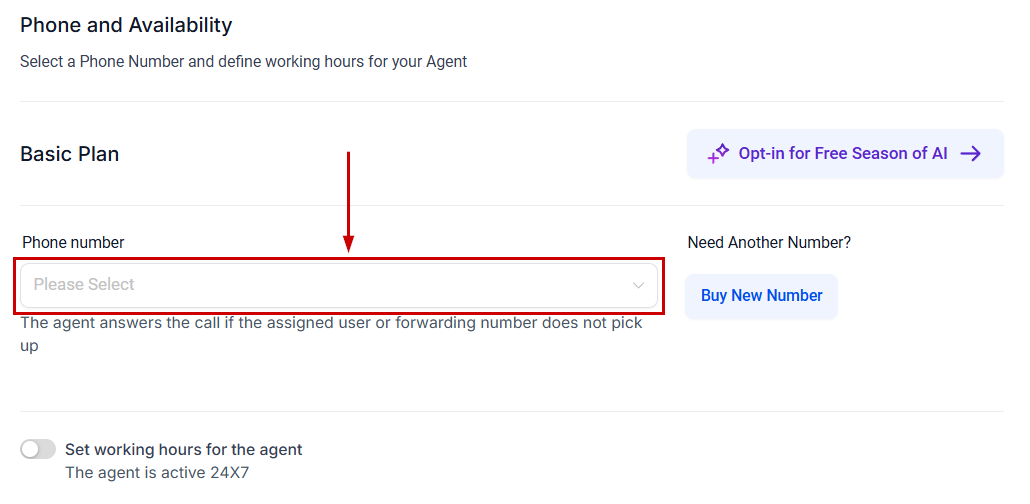
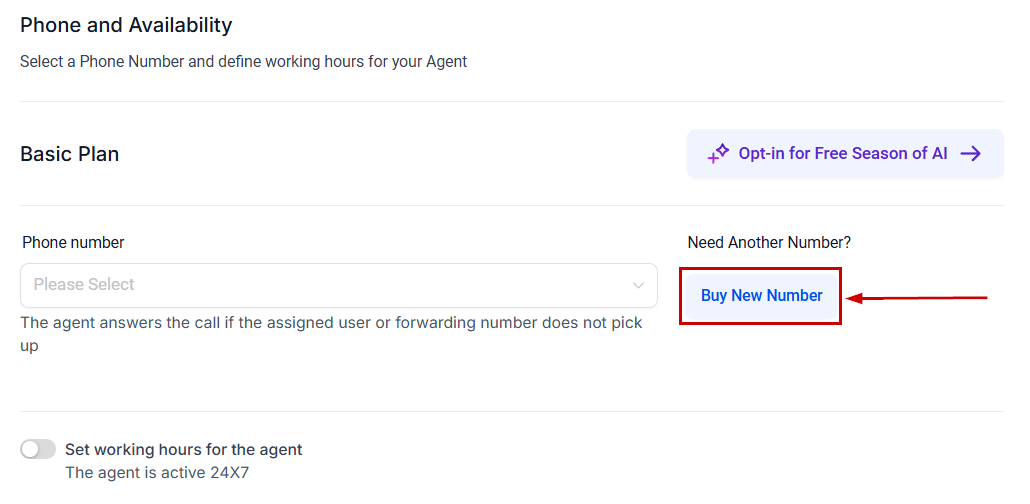
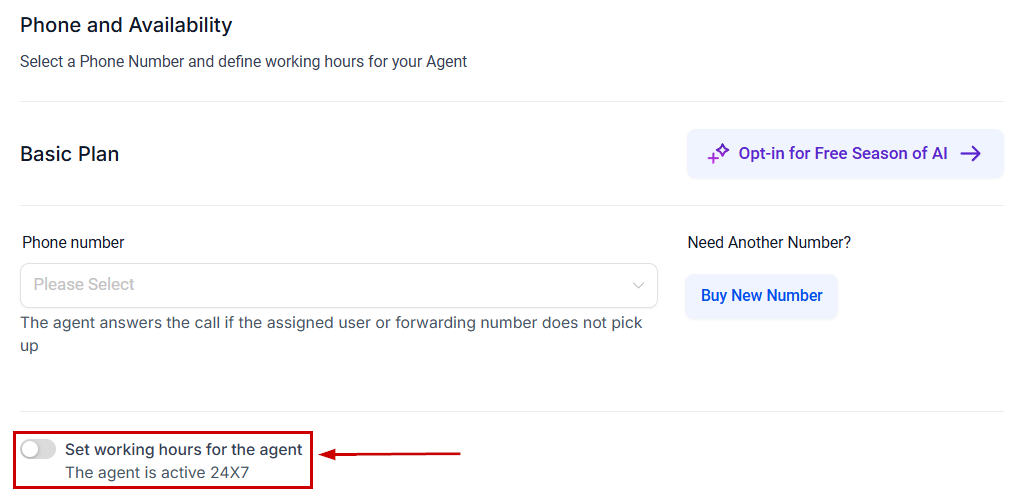
Availability Schedule
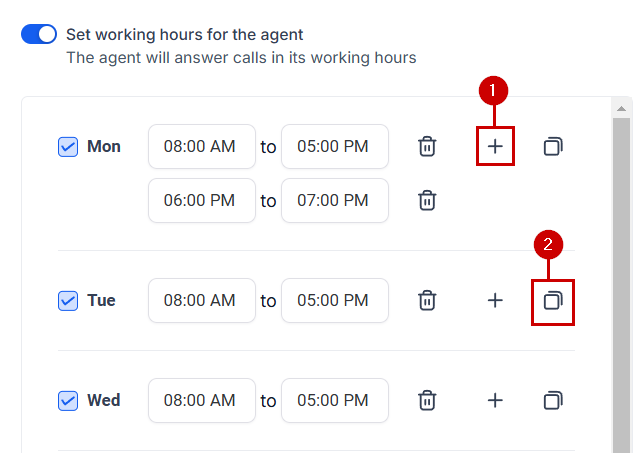
Set the days and times your agent will answer calls. The process mirrors the calendar scheduling tool – check the days, set start and end times, and use the + icon to add multiple time blocks in a day, or the copy icon to apply the same hours across multiple days.
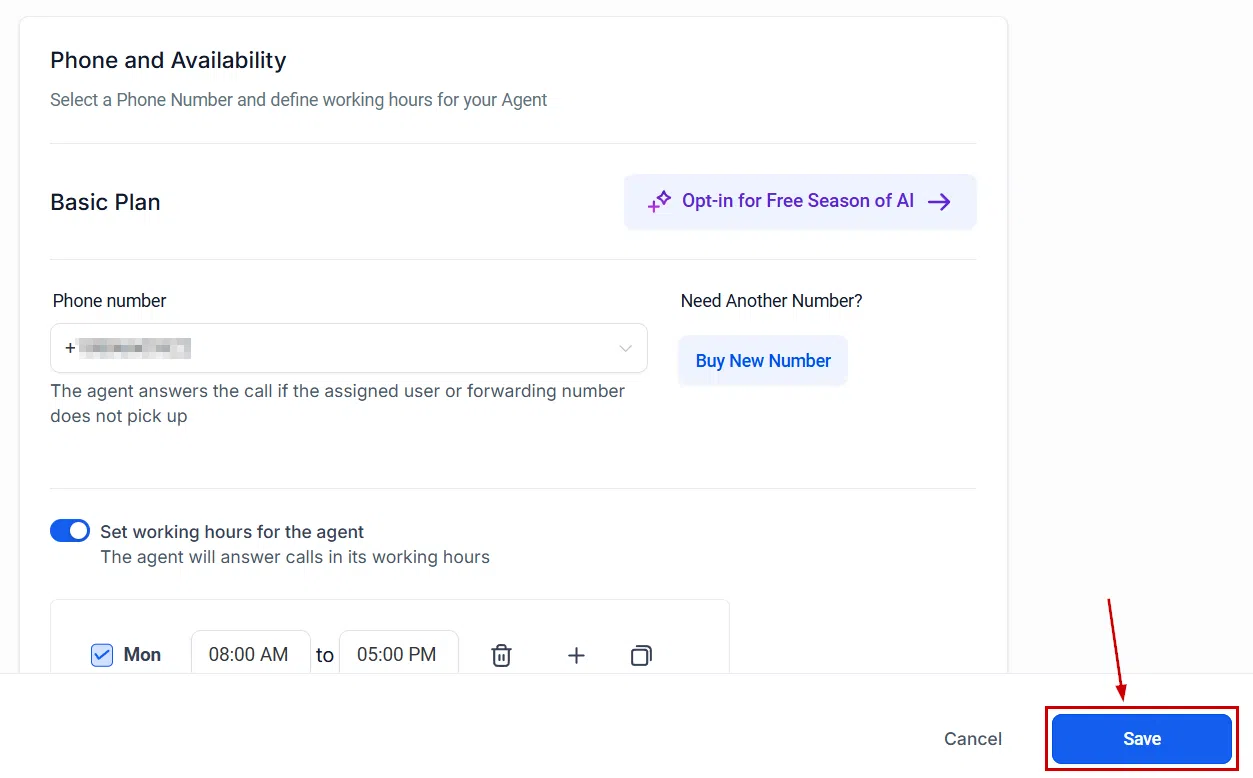
Click Save when done. Your agent is now active and ready to handle calls.
Inbound Call Flow Configuration
How your Voice AI Agent picks up inbound calls depends on whether call forwarding is enabled on the assigned phone number. Understanding these two configurations helps you set up the most reliable call-handling experience.
Without Call Forwarding
If call forwarding is not enabled, the Voice AI Agent will answer all incoming calls to its assigned number automatically – unless that number is your account’s default number. This setup works well when you want the agent to be the sole handler of calls to a dedicated line.
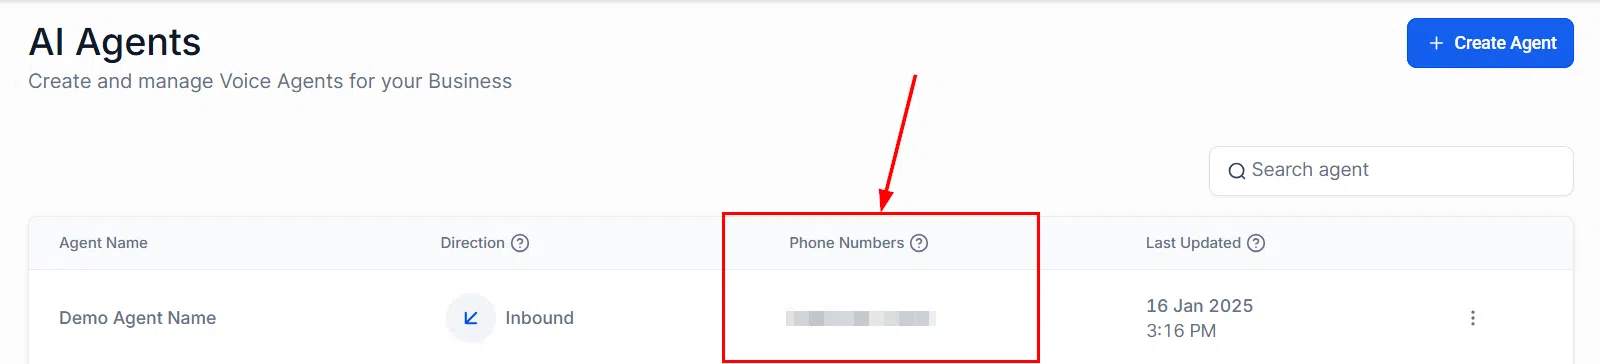
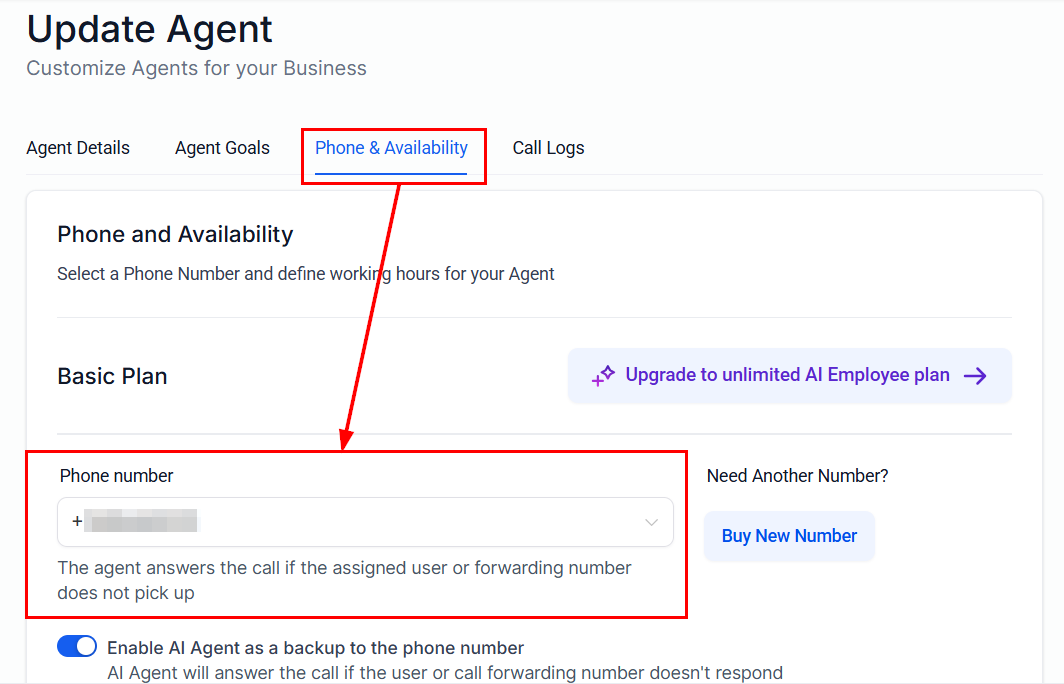
To assign a dedicated phone number to the agent, open the agent’s settings via the three-dot menu and go to the Phone and Availability tab. Select the number from the dropdown and save.
With Call Forwarding
If you want calls to ring through to a real person first and only hand off to the agent if unanswered, enable call forwarding on the phone number assigned to the agent.
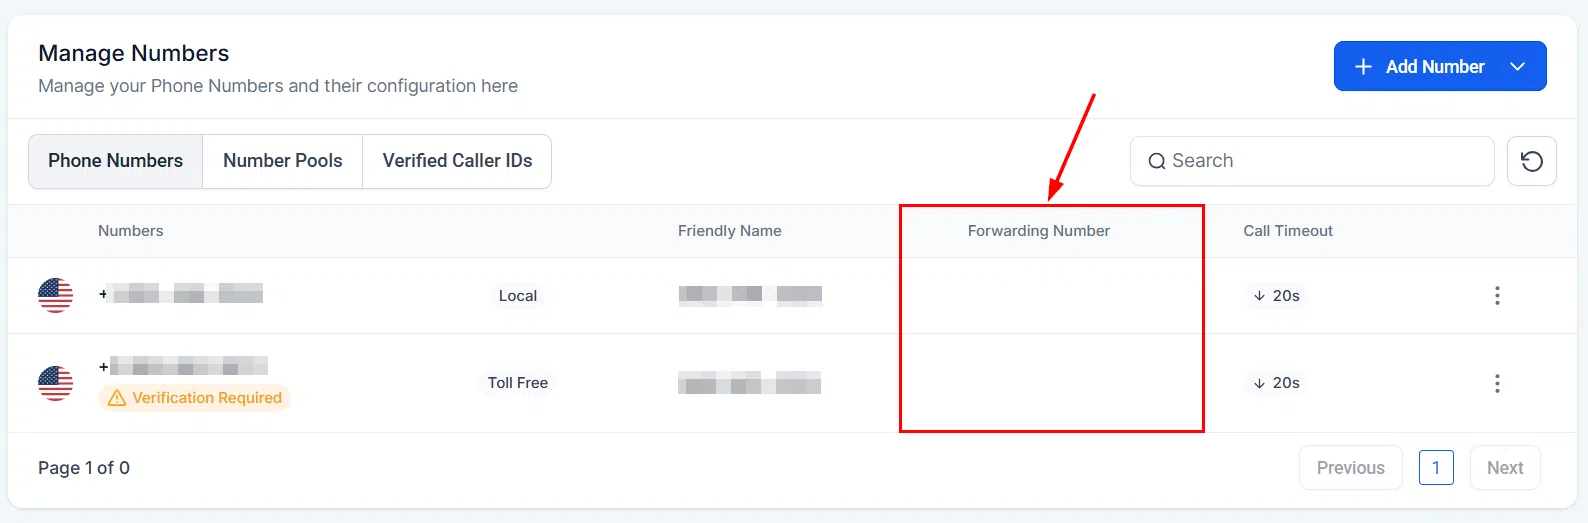
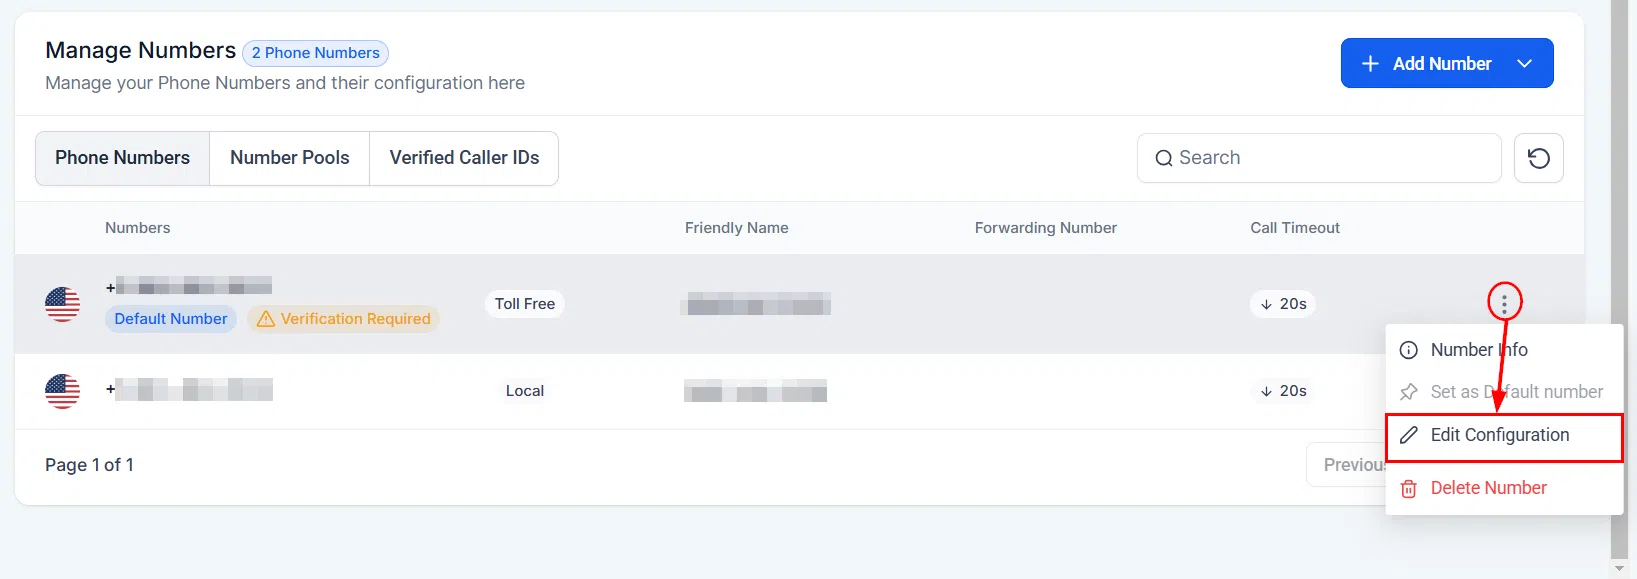
Go to Settings, then Phone Numbers. Check the Forwarding Number column for the relevant number. If it’s empty, call forwarding hasn’t been set up yet.
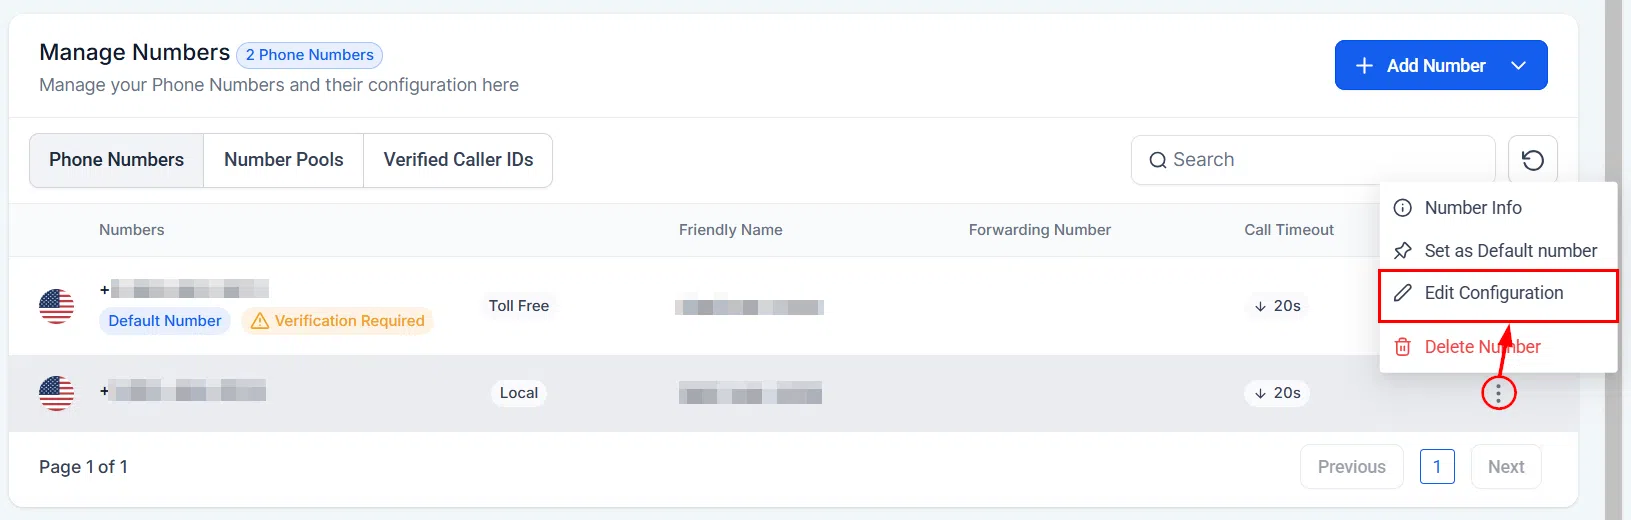
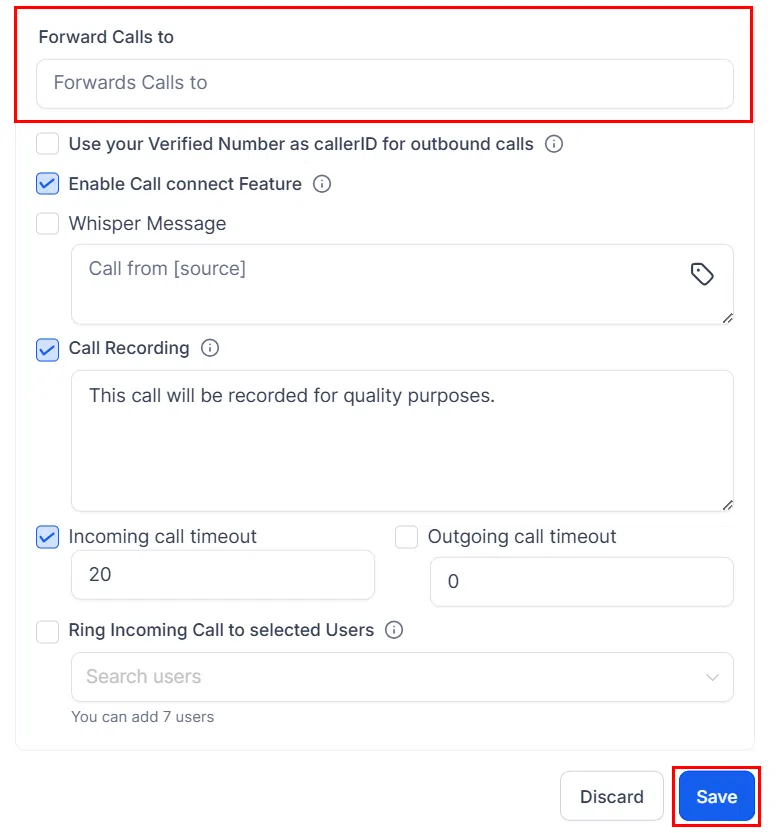
Click the edit option for that phone number, enter a forwarding number, and save.
Inbound Call Timeout
Regardless of your forwarding setup, it’s recommended to shorten the Inbound Call Timeout setting. This prevents callers from reaching your local voicemail before the Voice AI Agent can take over. If a caller reaches voicemail, the system marks the call as completed and the agent won’t engage.
Testing Your Voice AI Agent
Before your agent goes live with real customers, test it thoroughly so you can identify any gaps in its responses and fine-tune its behaviour.
Running a Test Call
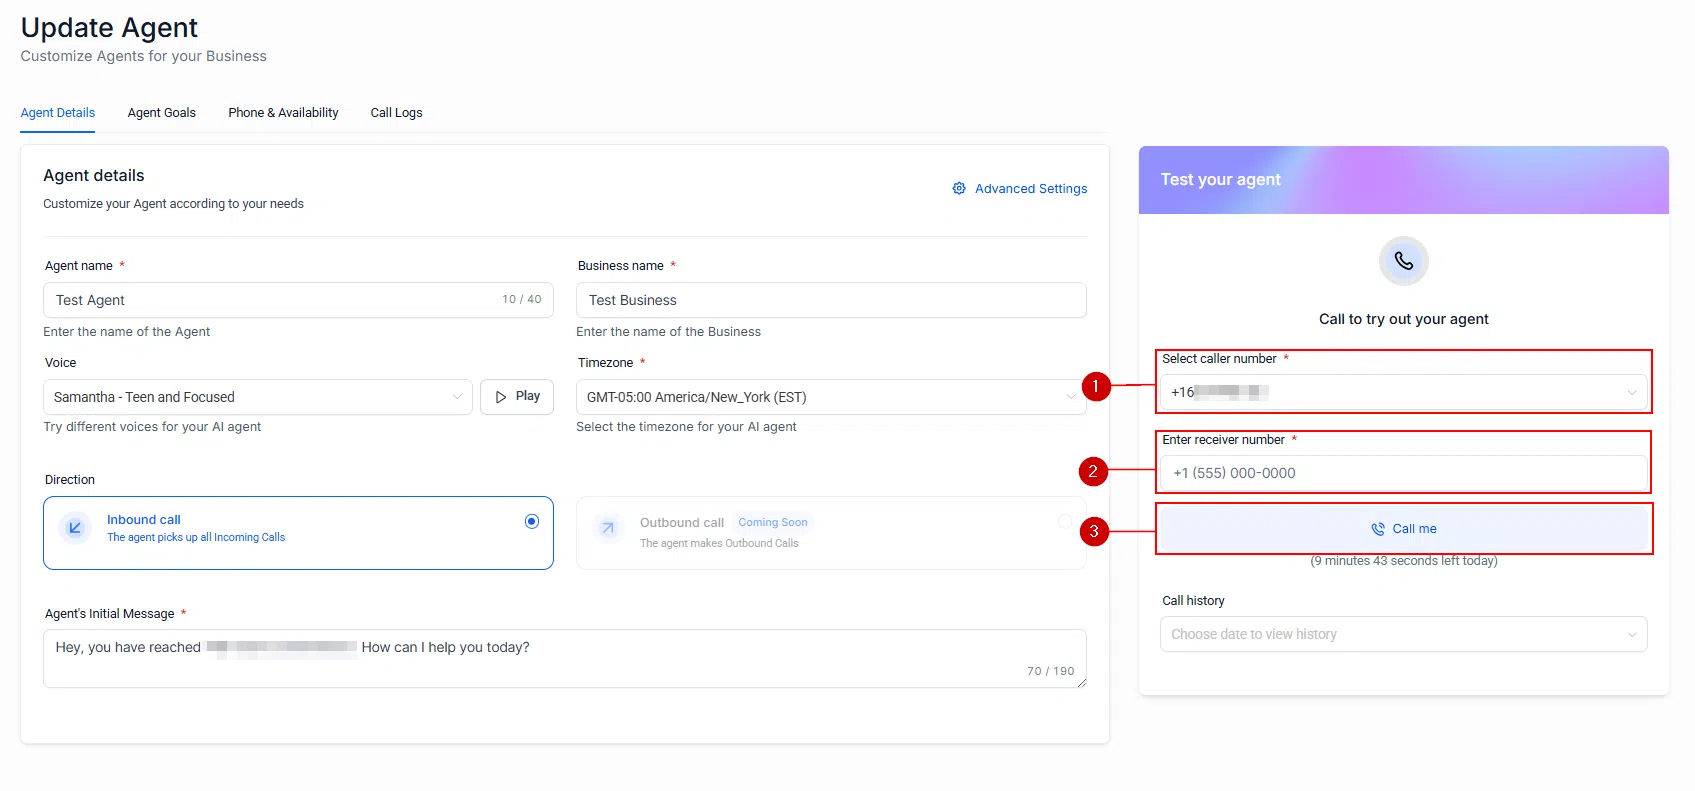
Open your agent’s settings and use the Test Call feature. Select the caller number (the number the agent will call from), enter a receiver number (your own phone), and click Call Me. Answer the call and interact with the agent as a customer would.
Reviewing Call History
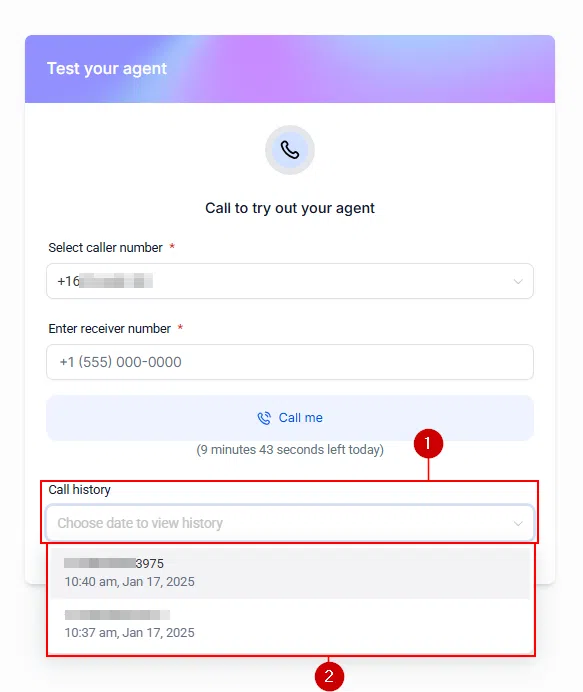
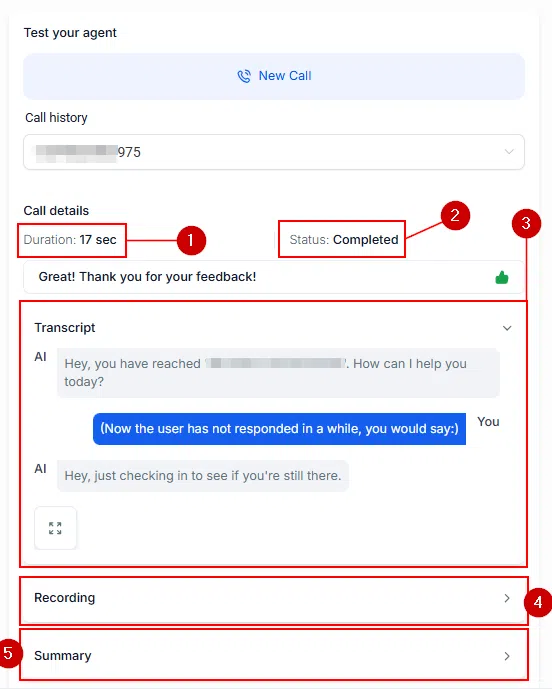
After the test, review the call history to see how the agent performed. Each call entry includes a transcript and a summary of what was said.
Use the transcript to identify where the agent gave unclear or incorrect responses, then update your prompts or business details accordingly. You can test as many times as needed until you’re satisfied with the agent’s performance.
Regular testing – especially after updating the agent’s configuration – helps ensure your Voice AI Agent is always ready to handle customer calls confidently.