If you’ve ever wondered how many people are clicking on that “Book Now” or “Download” button on your website, then this guide is for you.
Tracking those clicks gives you real insight into what’s working (or not) on your website. And the best part? You can do it without touching a single line of code, thanks to Google Tag Manager (GTM).
👉 Don’t have Google Tag Manager set up yet? Start here with our beginner’s guide.
👉 Haven’t created a Google Analytics account yet? Follow this simple setup guide first.
Once those are ready, you’re good to go. Let’s dive in!
Here’s how to set it up in plain, simple, and visualised, steps.
Google Tag Manager for Beginners – What You’ll Need
- A Google Tag Manager (GTM) account set up on your website
- Google Analytics (connected to your GTM container)
- Access to your website or WordPress dashboard
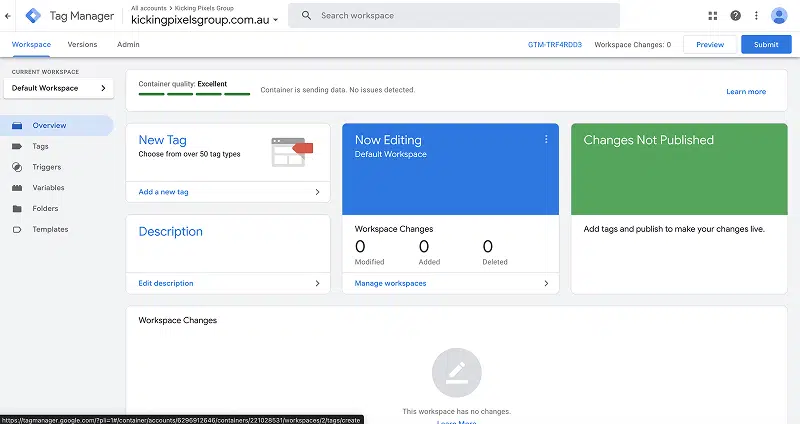
Step 1: Log Into Google Tag Manager
Head to tagmanager.google.com and log into your account. Choose the container for your website.
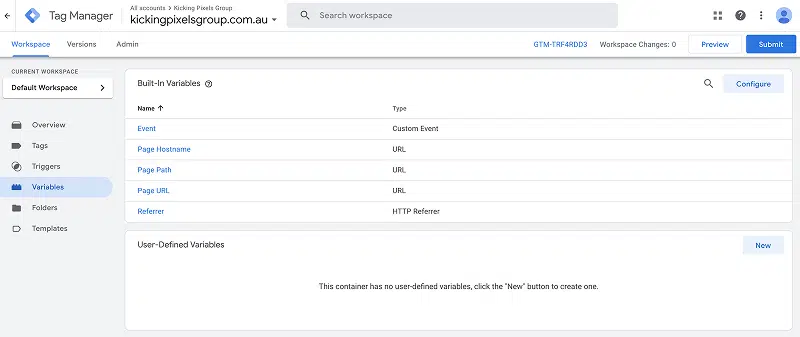
Step 2: Enable Click Variables
Before GTM can track button clicks, you need to turn on the built-in click variables:
- In the left-hand menu, click “Variables”.
- Under “Built-in Variables”, click “Configure”.
Tick the boxes next to:
- Click Classes
- Click ID
- Click Text
- Click URL
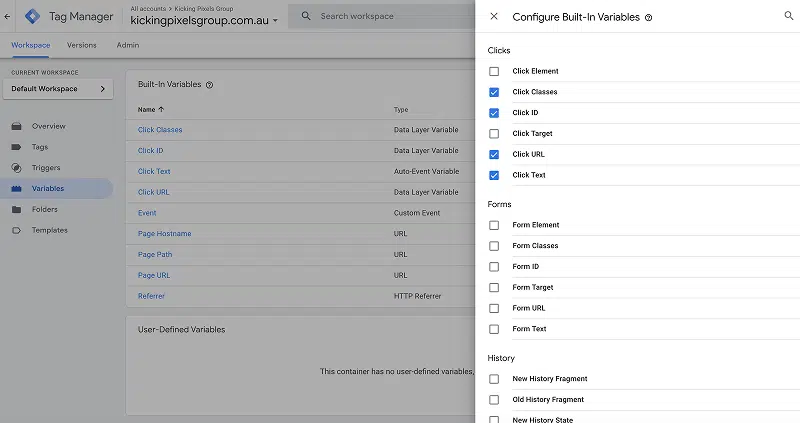
These help GTM know what users are clicking on.
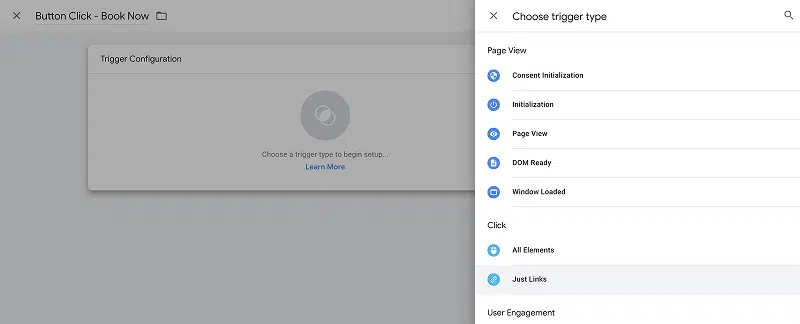
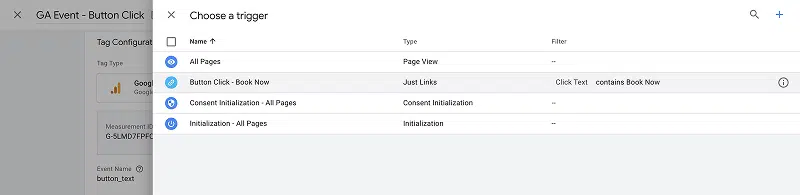
Step 3: Create a Trigger for Button Clicks
Now let’s tell GTM what to watch for:
- Go to “Triggers” and click “New”.
- Name it something like “Button Click – Book Now”
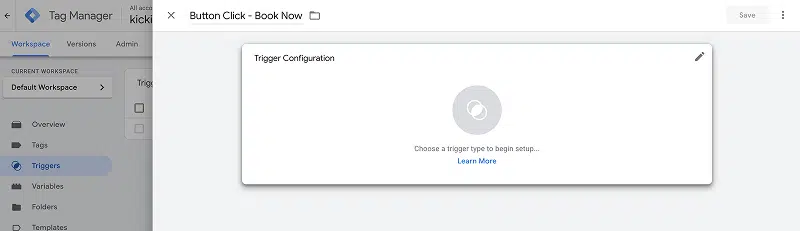
- Click “Trigger Configuration” clicking on the white panel opens a swipe-out screen
- Choose “Just Links” or “All Elements” depending on how your buttons are built.
You’ll then see your Trigger Type and a number of other options inside the Trigger Configuration Pane
- Choose “Some Link Clicks”.
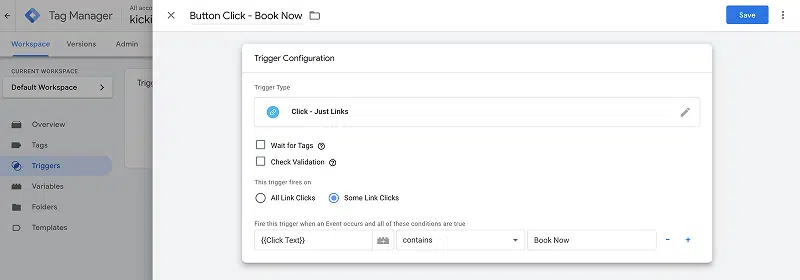
Use a condition like that will be used the “fire” the trigger:
- Click into the first input field and choose “{{Click Text}}“
- In the last input field add the label for the Link e.g. “Book Now” (or whatever the label of your button is)
- Click “Save“.
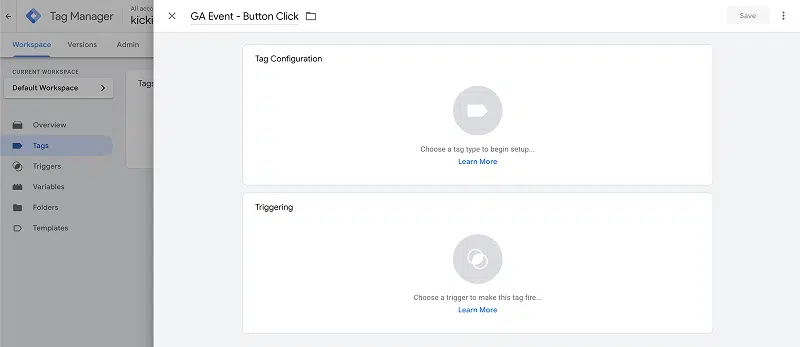
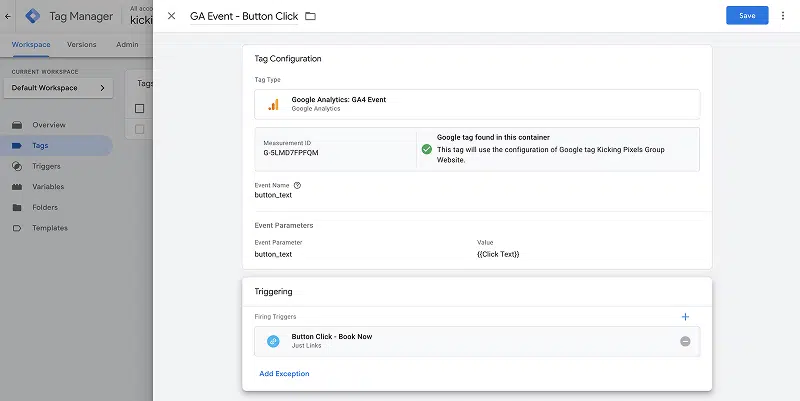
Step 4: Create a Tag to Send the Data to Google Analytics
- Go to “Tags” and click “New”
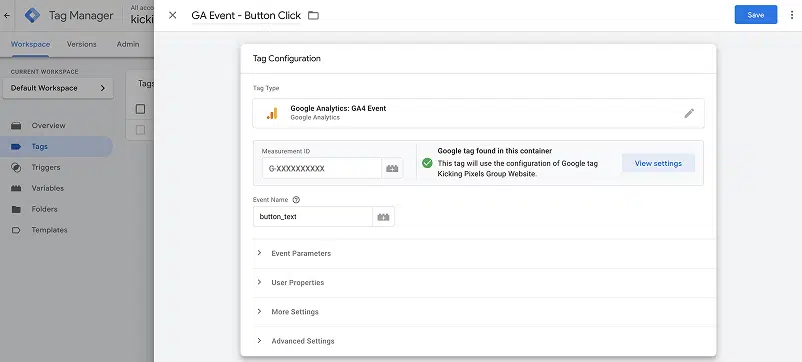
- Name it something like “GA Event – Button Click”
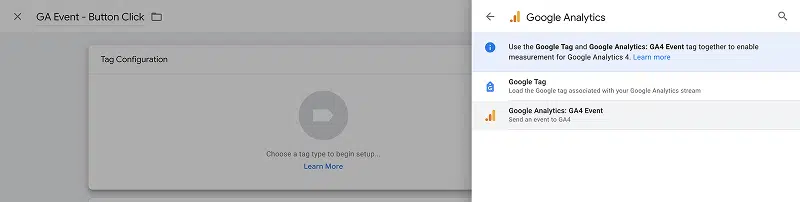
- Choose “Tag Configuration” by clicking on the Tag Configuration Pane → Select “Google Analytics: GA4 Event”
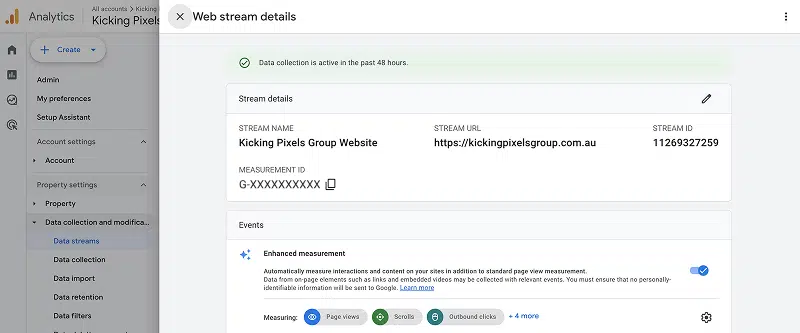
- Set your Google Analytics Measurement ID. You can copy the ID from Google Analytics “Admin” → “Data Streams” → “Measurement ID“
- Also, set your Event Name (e.g., button_click)
Note: If for some reason you get an error message after adding your Google Analytics Measurement ID
- Click “Create Tag”
- A new Pane will open, click “Save” (default settings don’t need to be changed)
Next… Under Event Parameters, you can add:
- Parameter Name: button_text
- Value: {{Click Text}}
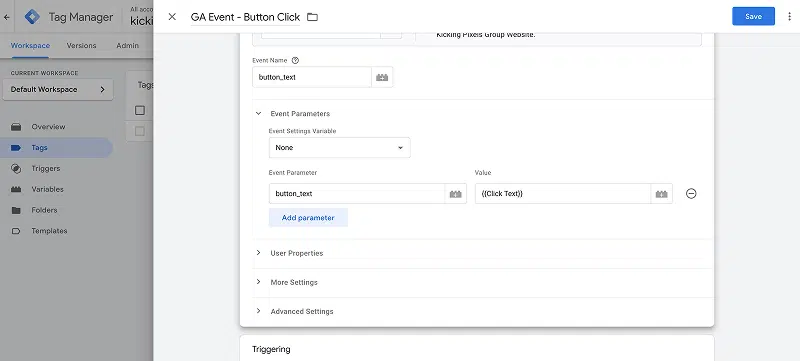
- Finally, under “Triggering,” choose the button click trigger you made earlier.
- Click “Save“.
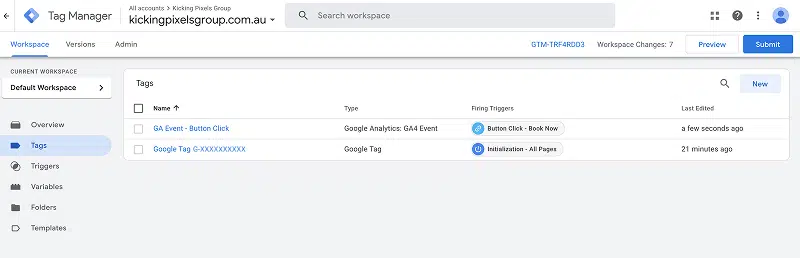
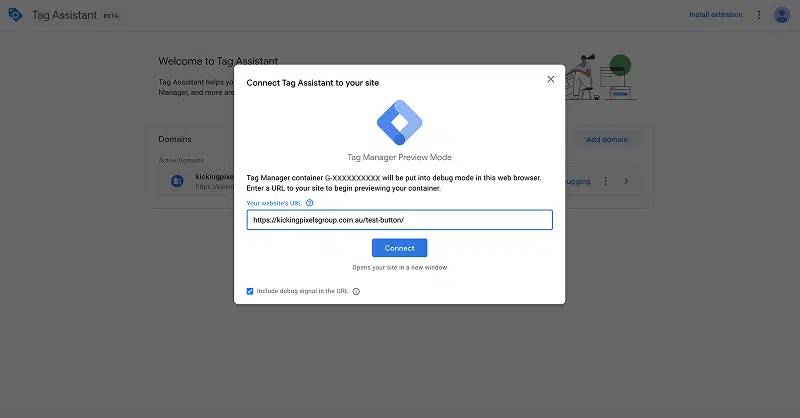
Step 5: Preview and Test
Before publishing:
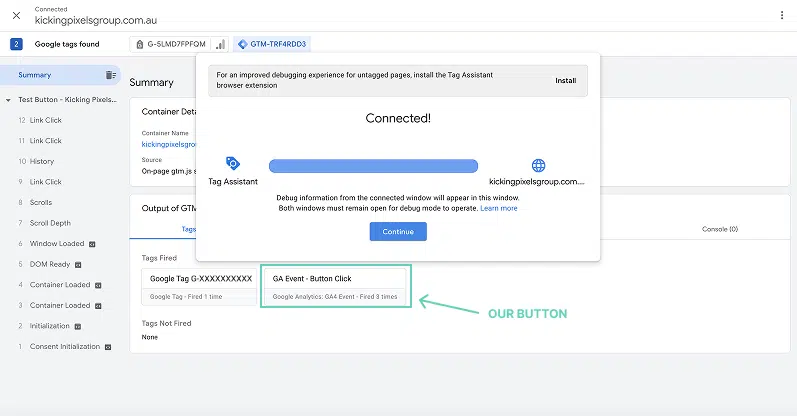
- Click the “Preview” button (to the left of “Submit“) in GTM.
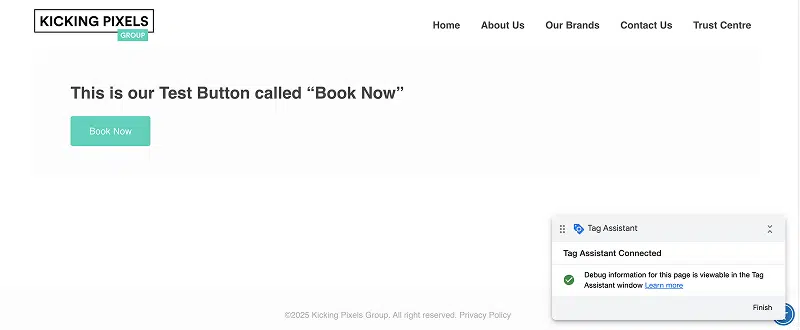
Enter your website URL and you’ll be redirected to a new window where you can view your website and find the button you want to test (remember your button needs to match the Button Text added to Google Tag Manager).
Once located, test the button, but clicking on it.
Then go back to your original Google Tag Manager Screen, where you should see your tag firing when you click it.
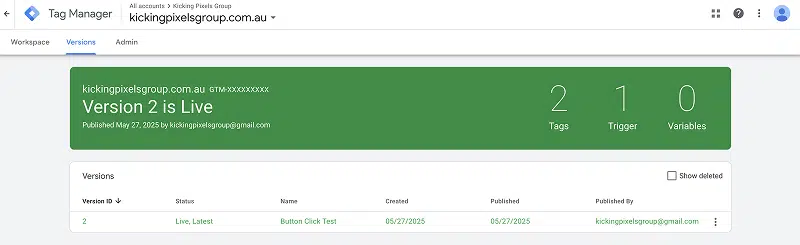
Step 6: Publish
Once it’s working, click “Submit” to publish your changes.
That’s it! You’re now tracking button clicks.
Bonus Tip: Use Clear Names
If you have multiple buttons across your site, make sure to give each tag and trigger a clear name (e.g., “Book Now – Homepage” or “Download PDF – Pricing Page”) so you can understand your reports later.
Website Tracking for Small Business – Need Help?
If you’re not quite sure how to set this up or don’t have Google Tag Manager installed yet, MyWebAdvantage is here to help. We can set up tracking that tells you what’s working—so you can make smarter marketing decisions.
Book in a chat below or send us an enquiry to get started.